Showing posts with label xianghua. Show all posts

20100702

smelly flower (xianghua), the photoshoot

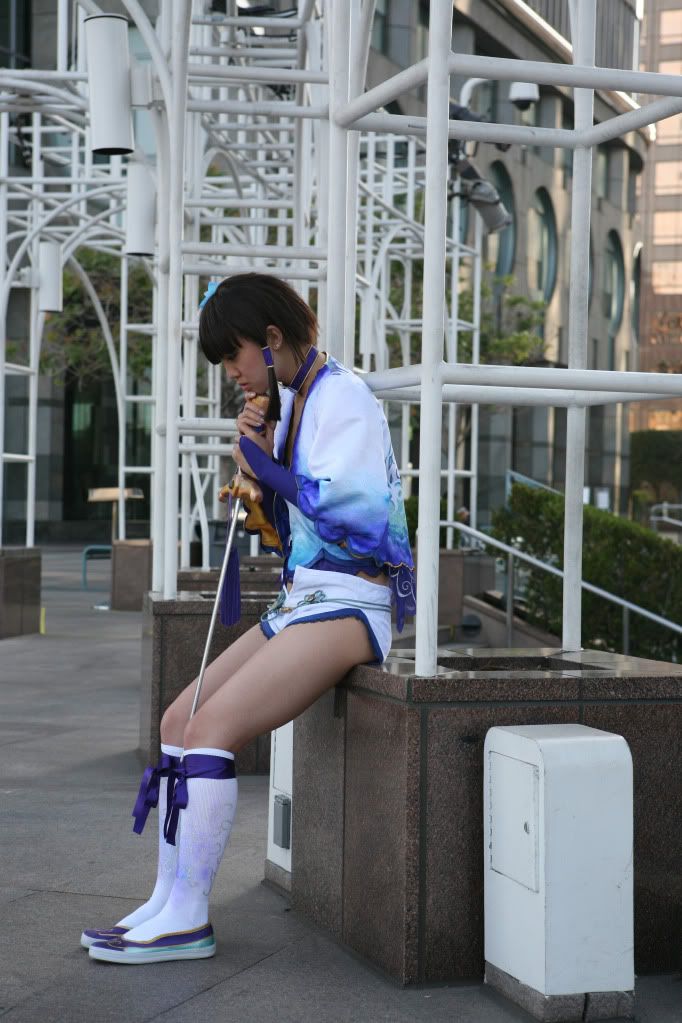
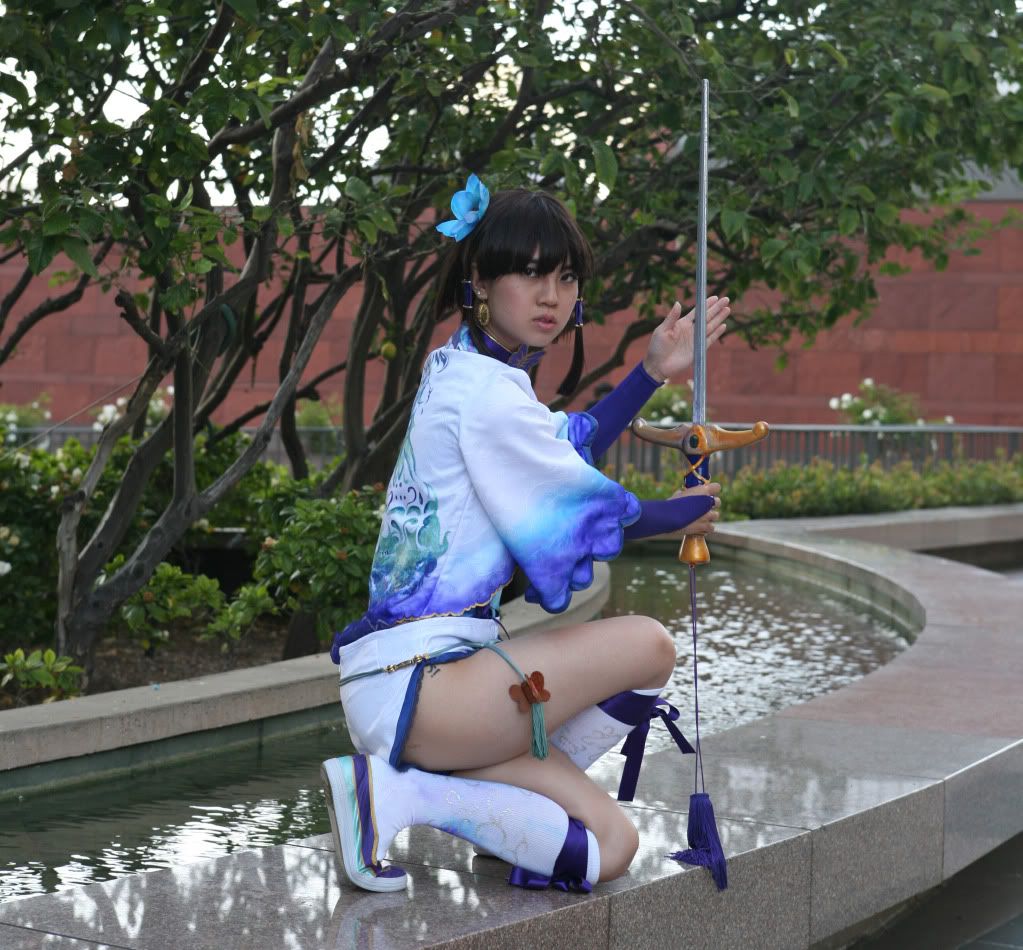
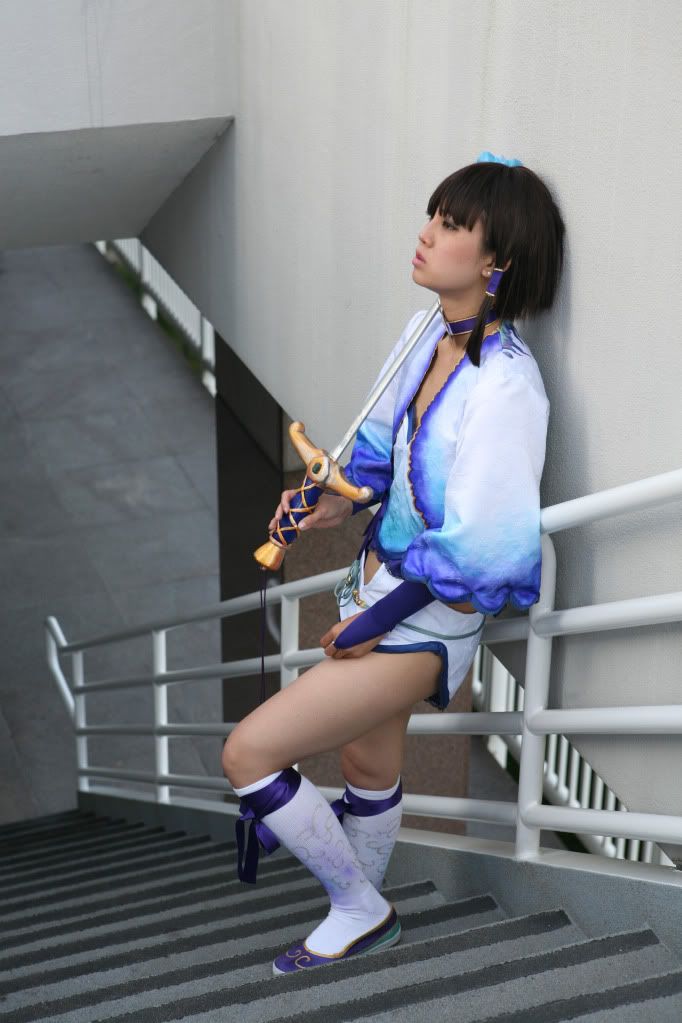
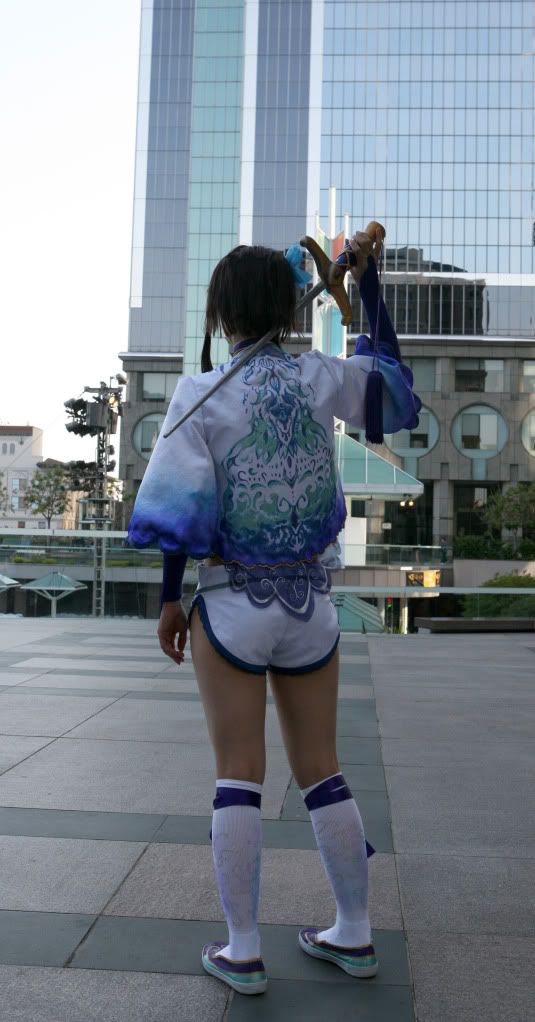
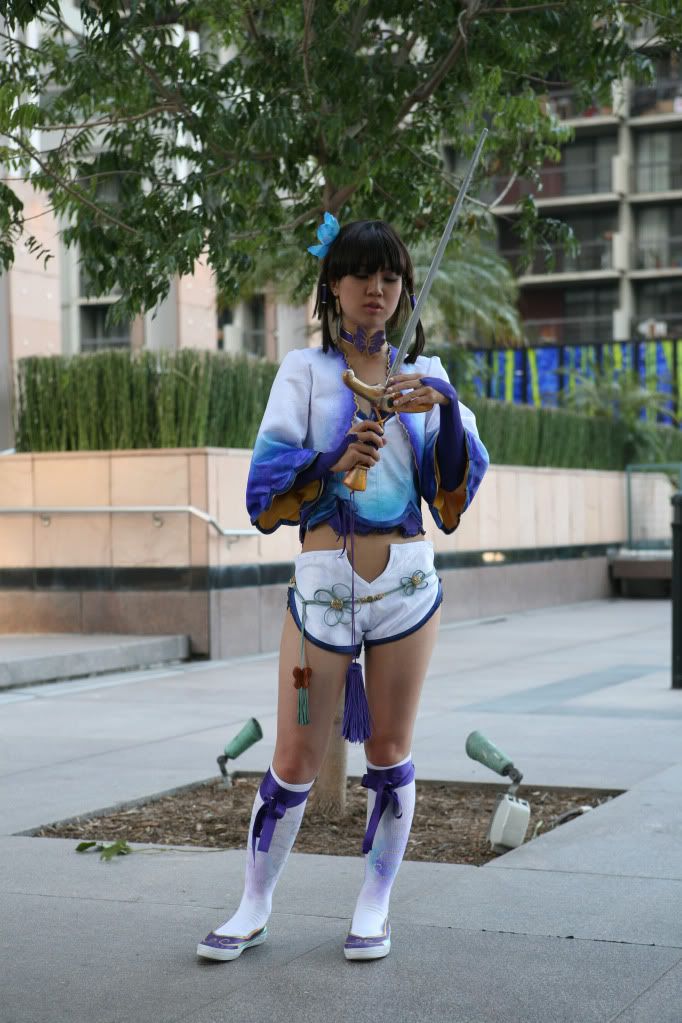
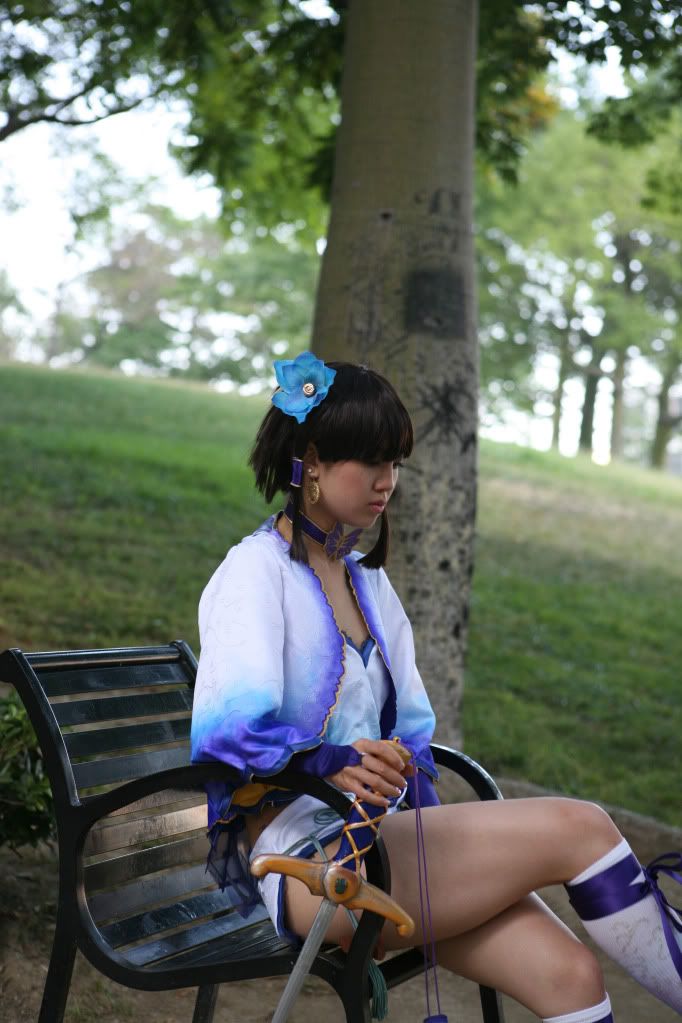
I'm at Anime Expo now, probably getting sunburn, but here are some photos from the shoot over the weekend for those of you who couldn't make it out here to sunny Los Angeles!!! Thanks for reading from the beginning of this journey, if you were!

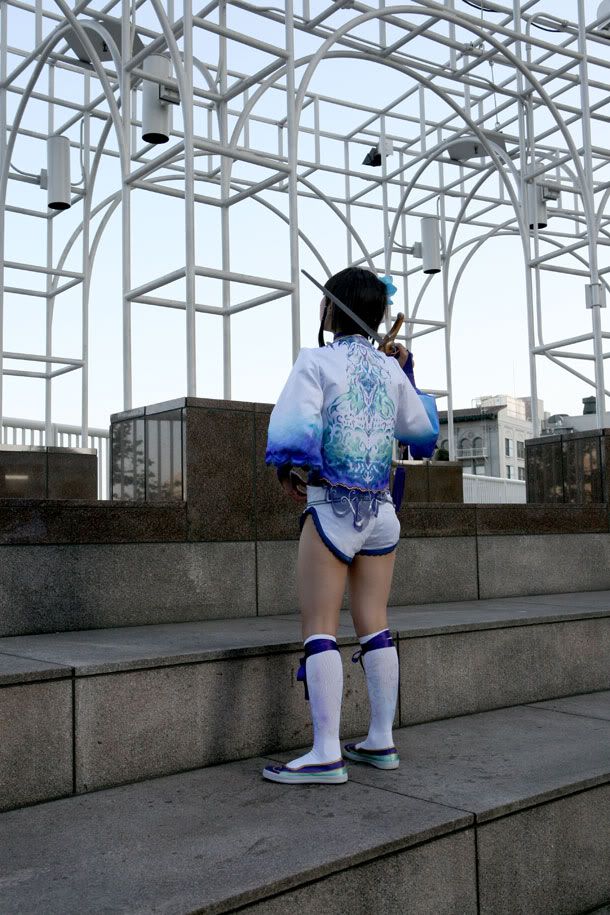
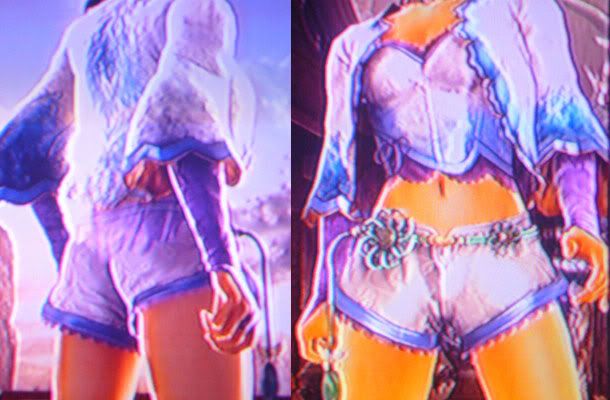
Xianghua Soul Calibur IV

Xianghua - Soul Calibur IV Player 1 cosplay

Costume, Hair, Make-up by Denise Kuan
Photography by James Kuan, in Los Angeles

For those of you interested, here's the make-up I used. I'm no expert make-up artist
but I enjoy this opportunity to try some different looks!
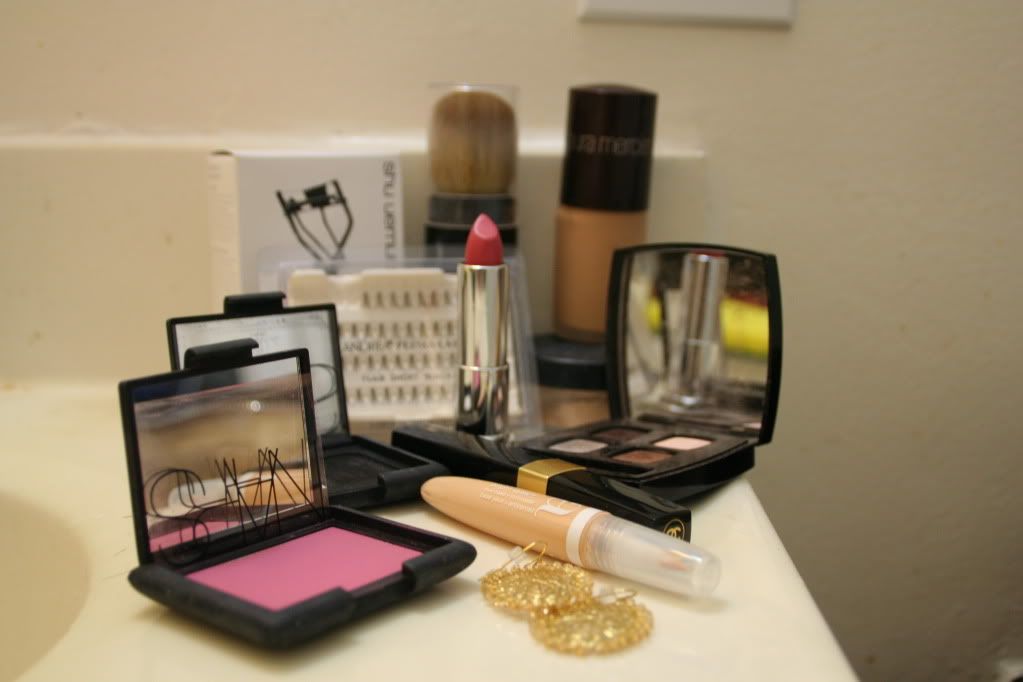

Lipstick: Maybelline Color Sensational in Pink Petal
Foundation: Laura Mercier
Loose powder: Bare Minerals
Eye makeup primer: Almay
Blush: NARS Mata Hari
Mascara: Chanel Inimitable
Eyeshadow: Chanel Quadra in Mystic Eyes
Eyelashes: Random brand from drugstore
Nail polish (not pictured): Sally Hansen Diamond Strength in "Diamonds"
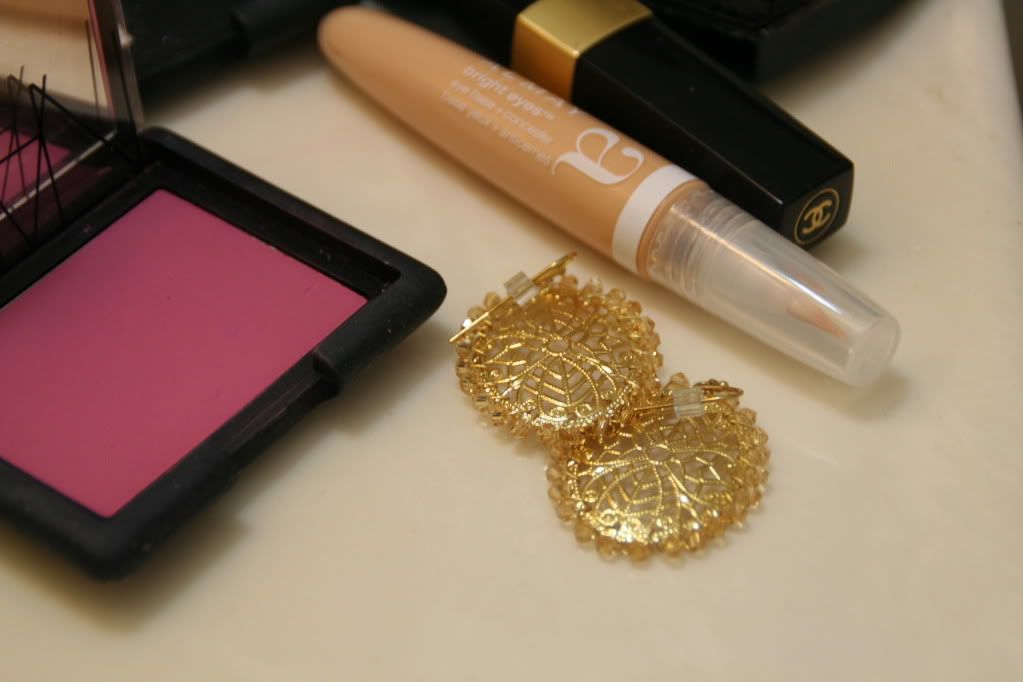

And here are the earrings I got from Anthropologie! Very close to the video game.
A bit pricey for earrings I may only wear once....

Well, I hope you guys had fun reading my process, I sure went through a lot
constructing this costume! Thanks so much for reading!

20100627

smelly flower teaser

Here's a teaser from the photoshoot for my Xianghua/Soul Calibur cosplay today!

20100622

smelly flower (xianghua), conquered!

I am so excited to be finally finished with this project. I feel like it took me forever (oh, wait... it did--75+ hours!), and I'll be happy to reveal the final photos when I complete the photoshoot!


Here is the complete breakdown in hours of how long this costume took me....

7 total hours dyeing trim
4 hours drafting patterns
6 hours total purchasing supplies
3.5 hours airbrushing
8 hours cutting all fabric pieces
3.5 hours to sew shorts
6.5 hours to sew bustier
12 hours to sew jacket
6 hours to paint jacket
30 minutes to make choker
20 minutes to make armwarmers
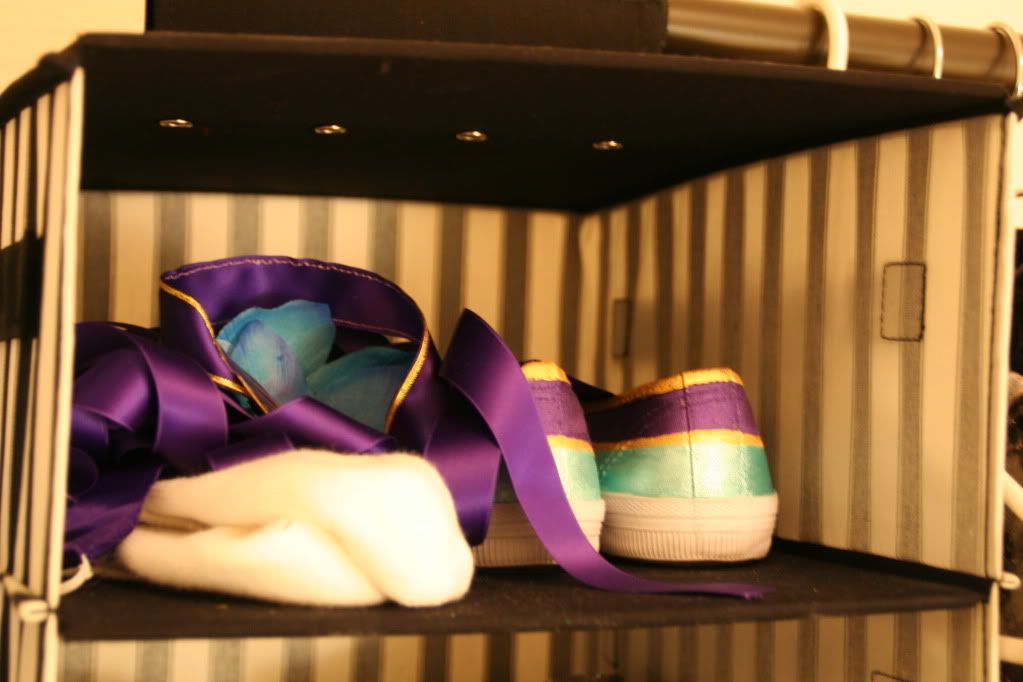
30 minutes to paint socks
1 hour to modify/paint shoes
30 minutes to assemble/airbrush floral hair pin
1.5 hours to assemble belt
14 hours to modify/paint sword
1 hour to cut/style wig

I'll be wearing this costume at Anime Expo July 2nd and 3rd (and again at Comic-Con the 3rd weekend of July), so I'd love to meet any of you fellow cosplayers/otaku !!

20100614

smelly flower (xianghua), fake

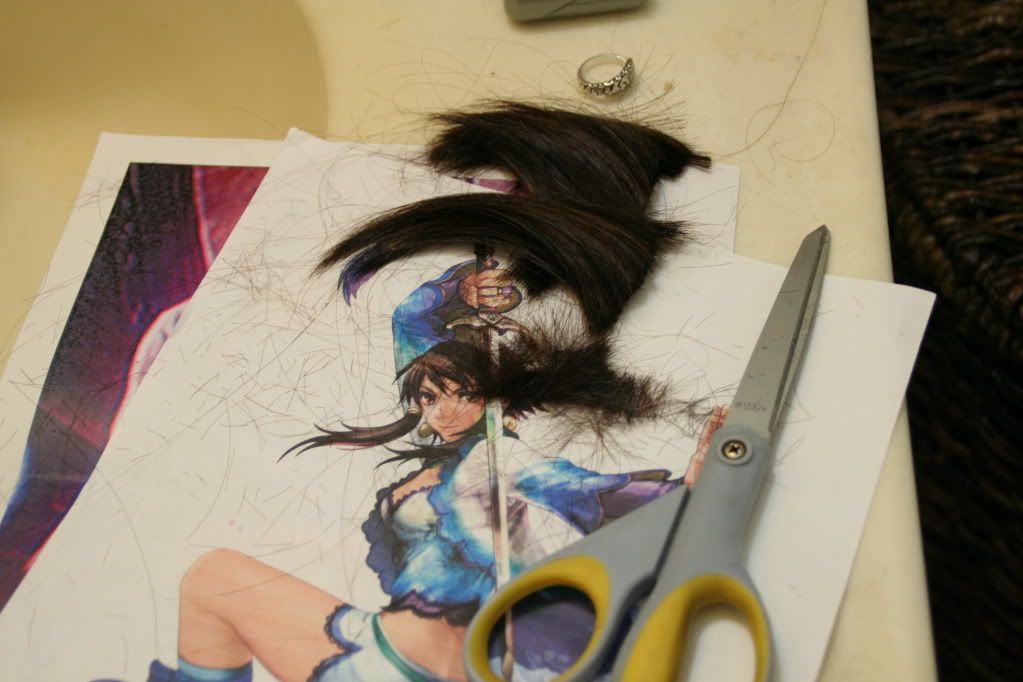
I uploaded photos of hair being cut on my Facebook, and all my friends thought I had actually cut my hair. Since I'm wearing 2 different costumes with different hairstyles, I can't! (My hair isn't even brown right now anyway...)

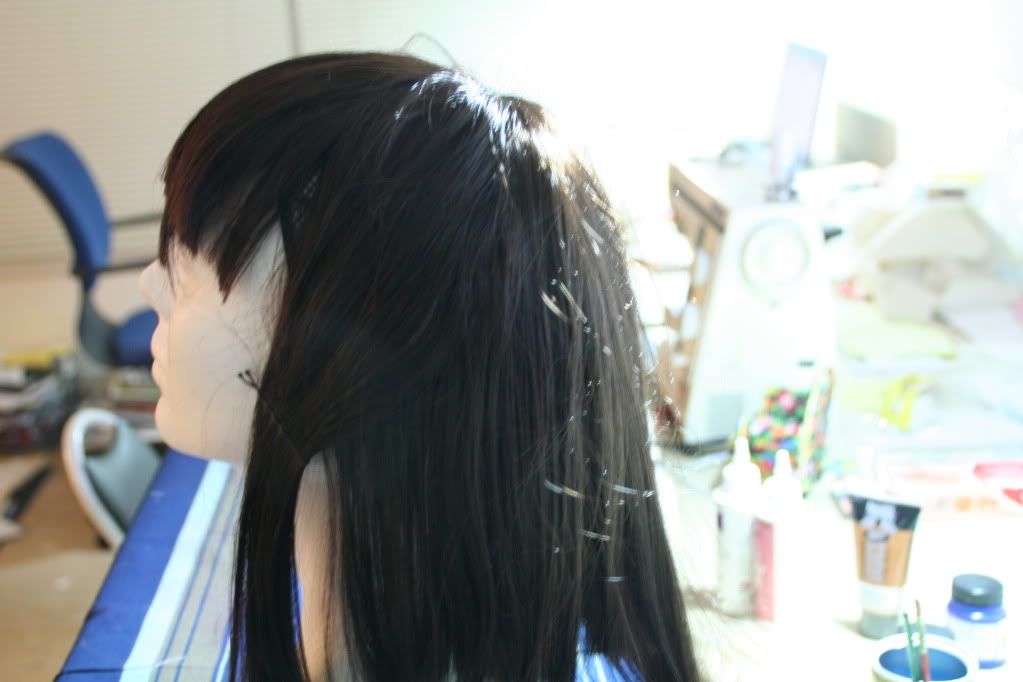
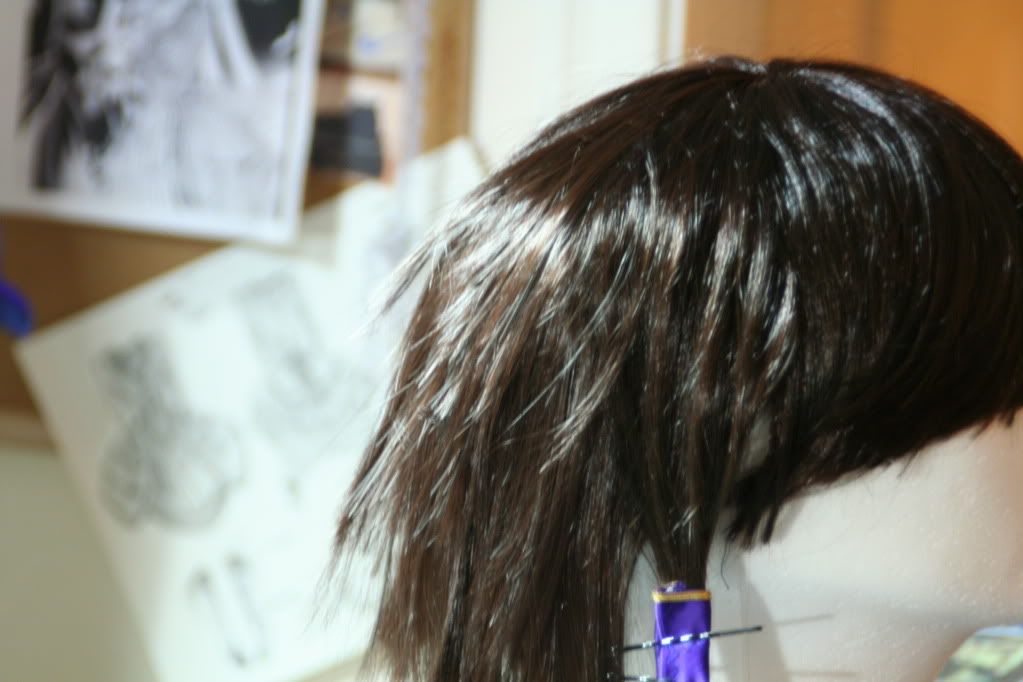
I ordered 2 cheap wigs from eBay, the longest dark brown wigs I could find with bangs.

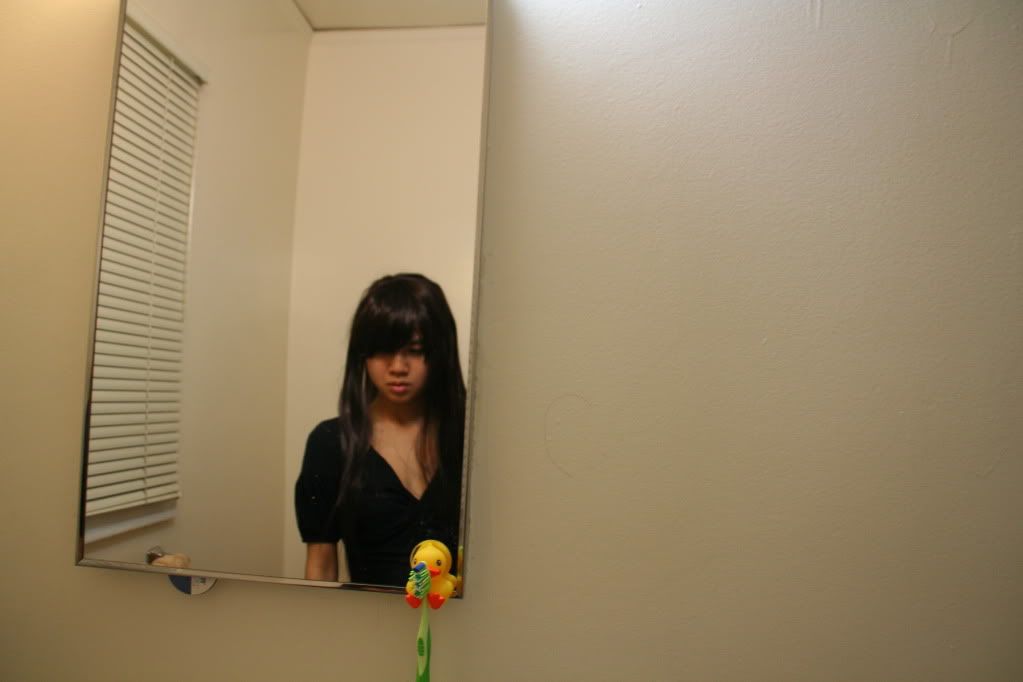
Yes, that little ducky is holding a toothbrush :)

I stopped by Hollywood Wigs on Hollywood Blvd (my favorite wig place) and picked up wig heads--$6 each!


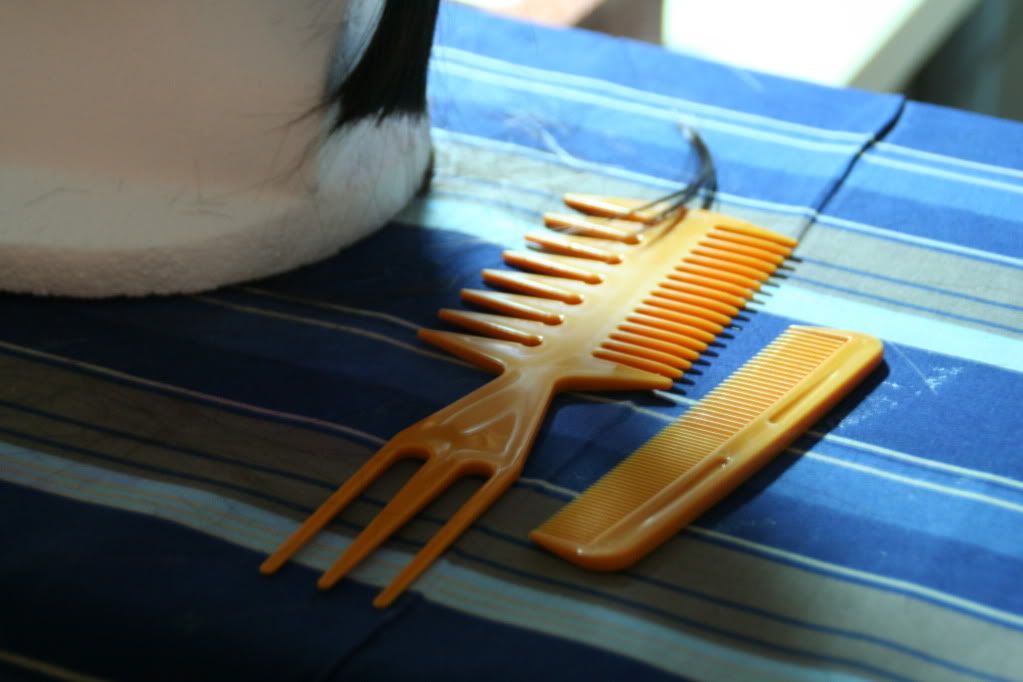
I spent no more than $15 on this wig--combs included. I bought a basic comb set at Rite Aid for about $3, and just used a household scissor to cut the layers. The ribbon in the hair was leftover from the socks, and the gold trim leftover from the choker.


This concludes the Xianghua costume, please check back July 7th for photos! I've already gotten started on my Zephie costume, so I am excited to share the progress on it!

20100606

smelly flower (xianghua), belted

It's been a while since I've posted any status on my Xianghua costume. You probably figured out by now that I had another huge project brewing, and I will blog about that later! If you haven't seen it already, then you should be in for a treat :)

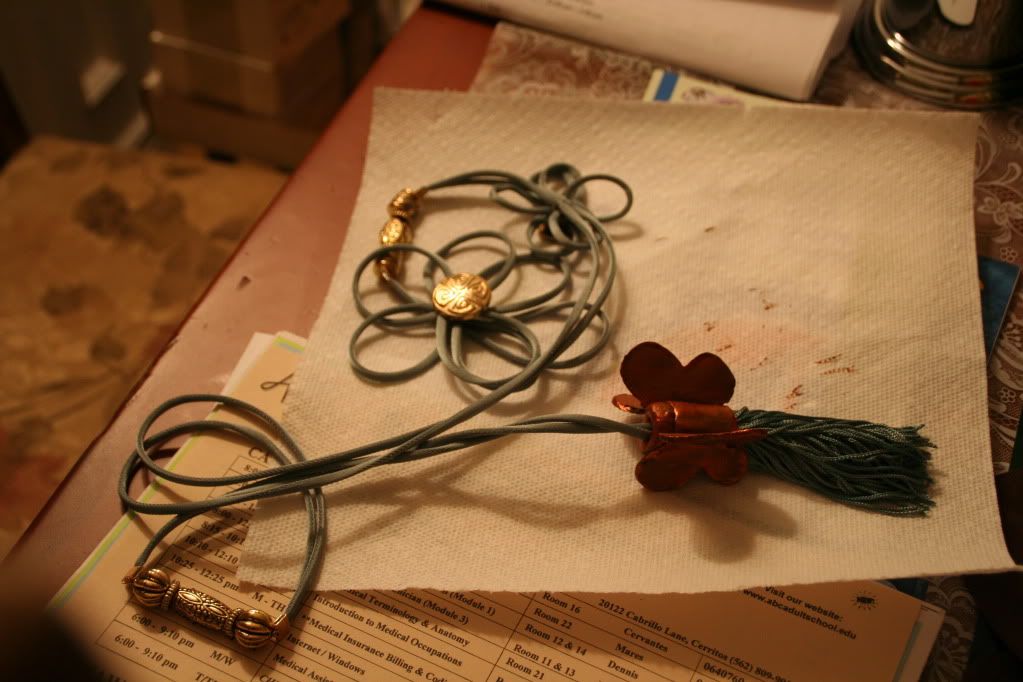
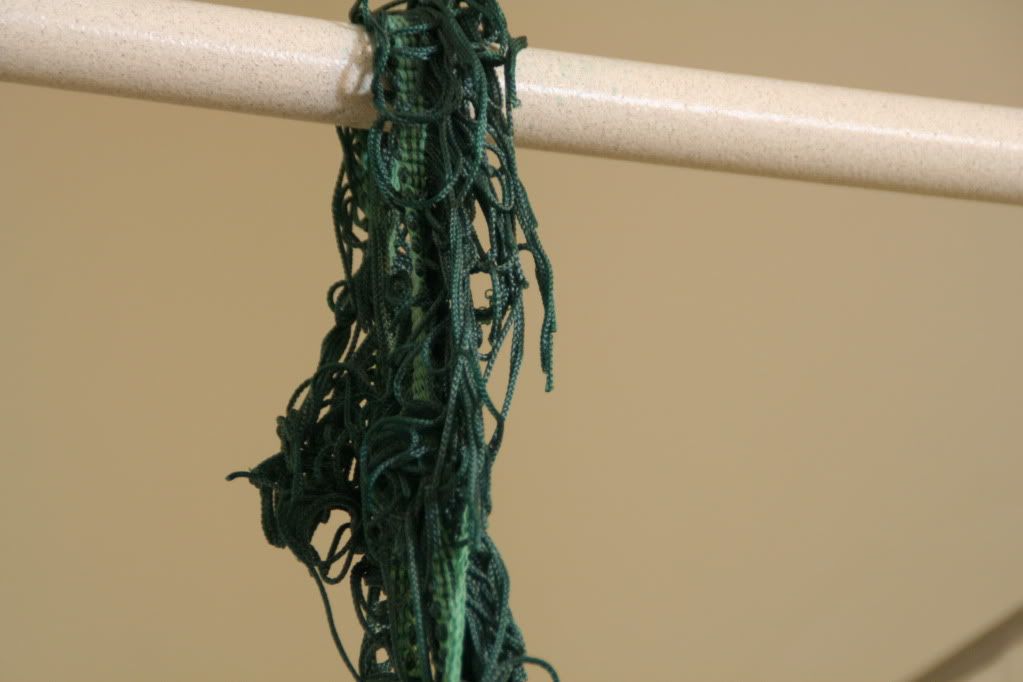
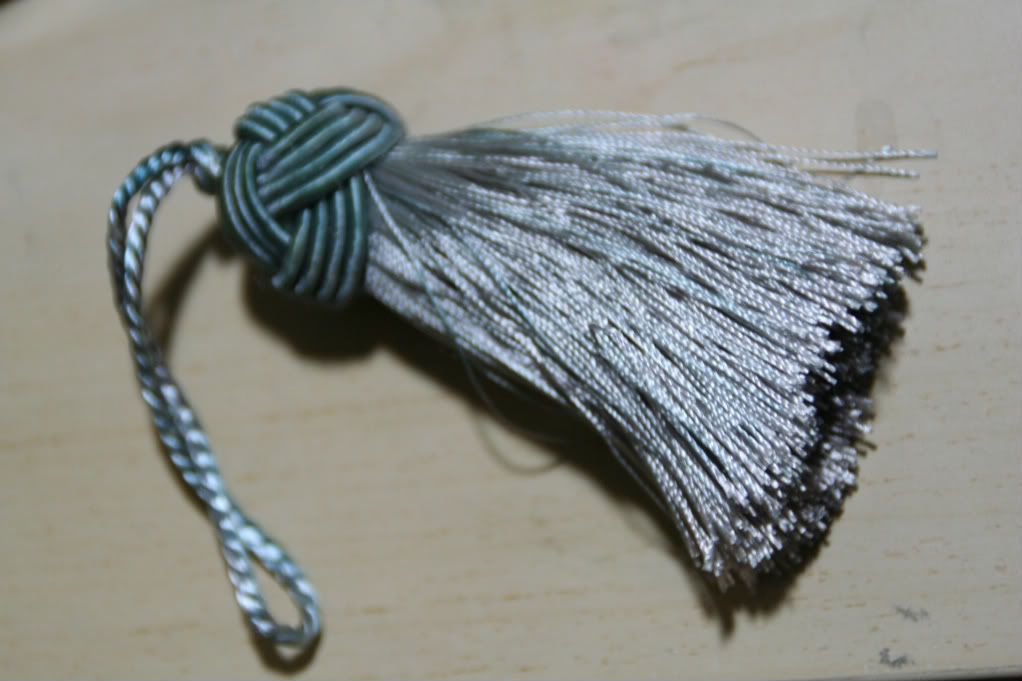
I didn't mention that I had to dye the TASSEL of this belt a total of 4 times. The first time was a complete failure as the tassel didn't absorb the dye properly. The 2nd and 3rd times, I bought fringe and dyed that. The fringe wouldn't take the dye, instead becoming a really dirty, mold color. During my 3rd trial, I realized that the color completely washed out during my final rinse, but the color stayed vibrant during the dyeing process.


Left: A trim that did not take the dye properly (I didn't show the result);
Right: The fringe, before dyeing


The 2nd time I dyed the fringe


The 4th time, unwashed

So for my 4th trial, I did not wash the fringe. I am surprised the color came out this close to the belt, which I dyed in a separate trial.

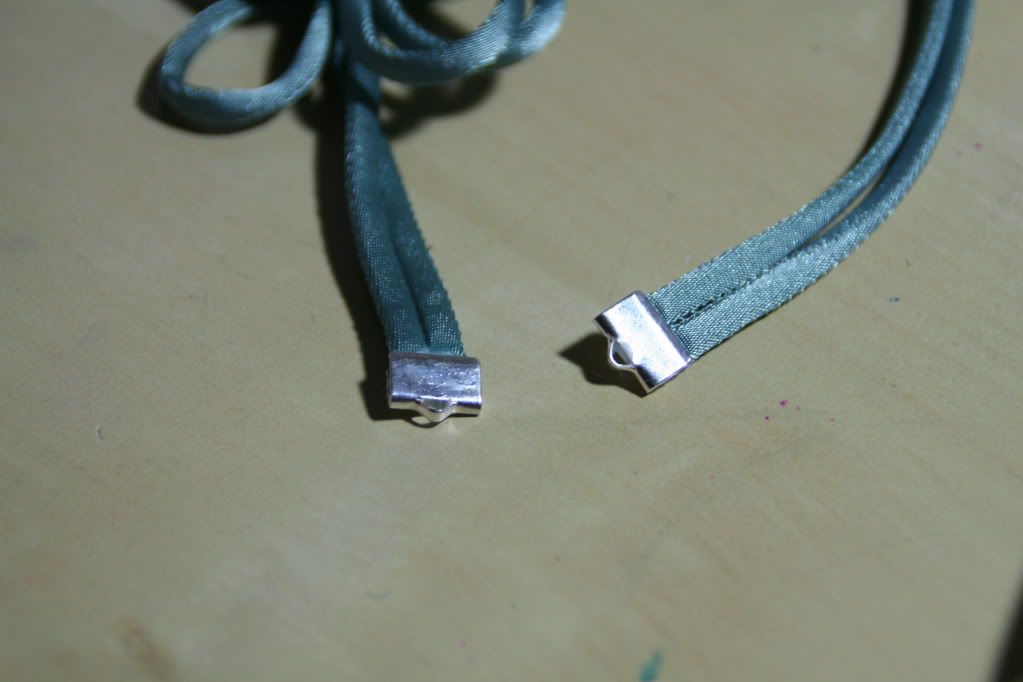
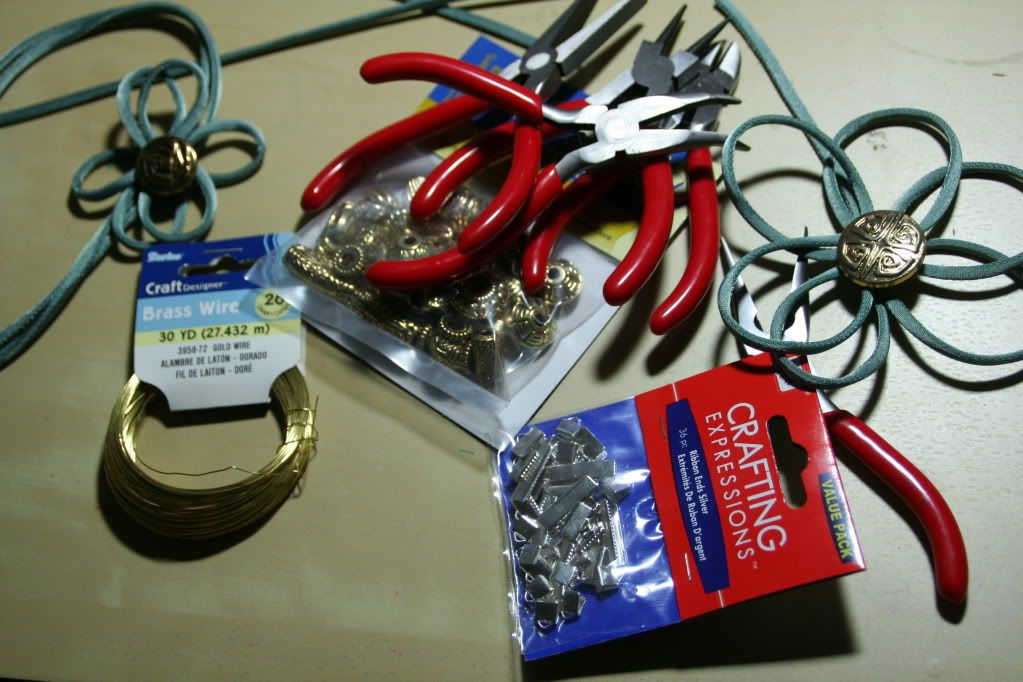
Next, the reference photo I had did not depict the details entirely, so I was free to interpret the front of the belt. I sewed buttons to the center of the flowers I had sewn, and glued, then clamped ribbon ends to the sections I would be adding beads to.


You can see that the color is a lot lighter after it's dried.


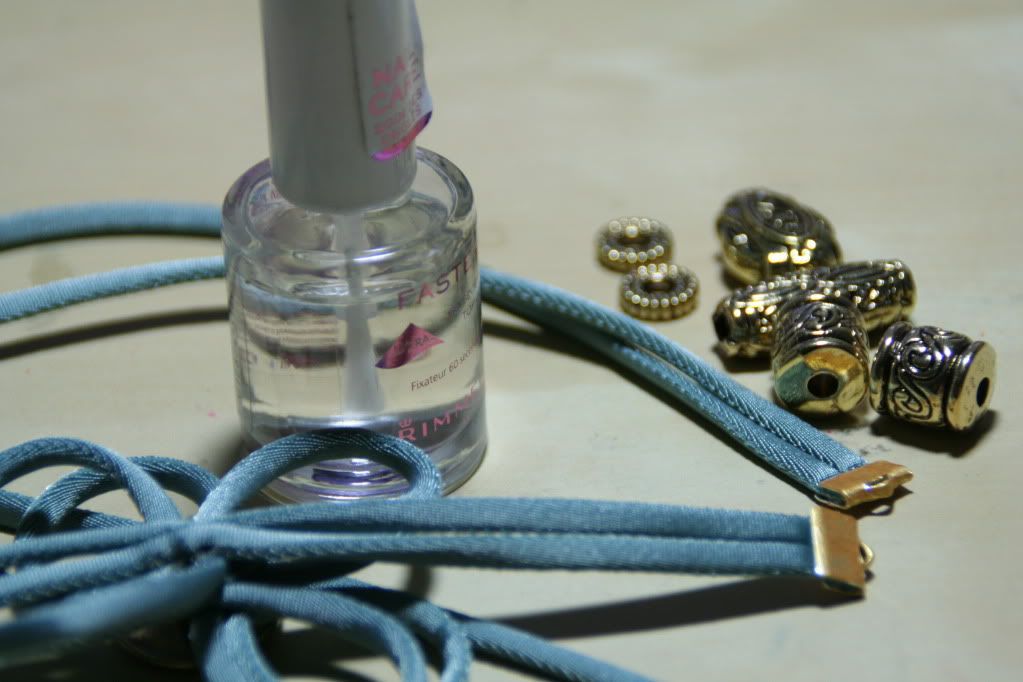
I could not find golden ribbon ends to match my beads, so I had to paint them with 2 coats of acrylic paint, then I used clear nail polish (2 coats) to add some shine to the ends. I used a thin brass wire to string the beads.


Just regular old Rimmel top coat!

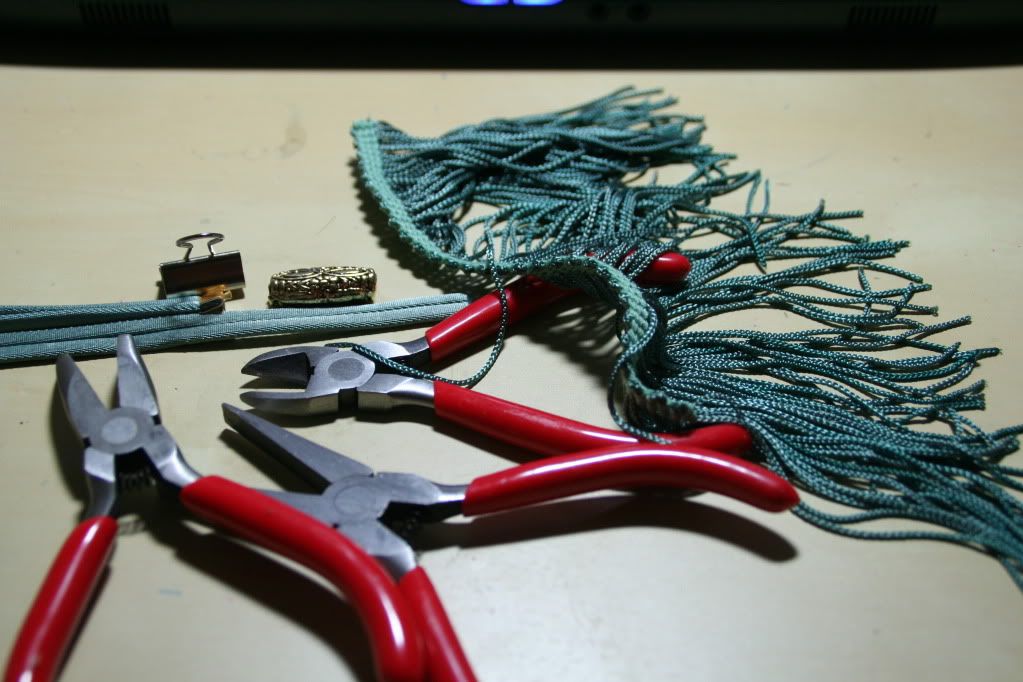
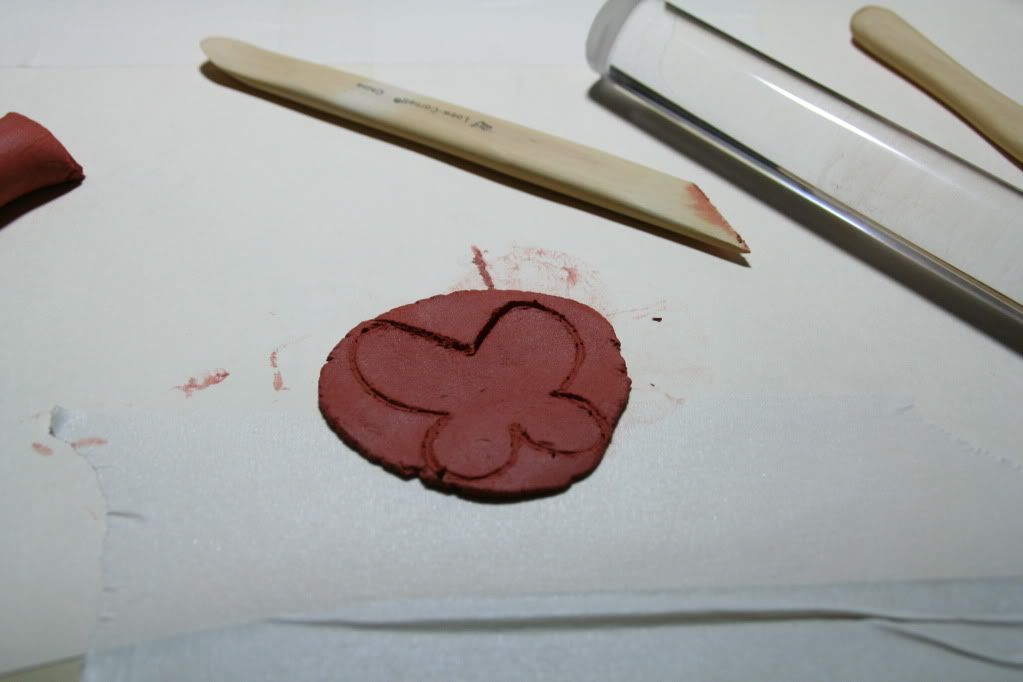
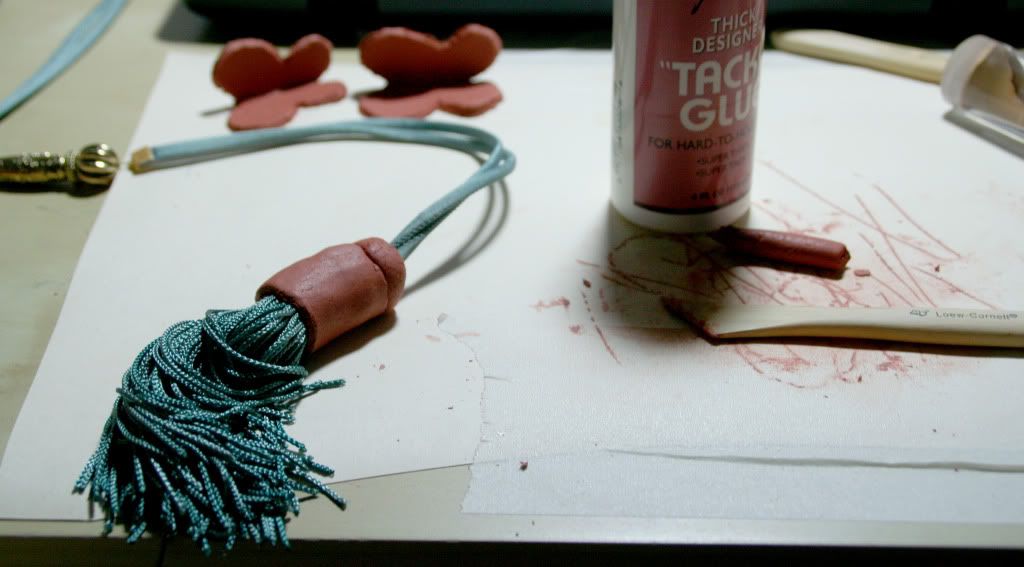
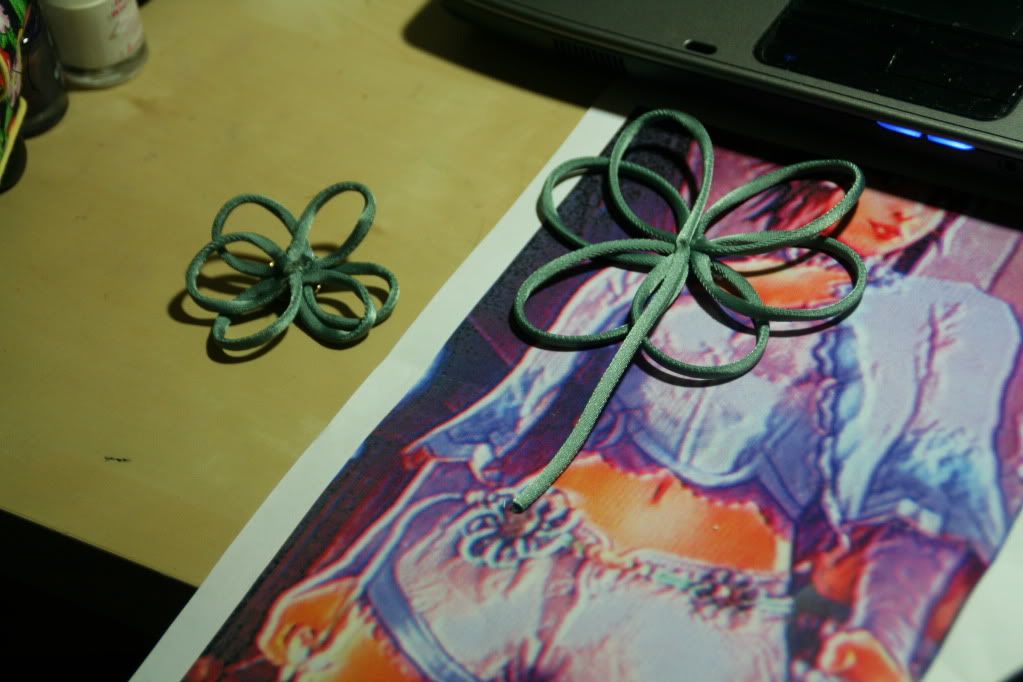
Since it was near impossible for me to find the exact type of tassel for the end of the belt, I had to sew the fringe to make a "fake tassel". Luckily there was a butterfly decoration where the belt would connect to the tassel, so I pulled out the clay again, and glued all the pieces together.


20100527

smelly flower (xianghua), belting it out

With only a few elements left to complete on this costume, I am very excited to finally wrap up this project that has sucked my life away for the past 3 months.

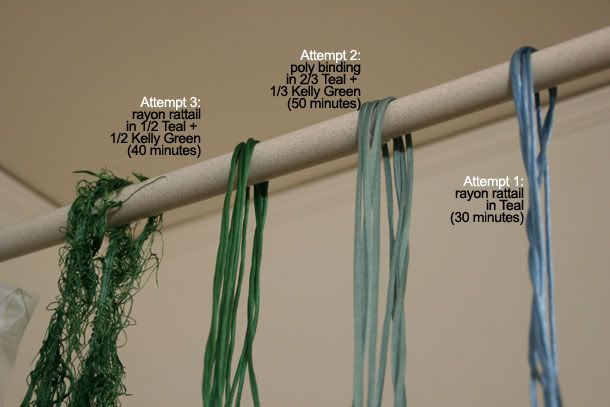
That being said, I was frustrated when I had to dye the belt trim 3 times. I decided to use a 100% rayon rattail trim, which is about the same material used for Chinese knotting. However, seafoam rattail doesn't happen to be sold anywhere... which is why I decided to use the 100% rayon--it would soak up the dye better than a nylon or poly trim.


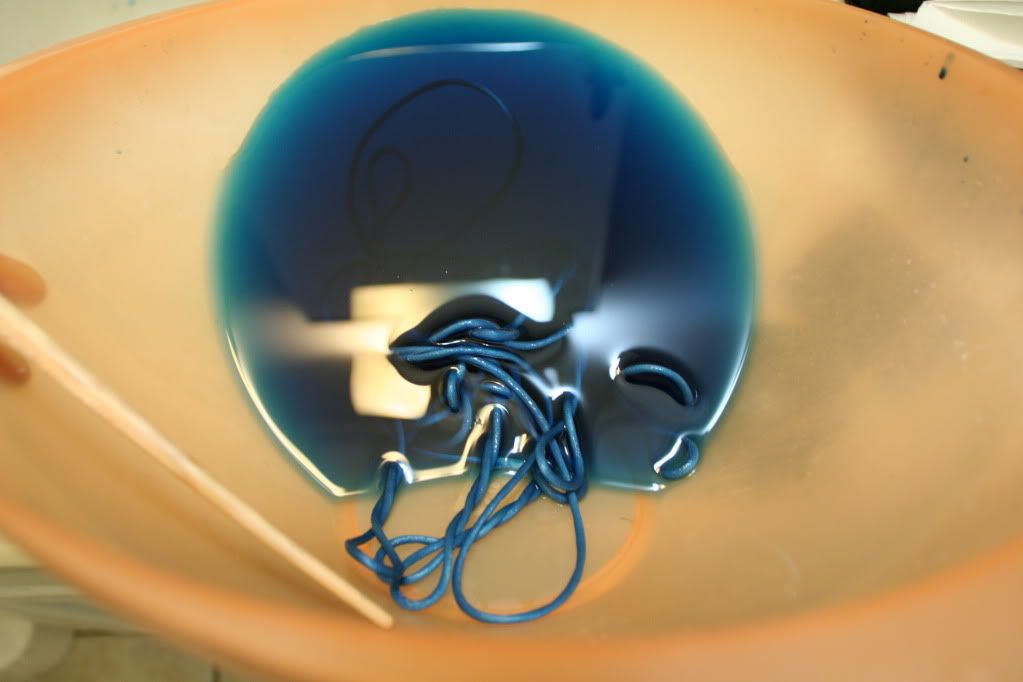
College-student-style, hand-stirred in hot water for 30 minutes.
I have been watching D.Gray Man while stirring. Because watching an anime about exorcists
is the best accompaniment to dyeing trim.

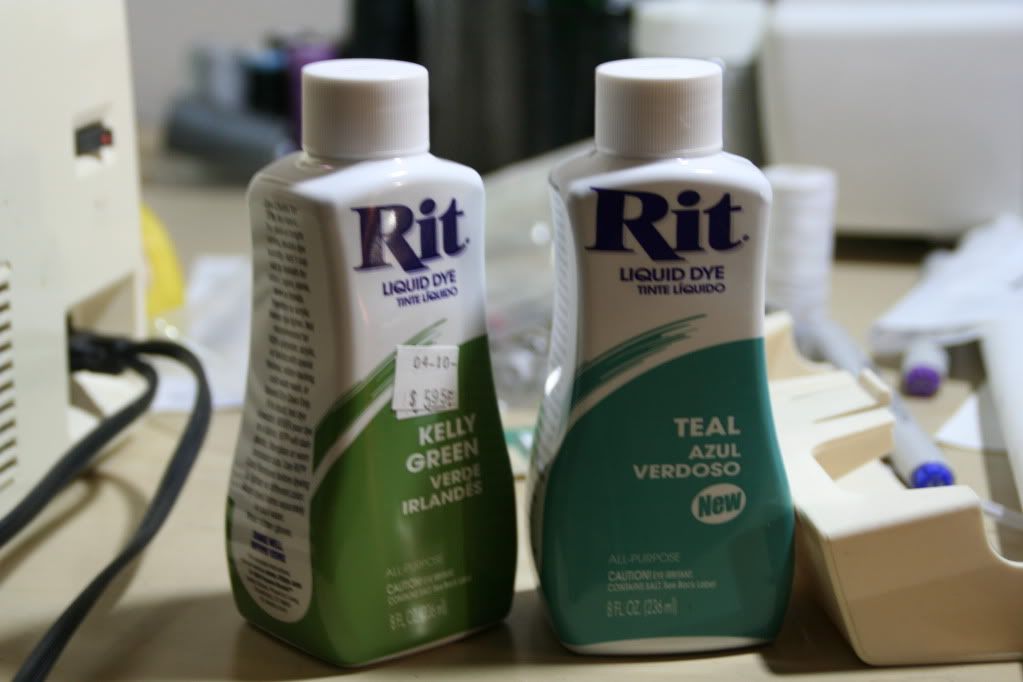
Unfortunately, my first attempt (below, on the very right) was too teal. I had bought RIT Liquid Dye in Teal, and thought the color would be ok. But that was just me being lazy, I really knew I had to mix in some green... anyway, I went to a different fabric store and picked up some Kelly Green, along with more rattail trim to dye the second time.


Welcome to my bathroom.

Instead of rattail trim, I picked up a thin polyester binding to test out. I had to stir this trim for about 50 minutes in order to properly absorb the color. At the same time, I decided to dye the tassel for the end of the belt at the same time. 50 minutes later, the color was a weird, faded green and the tassel didn't dye very well. The poly was also not very shiny=no good.

The next day I decided to buy the rayon rattail again, and redyed it using a little more green this time, and included a rayon fringe to replace the failed tassel from the previous night.


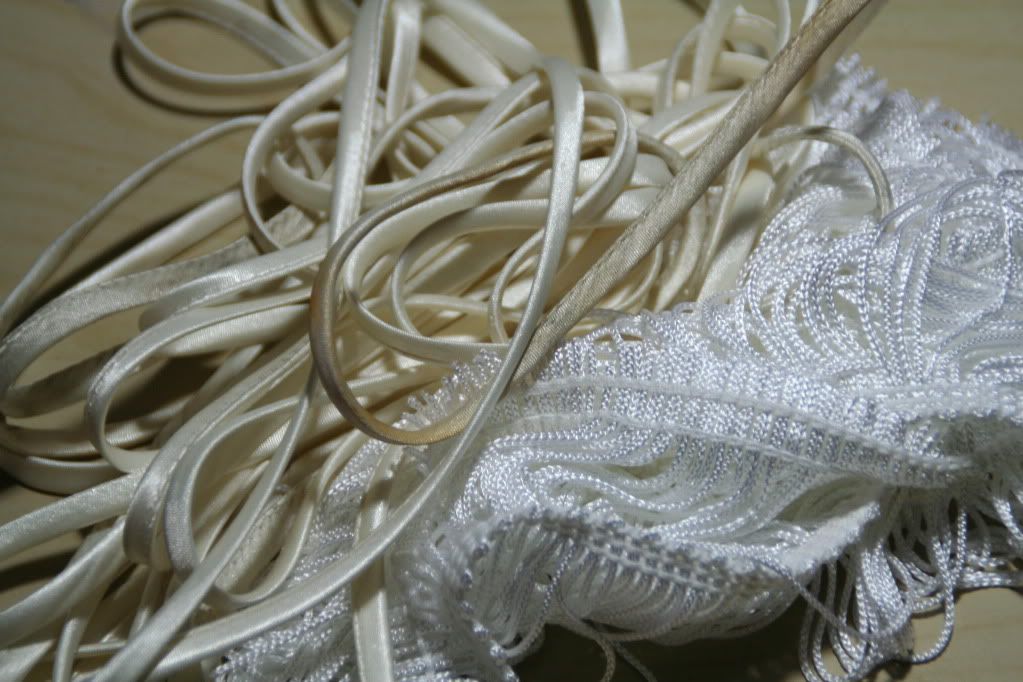
I bought this in ivory. I don't know what this is anymore.

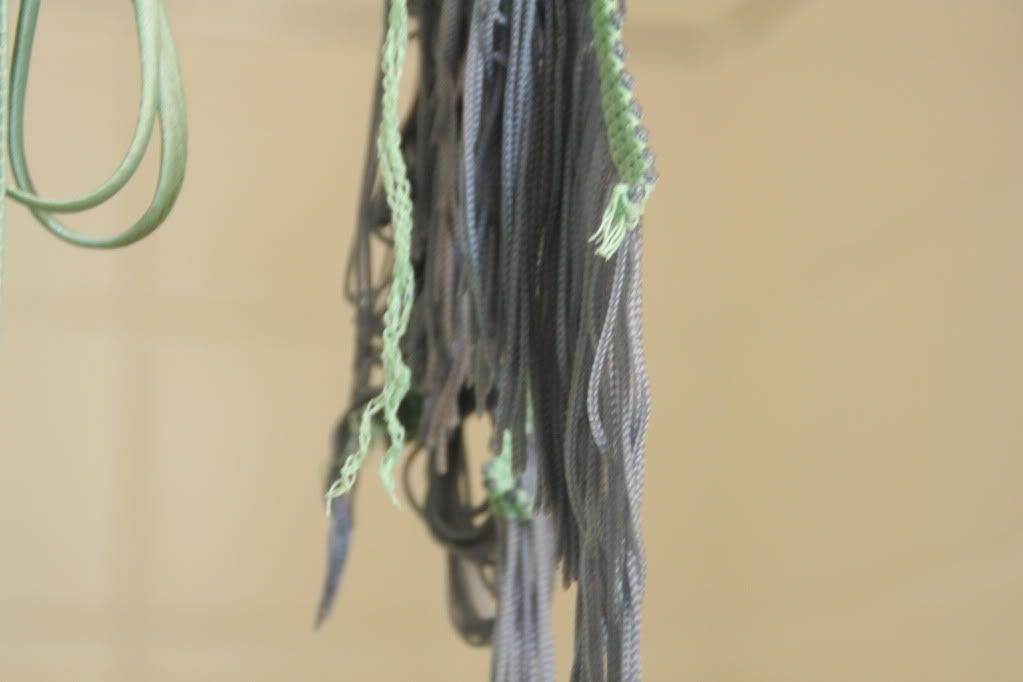
As you can see in the photo above, on the very left, the fringe and rattail are too green. If you look at the trim in the center, the color is correct! I guess it just had to dry overnight! Sweet.


This was the poly trim.

20100520

smelly flower (xianghua), along the edges

I can't put my finger on the number of hours I already spent on this jacket.... most notably, these scalloped edges are making me quiver on the edge of my sanity.

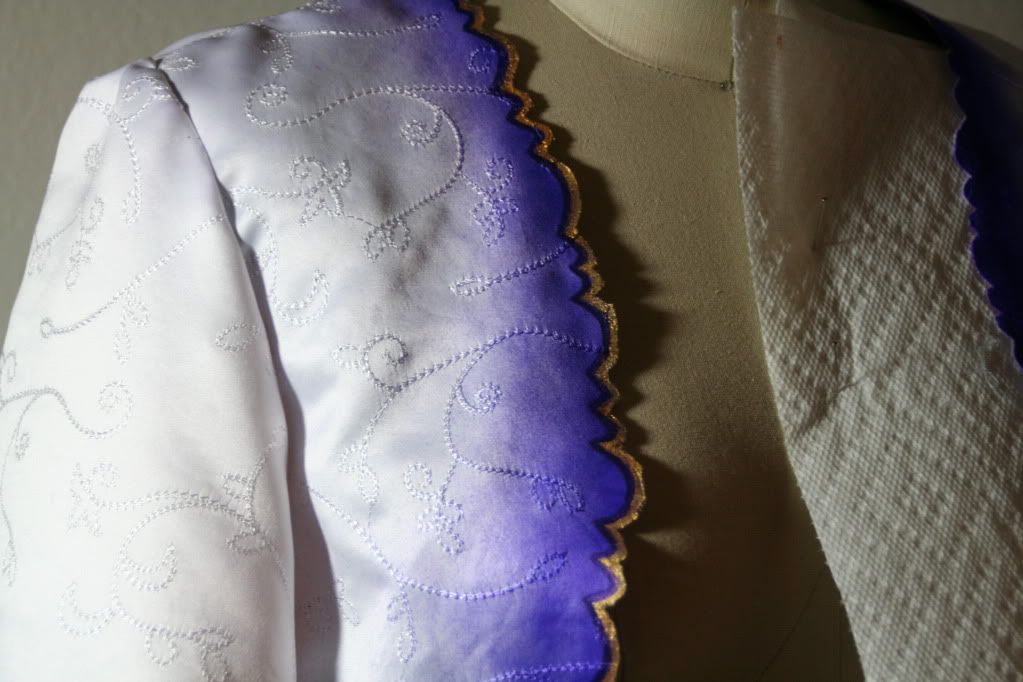
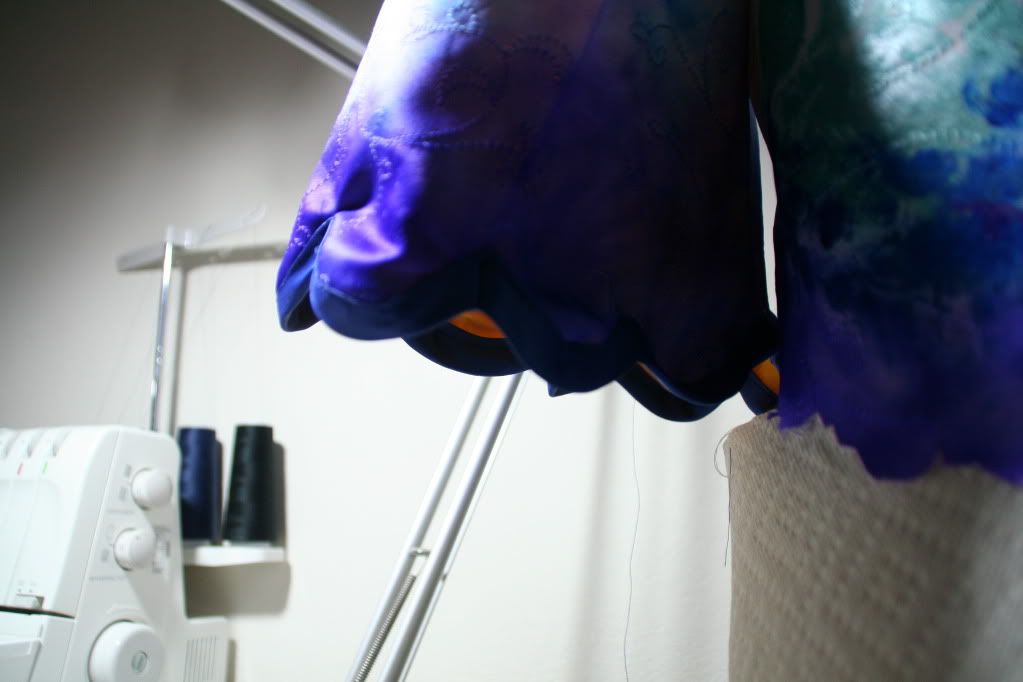
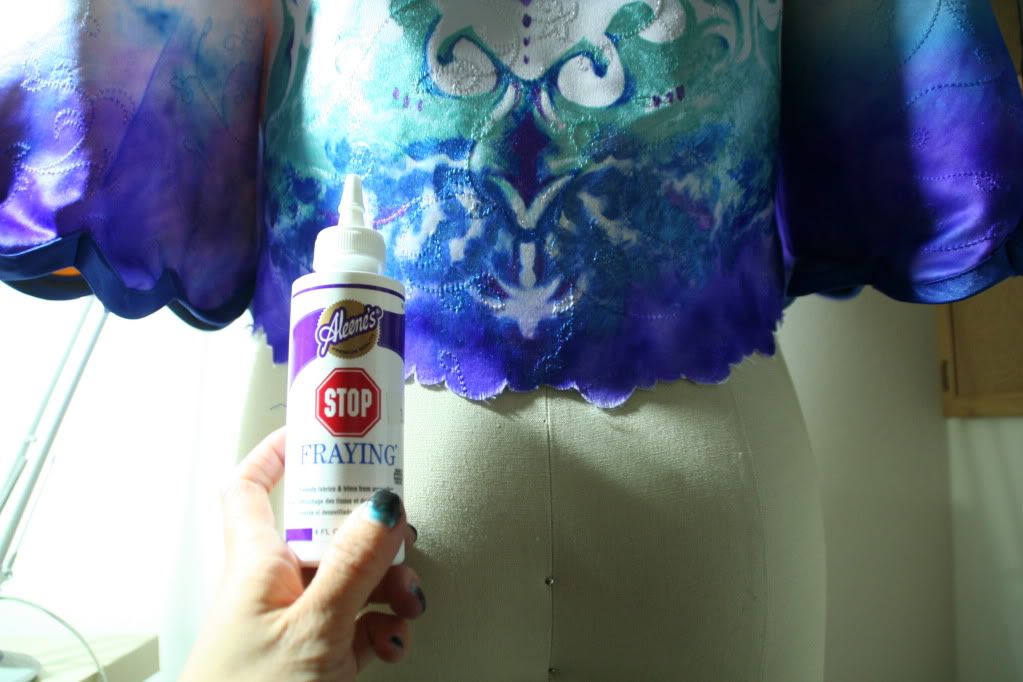
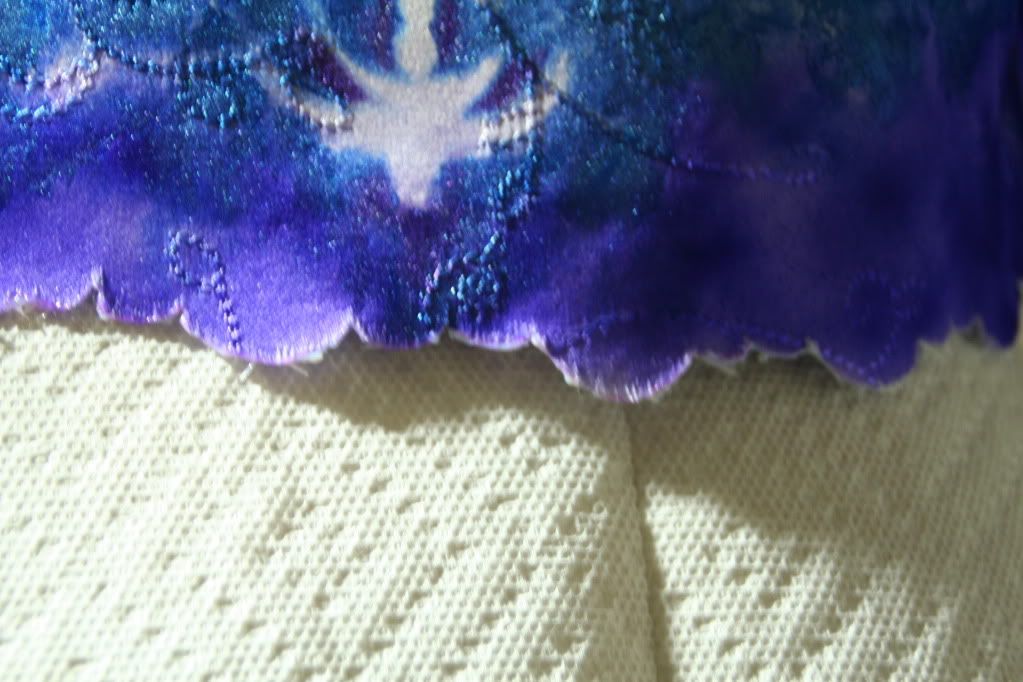
As mentioned in my previous jacket post, I used Aleene's No Fray glue to finish the edges.

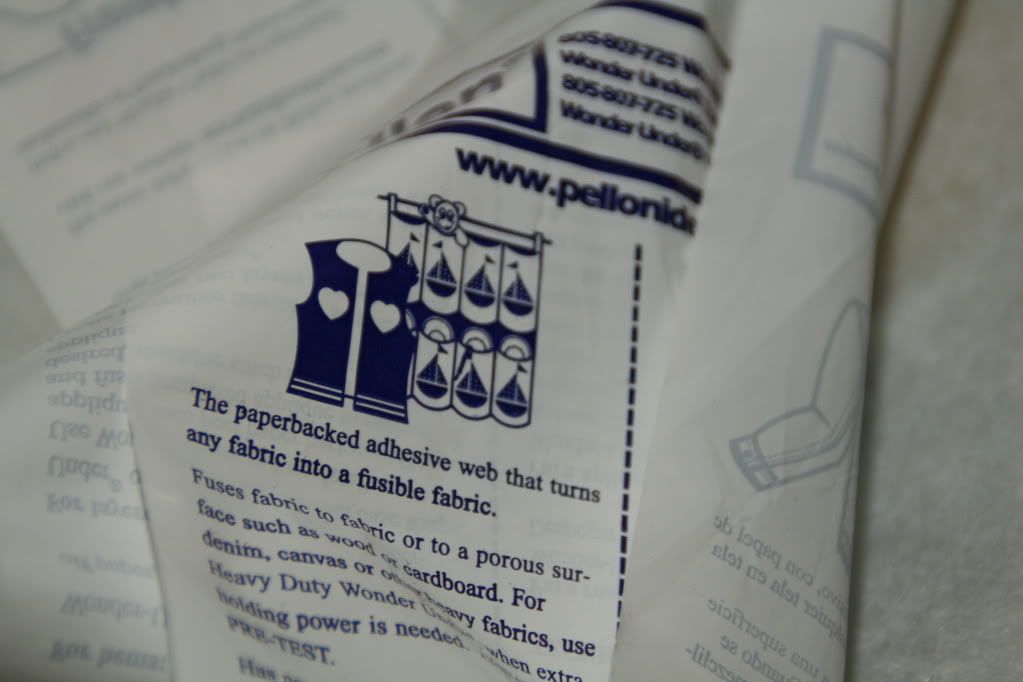
Attaching the lining and outside pieces along the center front were another problem to tackle... I couldn't very well sew them together, and I really did not want to use glue. For some reason I thought there might exist a "double-sided" fusible/interfacing, so I randomly googled (I'm aware that "googled" hasn't officially been integrated into the official American dictionary yet) this term, and sure enough, it DOES exist. Its primary use is for applique, and its alternate name is "Wonder Under". I used this to bond my fabrics together.


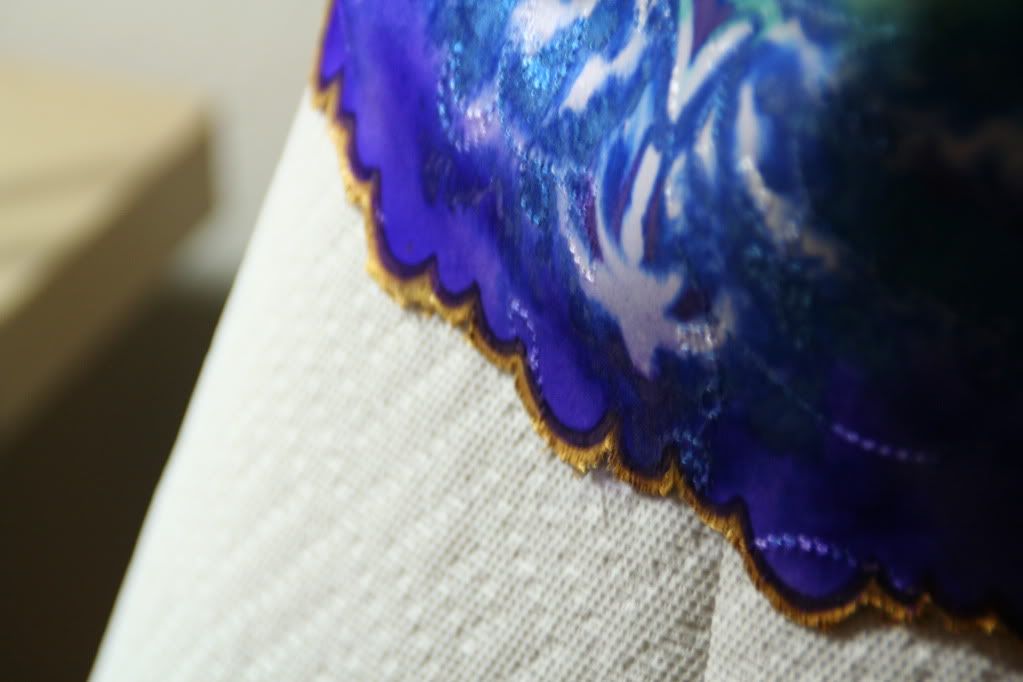
The edges were too fine for me to bind off, so I actually just painted the edges with the same acrylic paint I used for my sword and choker...the purple paint is the Jacquard Lumiere fabric paint.


20100519

who wears short shorts?


If I were a martial arts/sword-master, short shorts wouldn't be my ... ideal choice of clothing to allow for ease of movement. Anyhow, let's hope I don't really do any type of martial art in these.

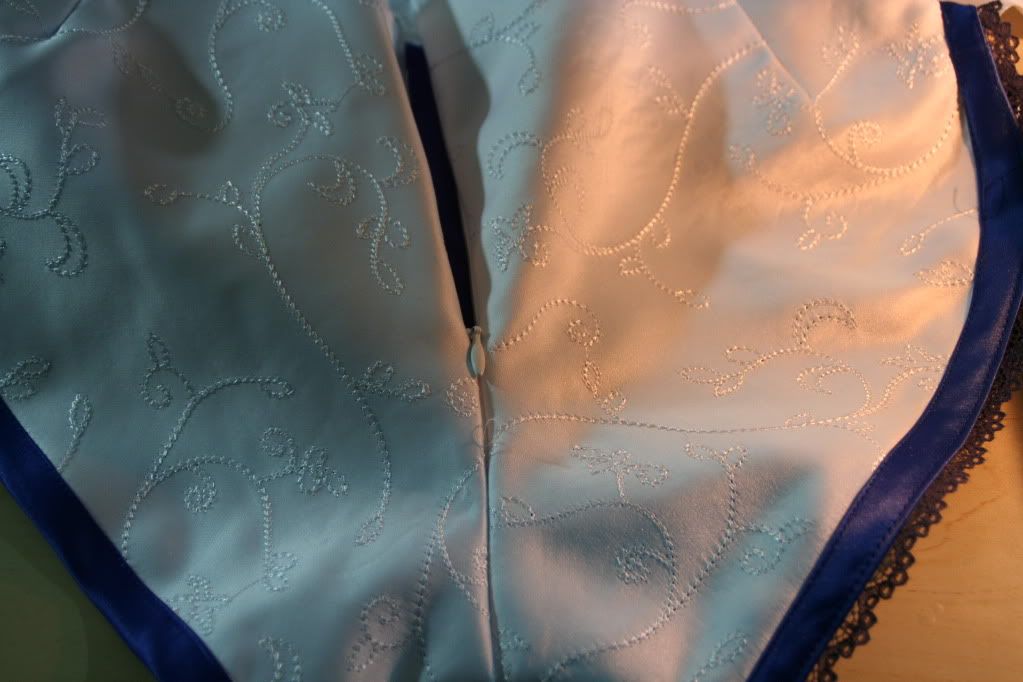
Naturally, an elasticized waistband would be the easiest way to construct these shorts, but the shorts appear extremely fitted. They're also outrageously short, so I debated where exactly to put my closure, and what type of closure to use. I finally settled on an invisible zipper along the center back.


Trust me. This is OK. I squatted, did some lunges in them and nothing happened.

I used 2 types of bias binding for this: the fabric itself and the same blue I used for the bustier.


Yeah... that lace again...

Here is the shape.... it's basically a super fancy diaper?!


20100429

smelly flower (xianghua), jaketto

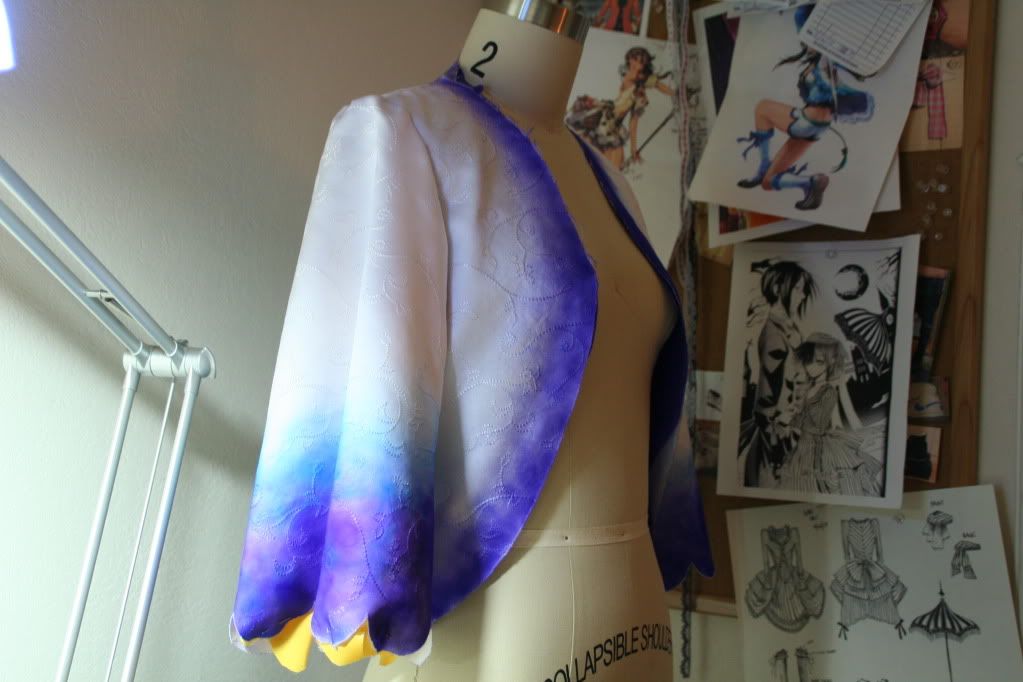
As mentioned in the previous post, I'm not a fan of scalloped edges. And as I mentioned also, there are pretty much only scalloped edges in this costume... especially on the jacket. Sigh.


(the front scallops haven't been cut yet)

I didn't realize that it took me an hour to do the scalloping on one sleeve (cutting, ironing, pinning, more ironing...), and it wasn't exactly perfect for me. I now felt a little intimidated by the front edges of the jacket, because the scallops are so fine and the shapes, a little more irregular.


Luckily, I found this at the fabric store!!!


Thank you Aleene, again, you have made my life easier. No fray glue! So what if it took me an hour to cut the scalloped edges? I don't have to bind them. I would rather apply this glue to my raw edge any day than bind off these edges!


Though, it is too bad I didn't pick up this glue before I singed the edges from my chiffon overlay.

20100426

smelly flower (xianghua), bustin' out

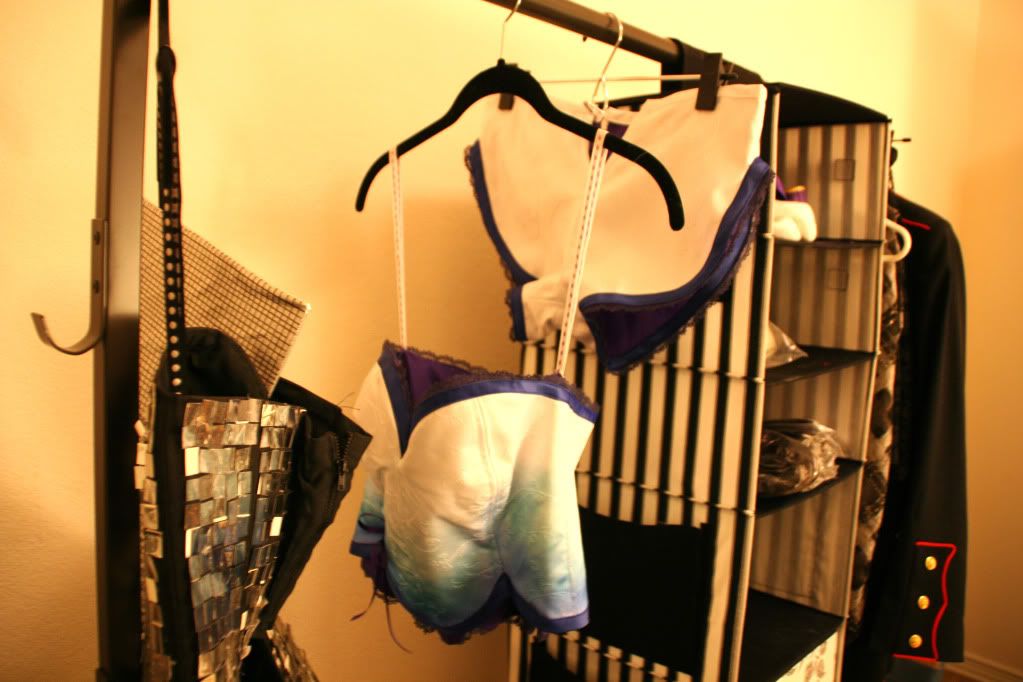
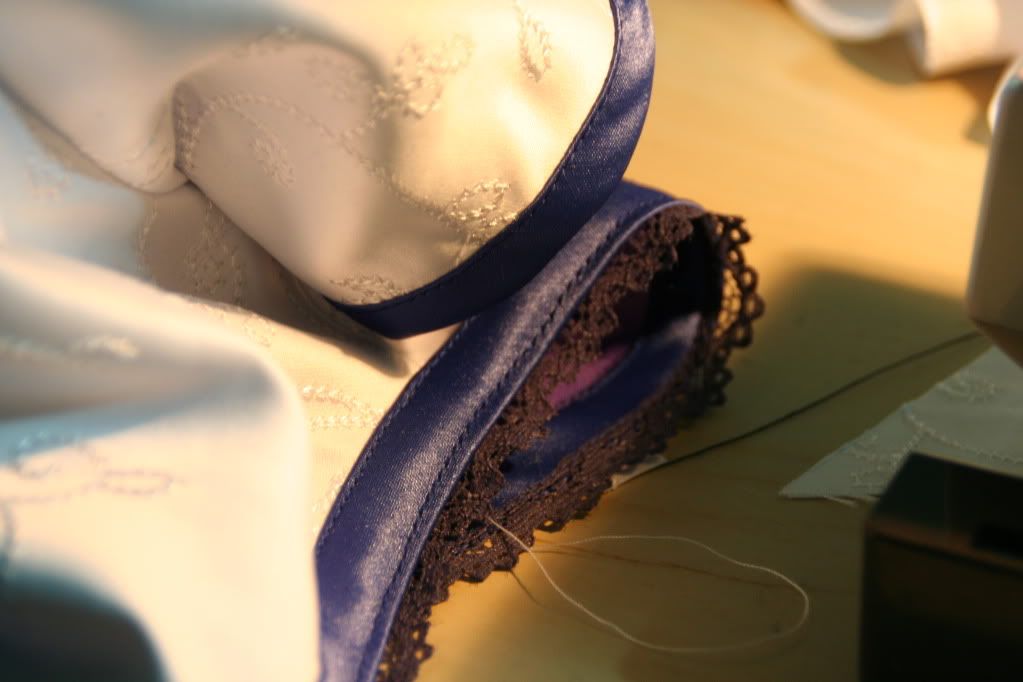
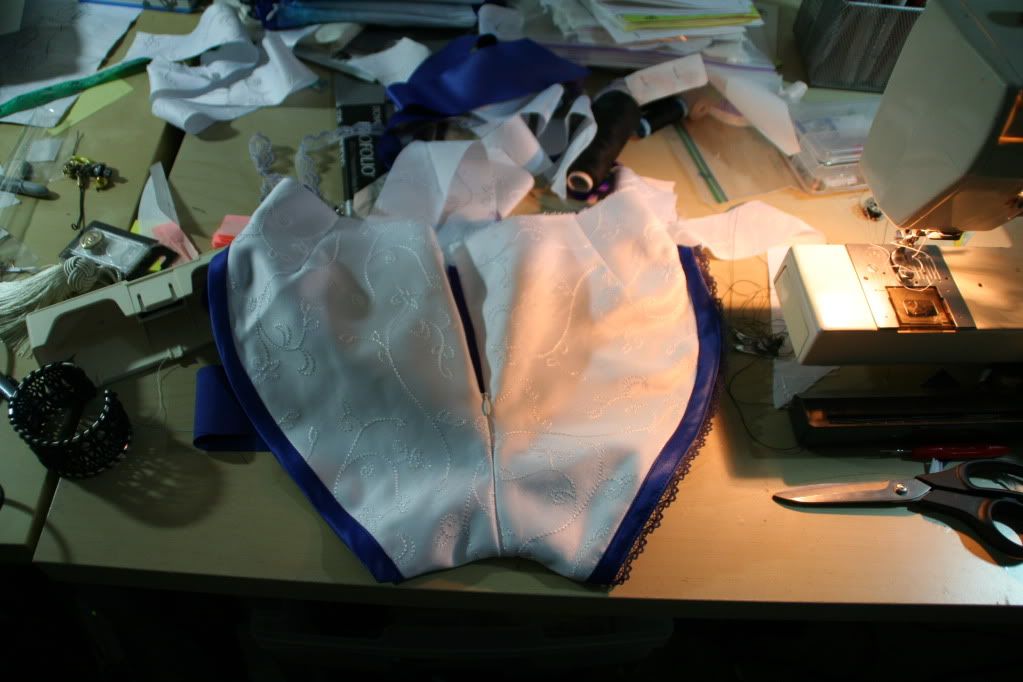
So I wasn't going to post about the making of the bustier either, but it took me about 7 hours to construct it, which probably deems it worthy of its own blog post.

This was supposed to be the easiest part of my costume, but I underestimated the amount of work that would need to go into it... the binding, the lace (yeah, that lace that took me 2 hours to DYE.), the airbrushing.... I also messed up at one point and that cost me an hour and a half. But even as I'm pulling my hair out, if I wasn't pulling my hair out at some point in this costume, there would be no reason for me to work on it.

This bustier was comprised of 3x the number of components compared to my Lady GaGa costume. Compared to this costume, my Lady GaGa costume was a cinch. This current costume is probably edging towards 150 hours. (also 2x the amount of time I spent on the GaGa costume) I haven't even finished sewing the shorts or jacket yet. I spent too much time on the little details in the beginning and should have focused on the major components of my costume, but at least now I know how to balance my time between accessories and the clothing.

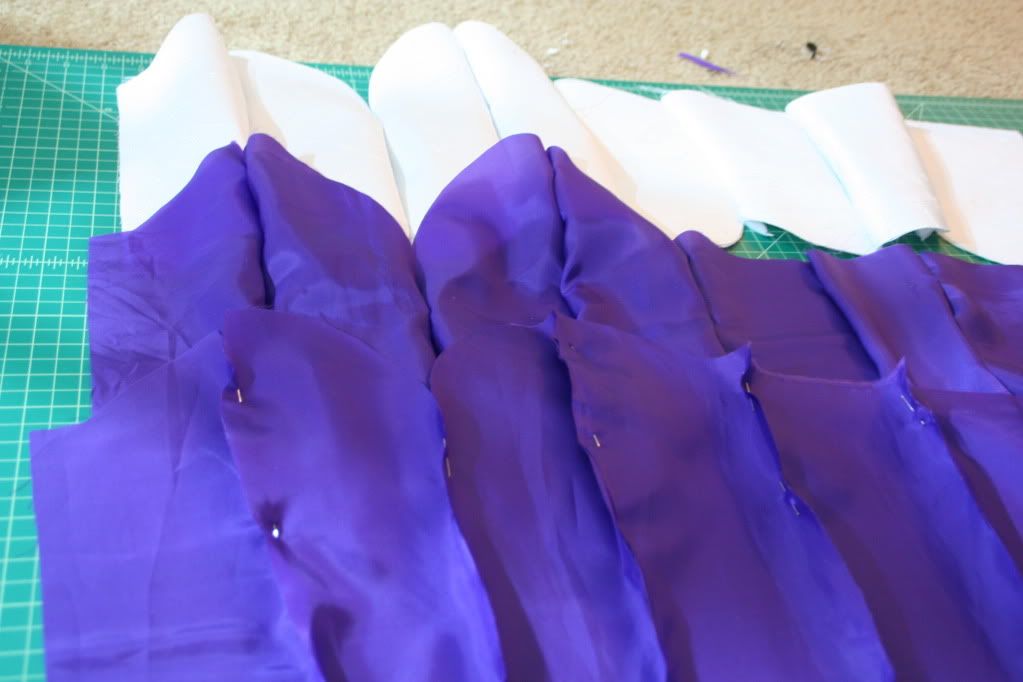
The bustier is made up of 3 parts:
1. Self fabric
2. Lining top
3. Lining inside


If you noticed in my sketch reference, the lining (or what I'm calling the lining) is longer than the self. I hate seeing messy, unlined reverse sides, so I cut another piece (lining 2) so I could conceal all my stitching. Also, I needed this second piece to create a casing for my boning.

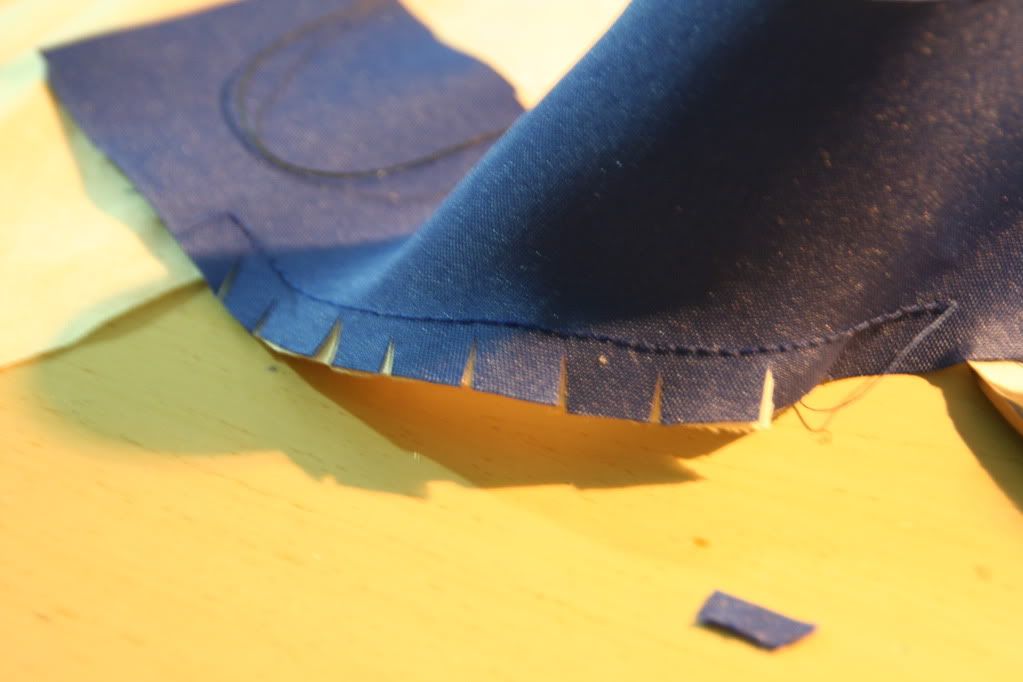
I had the most difficult time sewing the scalloping at the edge of the lining. The first time I sewed it, the scallops weren't obvious enough (the curves were not very visible). I had to rip out the entire seam and restart. I reshaped the scallops, cutting them deeper, and left a 1/4" seam allowance to clip and properly finish the edges. That part alone took me over 2 hours. I am not a fan of scalloped edges now. Unfortunately for me, every other edge on my costume is a scalloped edge.


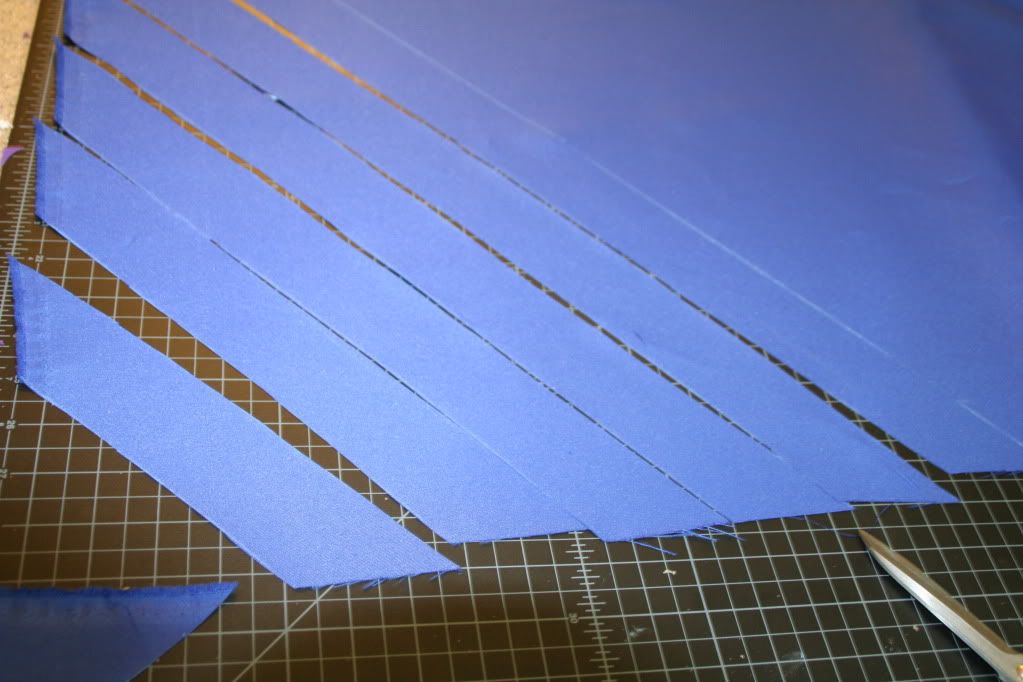
Here, I'm cutting the bias binding from an ultramarine poly satin. You can buy pre-packaged binding at your local fabric/crafts store, but I needed a specific color, texture and width. I usually like to coordinate the color or texture with the rest of the garment, so I prefer to make my own binding if I'm looking for something in particular.


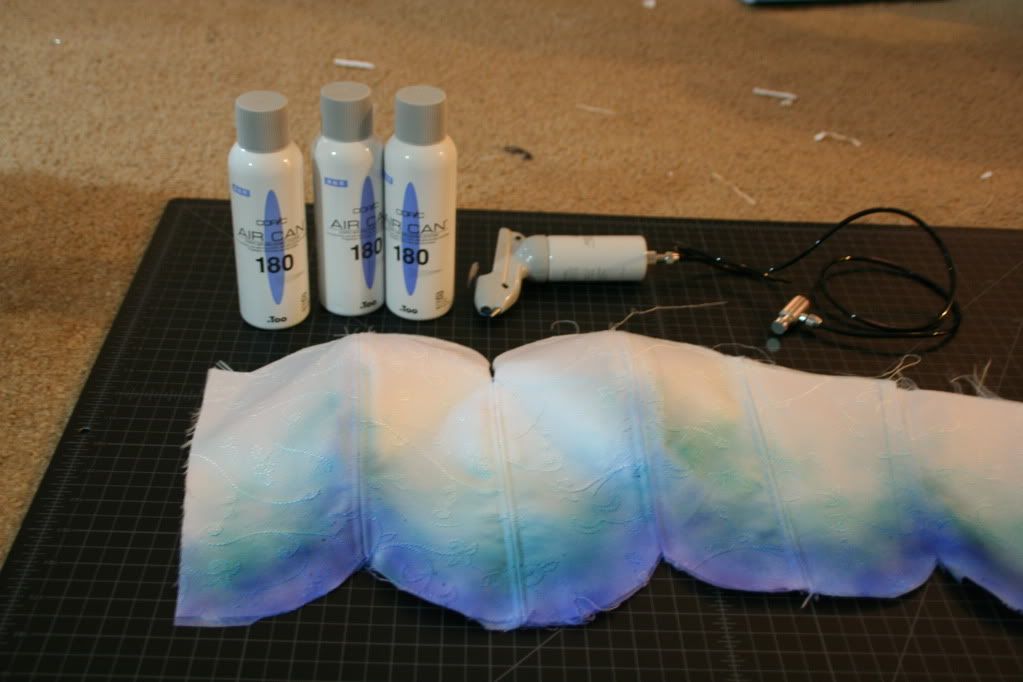
The airbrushed bustier. I used a total of 3 air cans so far. I switched back and forth between the air cans and air compressor, because my compressor actually was not at the correct pressure for use with Copic markers and that made my life very difficult. You can read about the Copic markers and airbrushing system here.

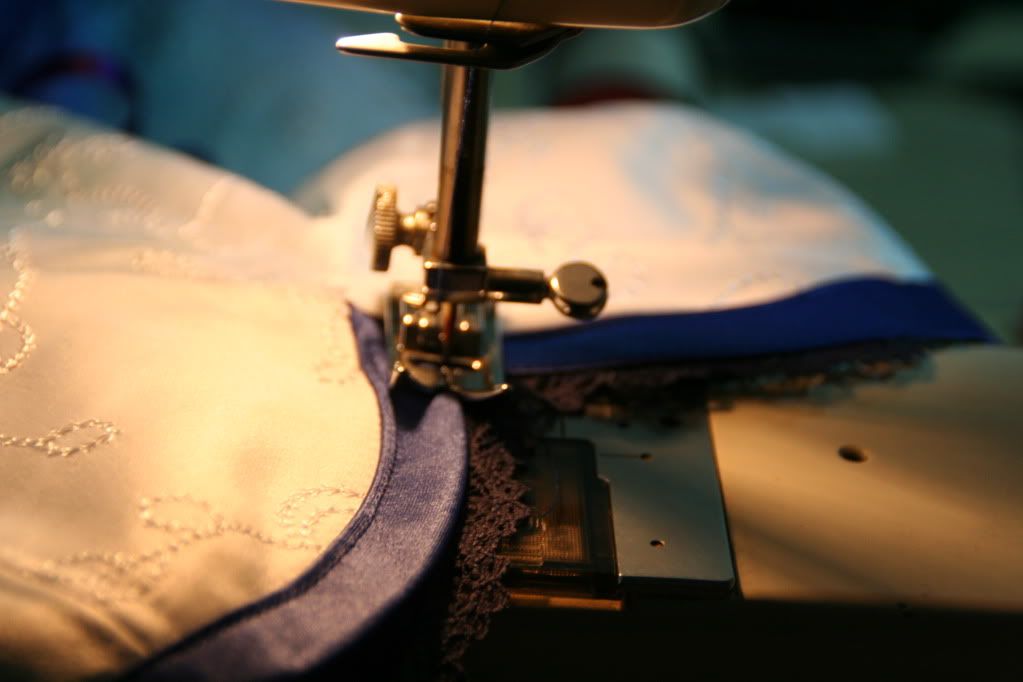
I sandwiched the lace between the lining and self at the top edge...


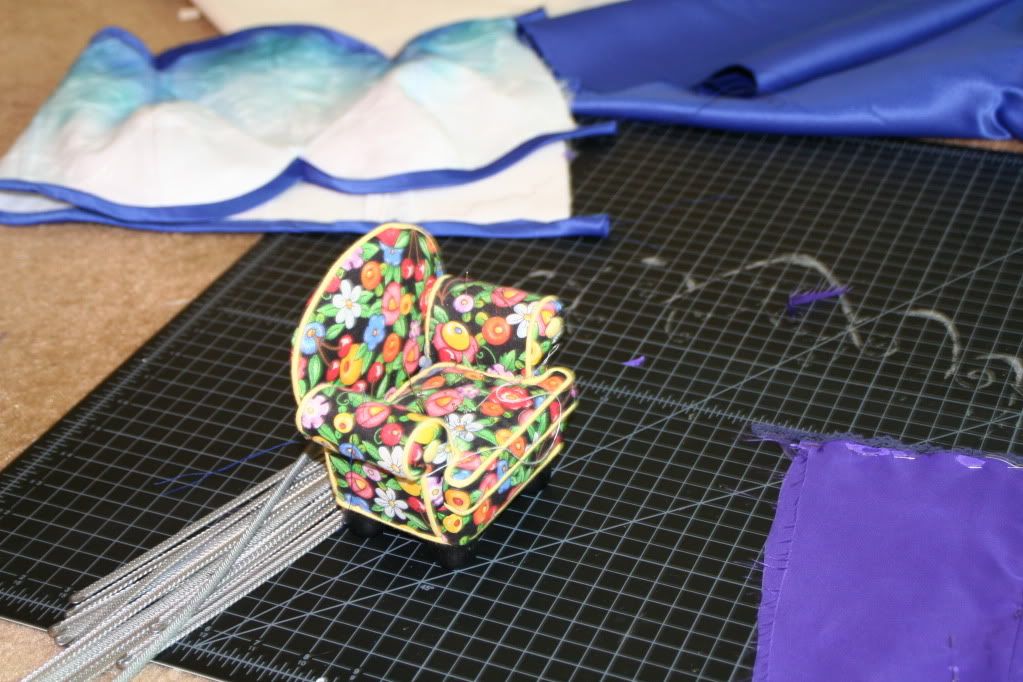
Oh, and here's my pincushion, in case you ever wondered.

20100423

smelly flower (xianghua), a-stir

I wasn't planning on posting about the trim on this costume, but I thought it would be worthwhile to share my little foray into dyeing trims.

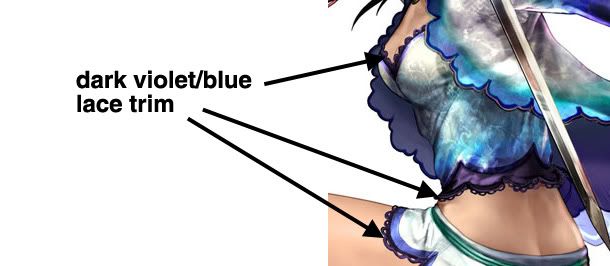
After trips all around the shops on Maple Street in downtown and Mood Fabrics, I couldn't find the dark violet/blue lace trim I needed for the bustier. I found a white that I loved, as well as a lilac that I felt was a close second. Since I don't have much time left to finish this costume, I thought I could settle with the second lace.


But when I matched it to my bustier lining, the color did not complement it as I had hoped, so I either had to look for another lace in the dark violet/blue, or dye my lace.

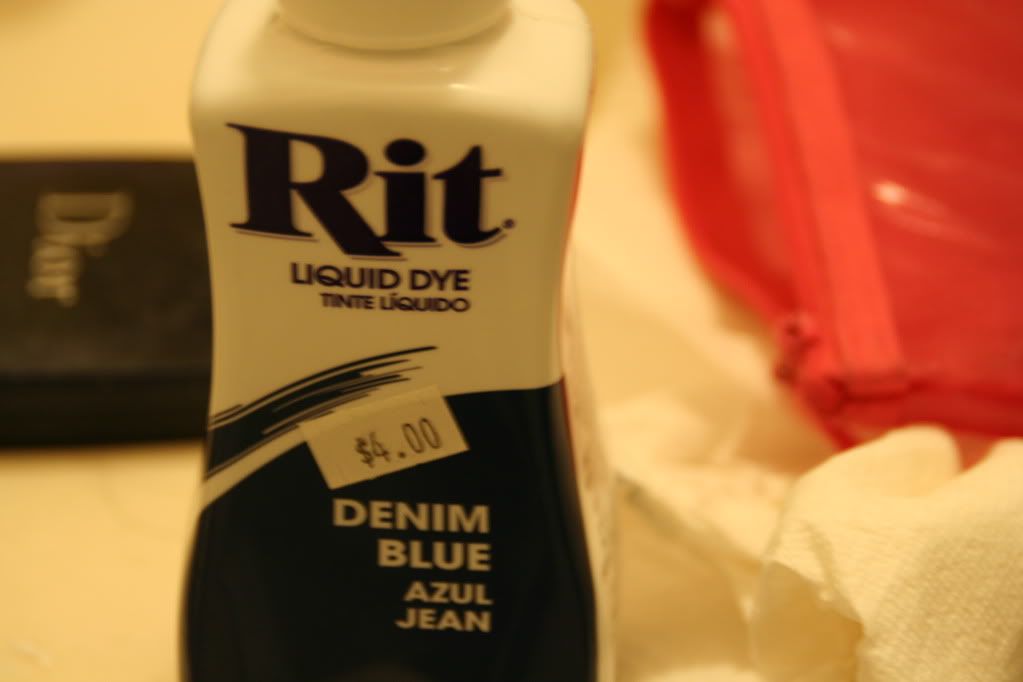
I bought a bottle of RIT dye a while ago for another project I didn't finish, in a dark denim color. I wasn't sure if my trim would absorb the dye properly, since neither of my trim were of natural fibers. They were both nylon / nylon blends.


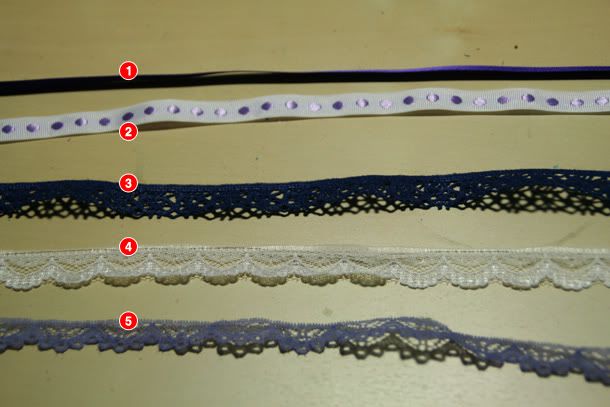
I previously bought 4 yards of the lilac trim, because I "settled" (meaning, I got lazy and didn't want to bother with dyeing the trim), but went to look for a back-up in case the trim didn't absorb the dye. I bought the dark blue and 4 more yards of the white I liked. I don't like the pattern of the dark blue but the color is closer to my ideal.


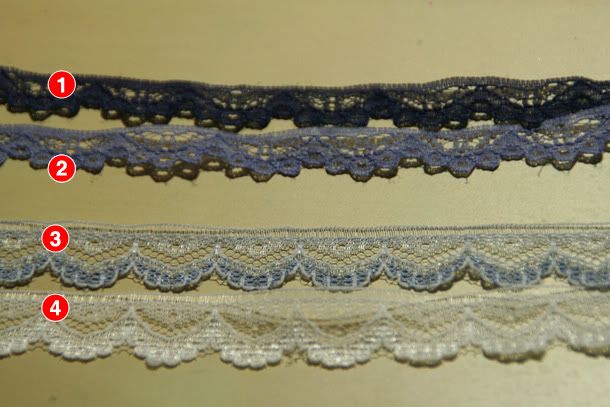
1. ribbon for the front of the bustier
2. hanger tape
3. dark blue lace. Don't like this pattern but it's the right color.
4. white lace. Love the pattern!
5. lilac lace. Pattern is good but it's the wrong color.

If you've ever hand-dyed anything, you know there's lots of agitation going on. I threw in my tiny, 13" piece of white lace and lilac lace into a small container, and stirred them nonstop for 30 minutes. A very boring, unexciting 30 minutes in which I forced my friend to entertain me over the phone, while I stirred my lace in the bathtub.


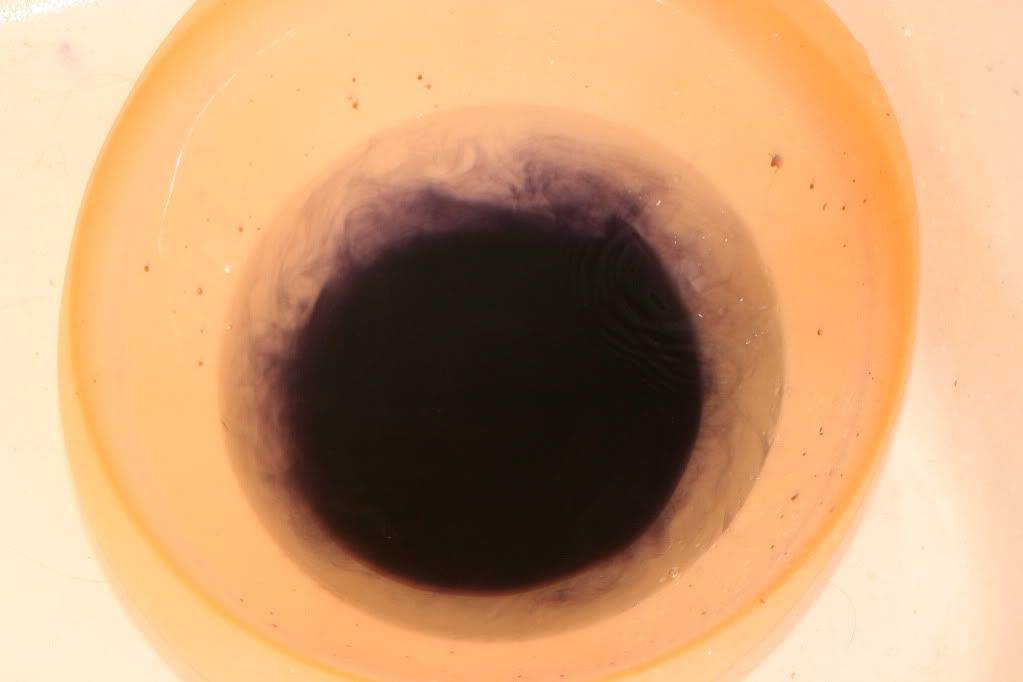
Dye mixed with HOT water.

After rinsing, washing and blow-drying the lace, I was overjoyed! Sad, I know, it's just lace. A 1/2" wide piece of trim people will blink and miss. But now you see this blog maybe appropriately named. In my photos below, the "before" lace and "after dye" lace.


1. Lilac lace after dye
2. Lilac lace before dye
3. White lace after dye
4. White lace before dye

The white did not take the dye very well at all. It must have been a poly/nylon blend, with more polyester.

The lilac probably had some cotton blended into it, because it took the dye but wasn't completely saturated with color. But guess what? THIS WAS EXACTLY THE SHADE I WANTED!

I quickly dyed the rest of the 4 yards I bought 2 weeks ago and stirred lace in my bathtub for another 40 minutes.

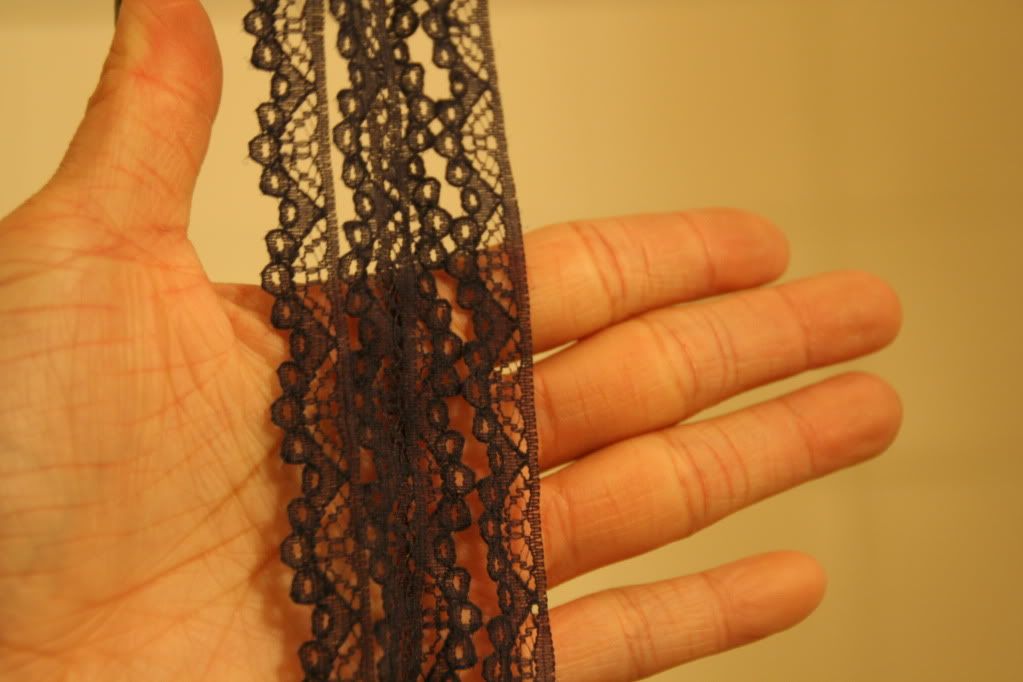
Here's the finished result: