
This was supposed to be the easiest part of my costume, but I underestimated the amount of work that would need to go into it... the binding, the lace (yeah, that lace that took me 2 hours to DYE.), the airbrushing.... I also messed up at one point and that cost me an hour and a half. But even as I'm pulling my hair out, if I wasn't pulling my hair out at some point in this costume, there would be no reason for me to work on it.
This bustier was comprised of 3x the number of components compared to my Lady GaGa costume. Compared to this costume, my Lady GaGa costume was a cinch. This current costume is probably edging towards 150 hours. (also 2x the amount of time I spent on the GaGa costume) I haven't even finished sewing the shorts or jacket yet. I spent too much time on the little details in the beginning and should have focused on the major components of my costume, but at least now I know how to balance my time between accessories and the clothing.
The bustier is made up of 3 parts:
1. Self fabric
2. Lining top
3. Lining inside
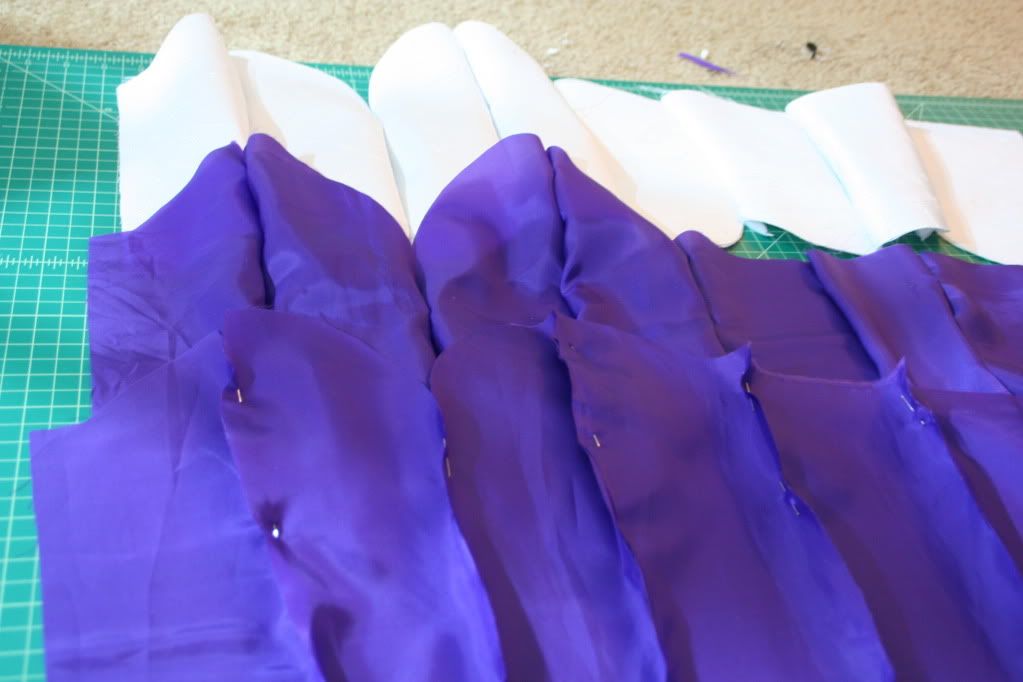
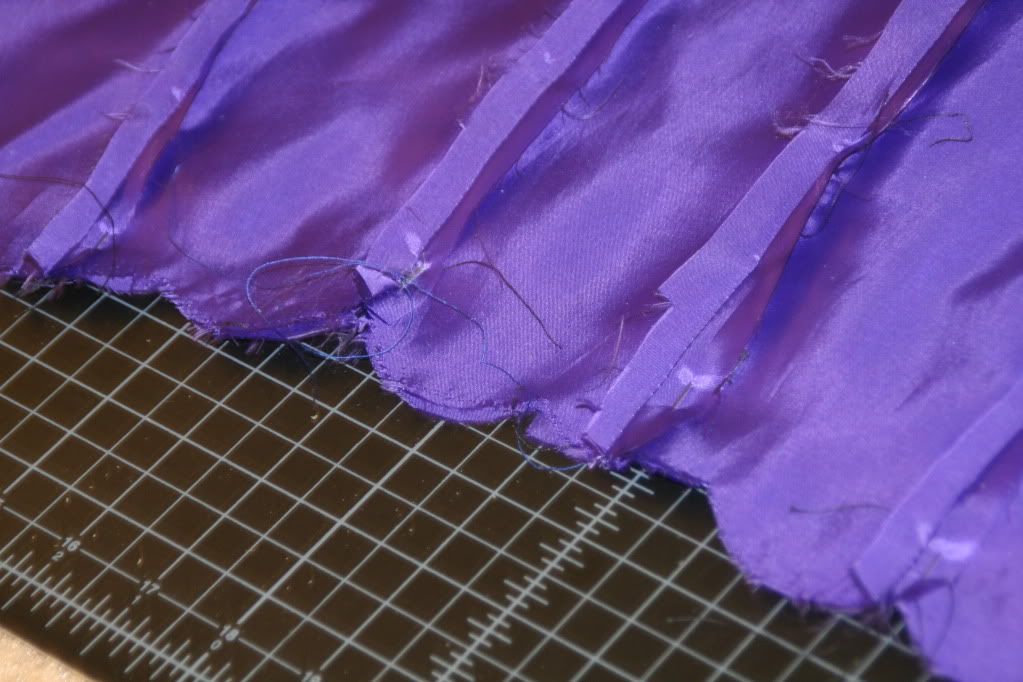
If you noticed in my sketch reference, the lining (or what I'm calling the lining) is longer than the self. I hate seeing messy, unlined reverse sides, so I cut another piece (lining 2) so I could conceal all my stitching. Also, I needed this second piece to create a casing for my boning.
I had the most difficult time sewing the scalloping at the edge of the lining. The first time I sewed it, the scallops weren't obvious enough (the curves were not very visible). I had to rip out the entire seam and restart. I reshaped the scallops, cutting them deeper, and left a 1/4" seam allowance to clip and properly finish the edges. That part alone took me over 2 hours. I am not a fan of scalloped edges now. Unfortunately for me, every other edge on my costume is a scalloped edge.

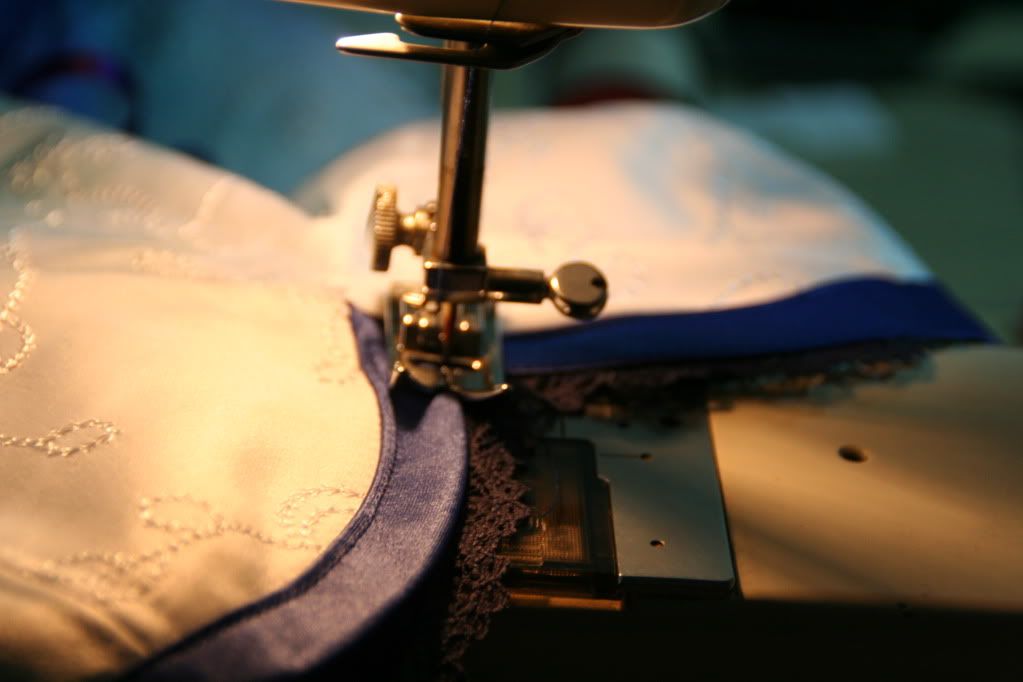
I sandwiched the lace between the lining and self at the top edge...
Oh, and here's my pincushion, in case you ever wondered.


2 comments:
you are A. Mazing.
Denise!!
this is an even more exciting progression than your lady gaga costume!! I love your attention to detail on EVERYTHING!
btw, is your pincushion a Mary Engelbreit one??
Post a Comment