Showing posts with label zephie. Show all posts

20110705

wind wizardry (zephie), ANIME EXPO RECAP


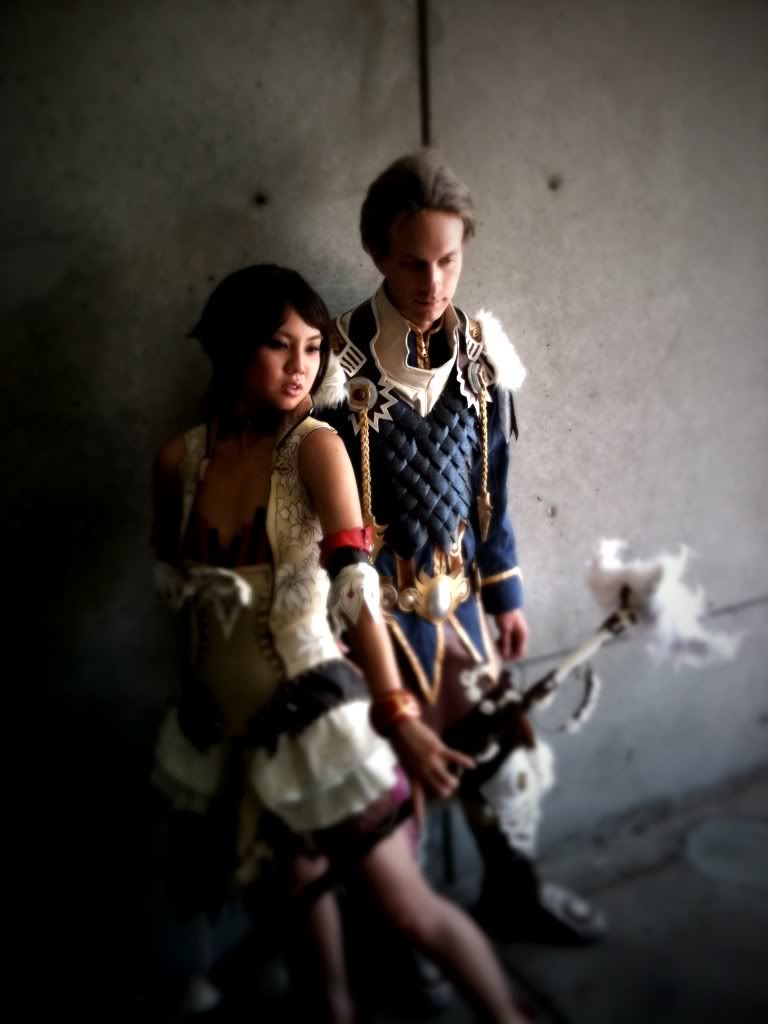
Photo by Shun Kim

I'm aware that I haven't updated you guys on the rest of my Zephie cosplay but it has been insane leading up to the debut on Saturday, July 2nd at Anime Expo. I was rushing to finish up my 2nd school uniform the day prior (I wore Haruhi on Friday, July 1st) so I was going crazy and pulling late nights again, heh.

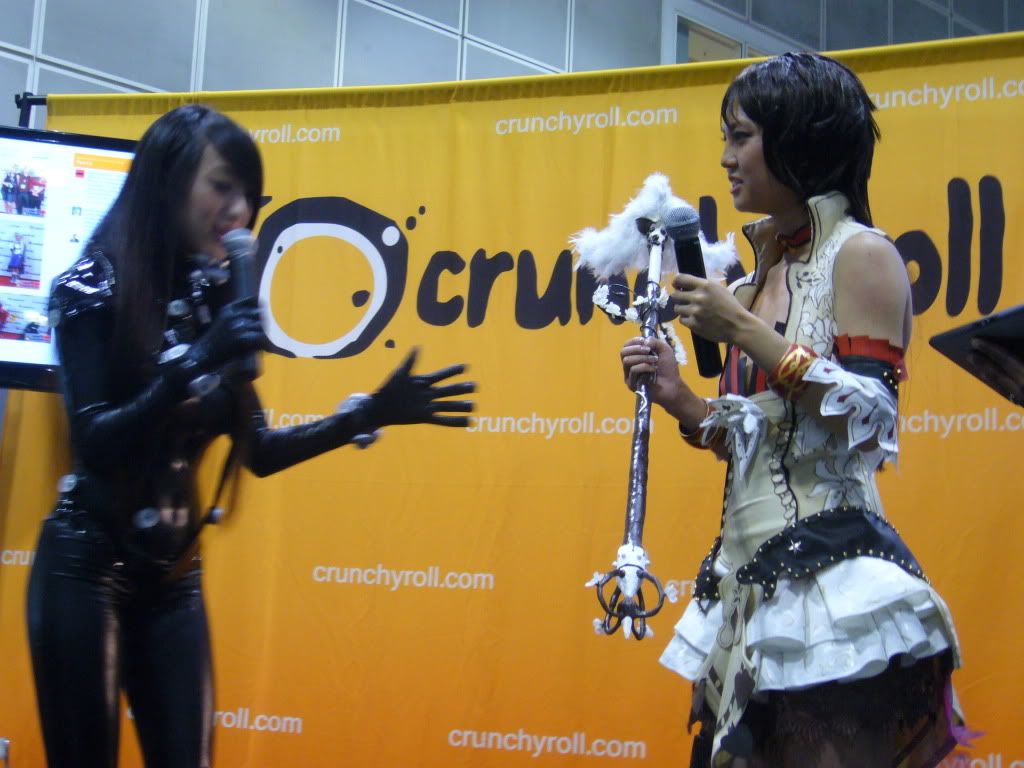
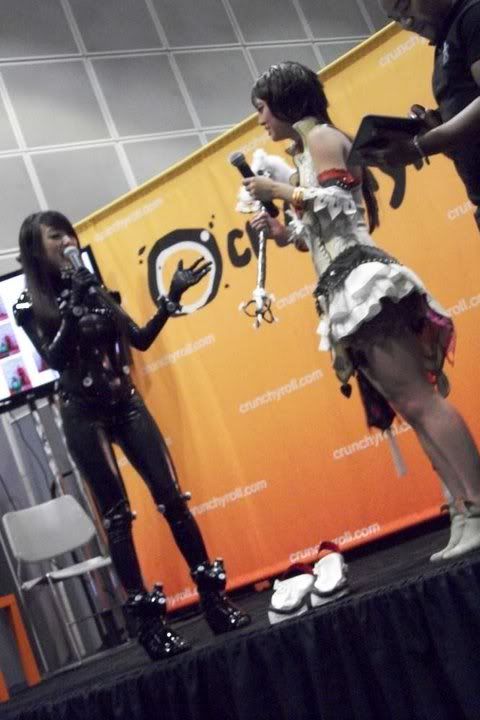
This year was exceptionally special for this particular cosplay, as well as just this year in general because I got to debut my Zephie cosplay with the SUPERAWESOME VAMPY during her Crunchyroll live stream segment on Saturday!! Eternally grateful for finding me among the pits of Twitter. Or something like that. Anyway, it was great to meet her and just nerd out about cosplay and games during my short interview--I also made some new friends at the booth so it was a pretty damn good day.

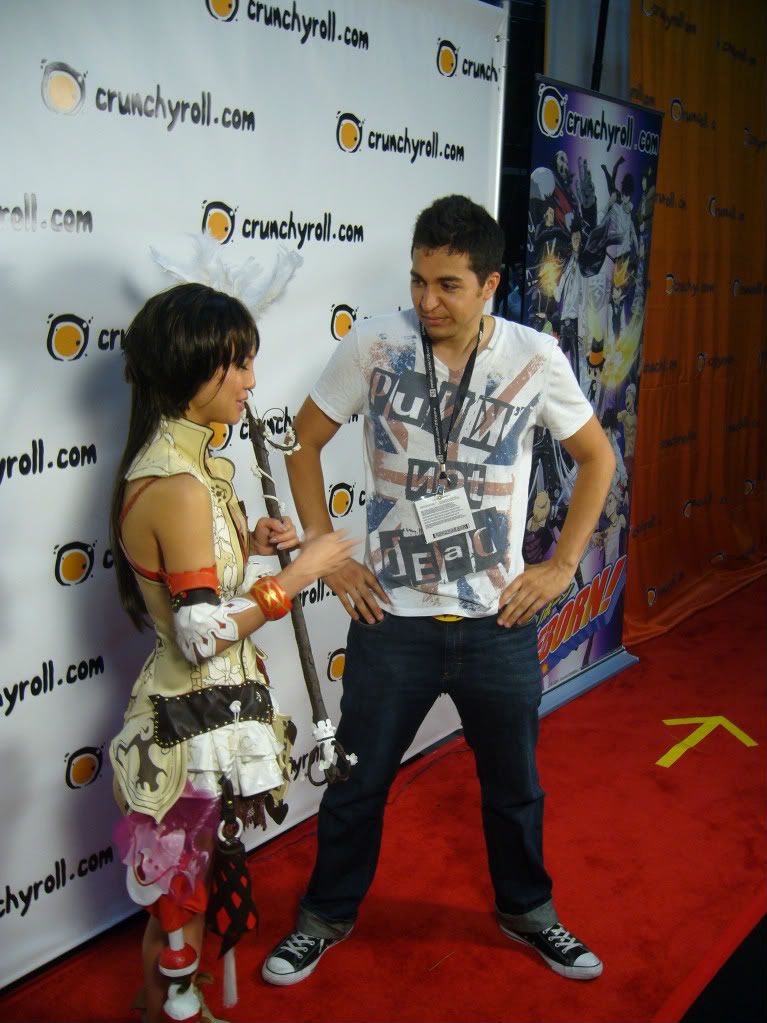
I also met up with Ted / Spooky-epiic who cosplayed as Raud at FanimeCon but I did not wear Zephie to that convention so luckily he found me again and we met up on Saturday morning and shot some photos together! Seriously why are there no MC/WoG cosplayers down in SoCal? We can do an epic photoshoot, you guys...

So without anymore rambling.... I finally give you... my Zephie cosplay. I do have to remake the shoes and some accessories as I realized the clay was too fucking heavy and the insulation foam has zero support. Fail.
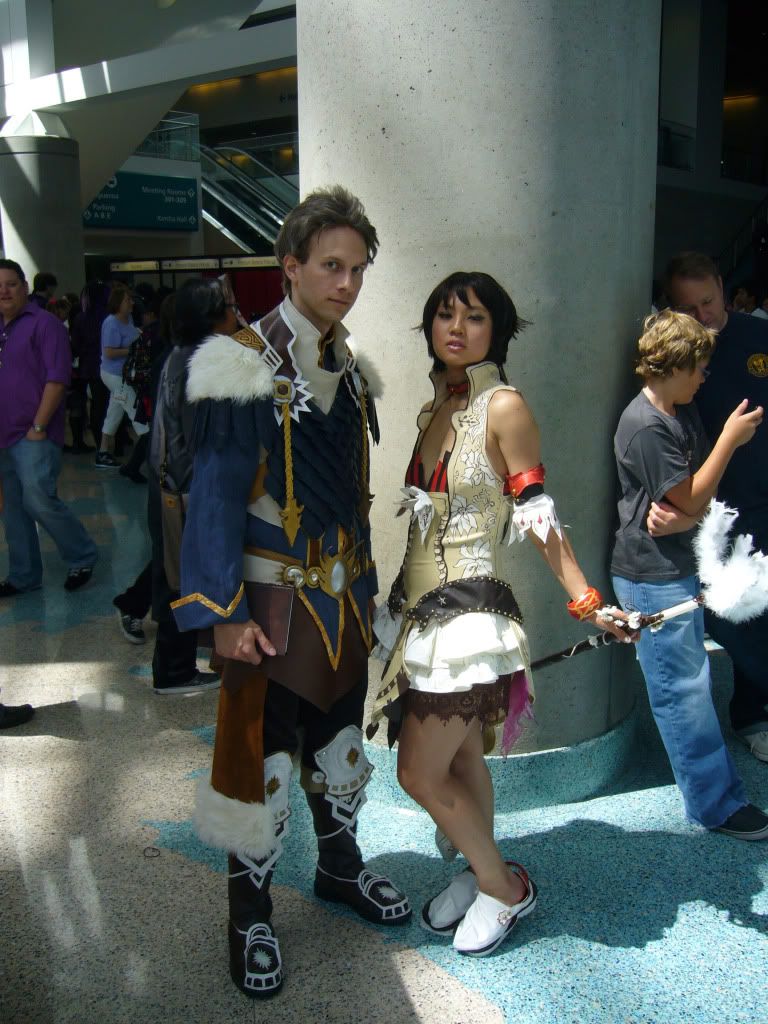
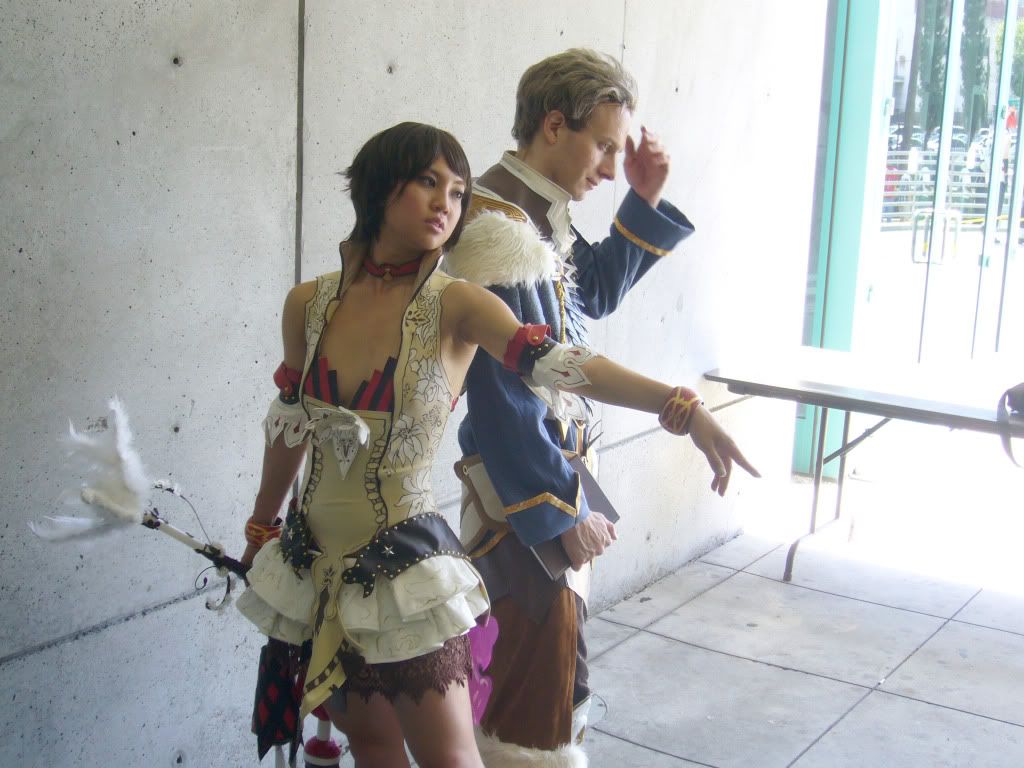
With Ted as Raud! Photo by Shun Kim

With Ted as Raud! Photo by Shun Kim

With Vampy as Reika from Gantz! Photo by Shun Kim

We look at my destroyed shoes :( Photo by JB Ong

Talking w/ AnimeConji afterwards


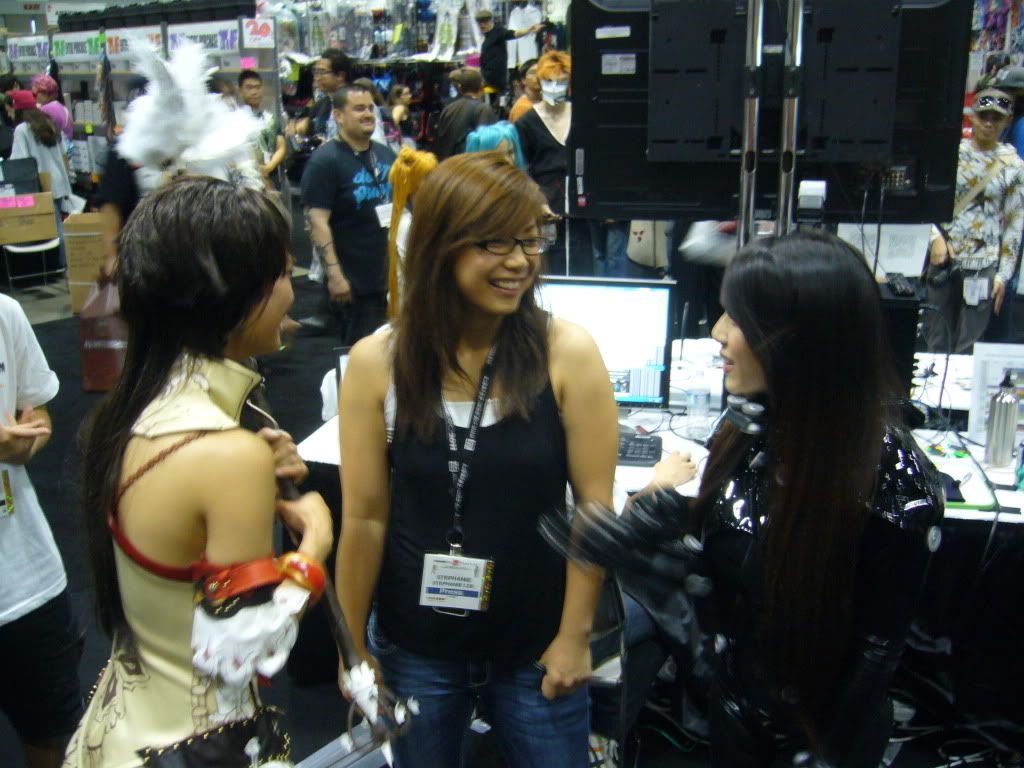
Talking w/ Stephanie of IGN (SHE WRITES THE WALKTHROUGHS. YES. THEREFORE=HAWT) and
Vampy before our interviews, cool people galore.

I'm doing the photoshoot at the end of the month with my dad again, who finally returned from his 6-month long business trip, but until then I have more costumes to finish! Eekkkkkk!

20110616

wind wizardry (zephie), wand-ering 3

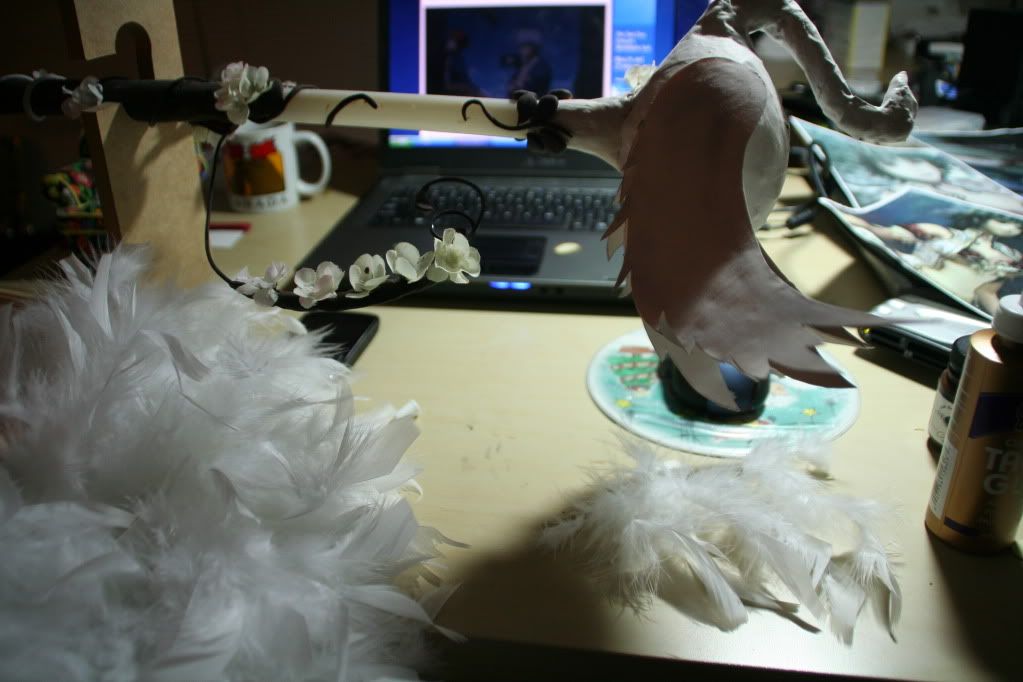
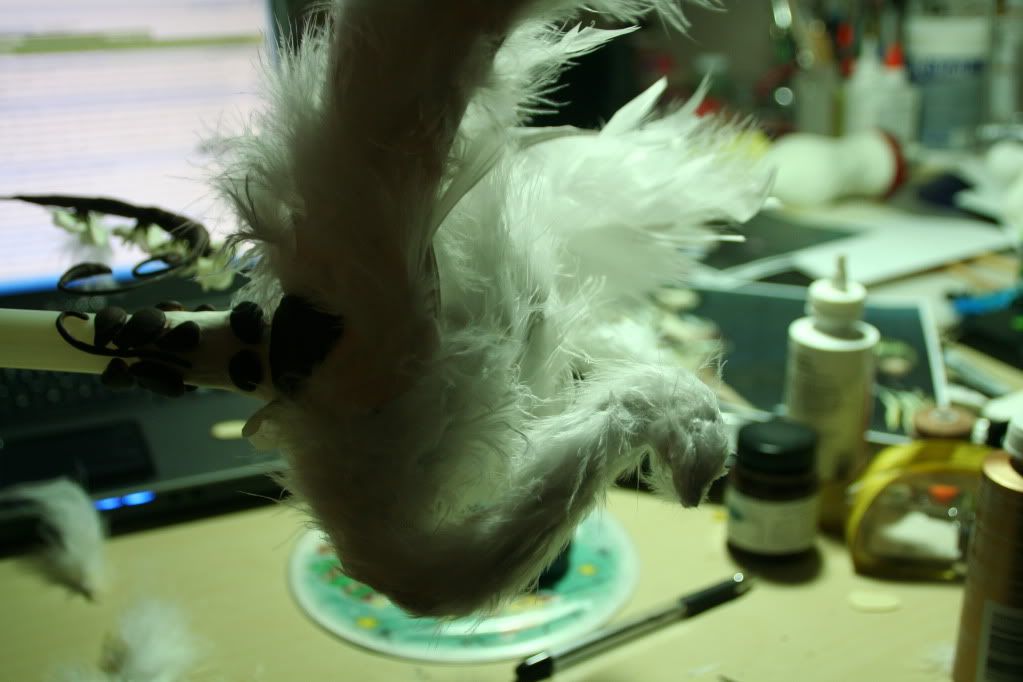
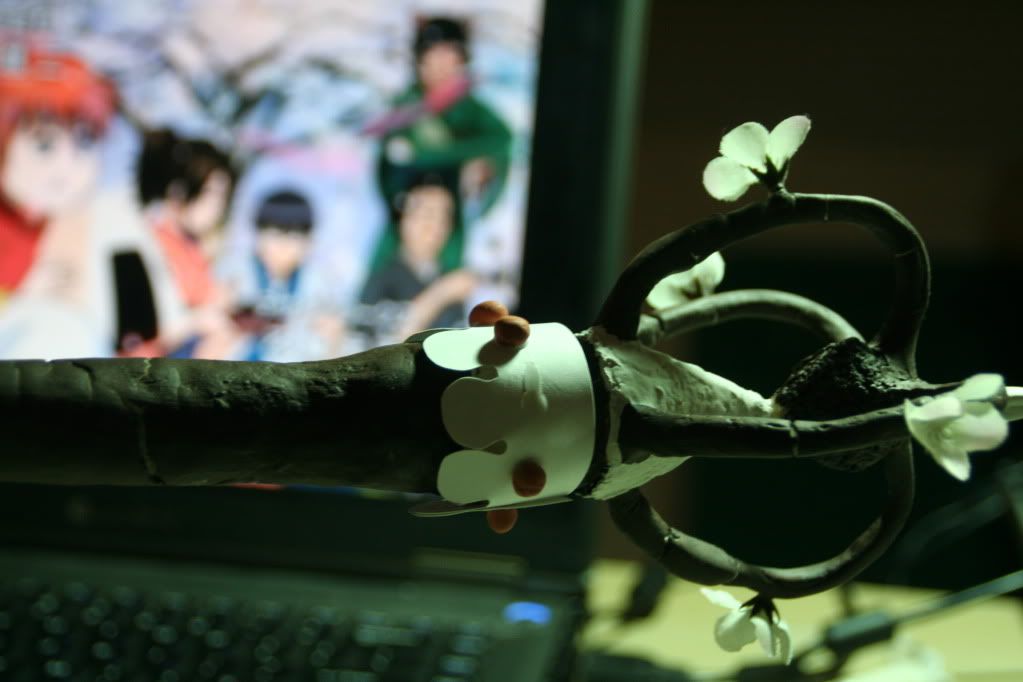
I know I debated adding feathers onto the wand but I did, and it looks acceptable, actually.

I finished the back end of the wand with cardstock I cut in the appropriate shape, with clay spheres. The paint was touched up a bit, and then sprayed with gloss (except the part with the swan, duh).


Yeah I watch anime while I work on my props sometimes, don't hate.

I bought a feather boa and just pulled the feathers from it as these
feathers were easy to shape/trim.


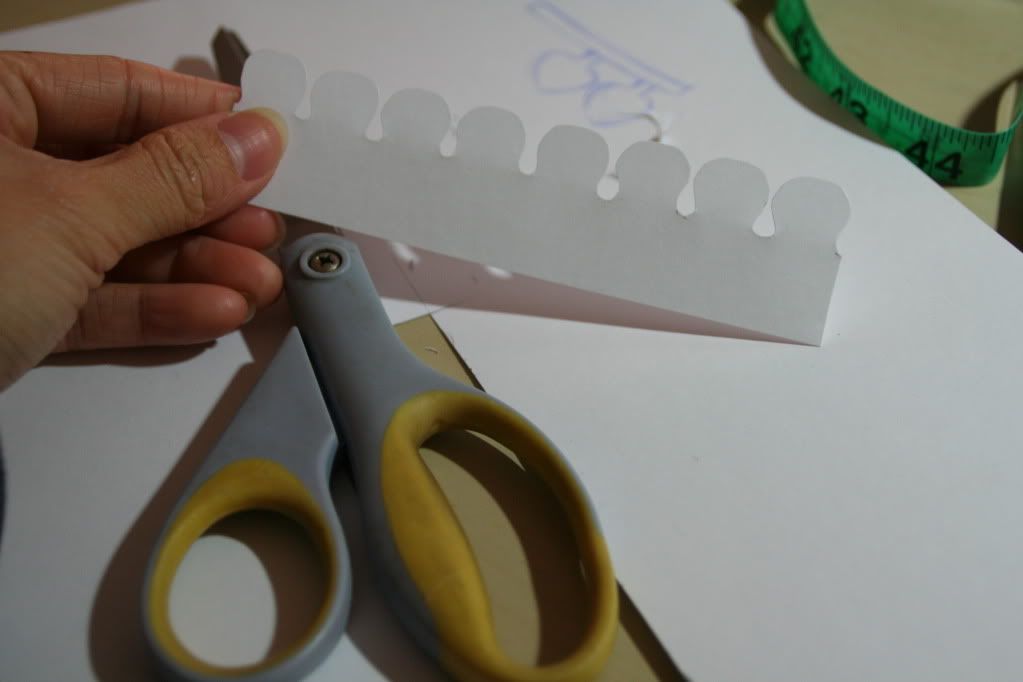
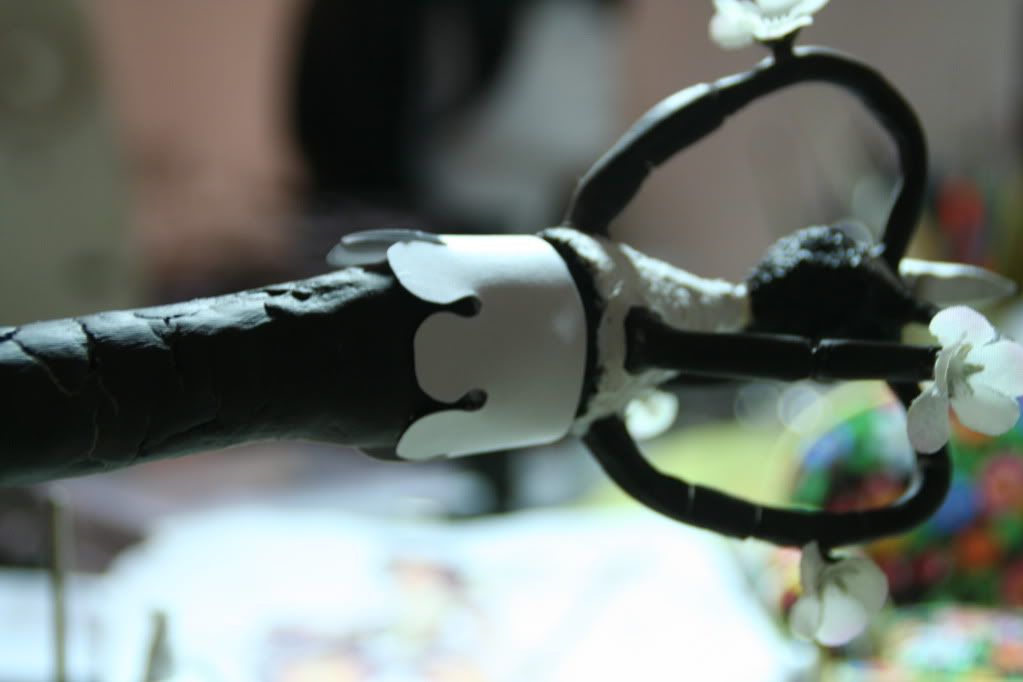
The last thing I had to add was this weird, rounded crown-shaped thing near the end of the wand. I actually shaped this with a piece of cardstock that I cut after I drew a shape. I don't have a printer at home (well, I do, but it doesn't work very well) so I just had to eyeball this =_=...


Tacky glued to the wand. The little balls were sculpted from DAS clay and glued as well.
These will be painted white.

(I'll make you breakfast in bed if you can guess the anime in the background)

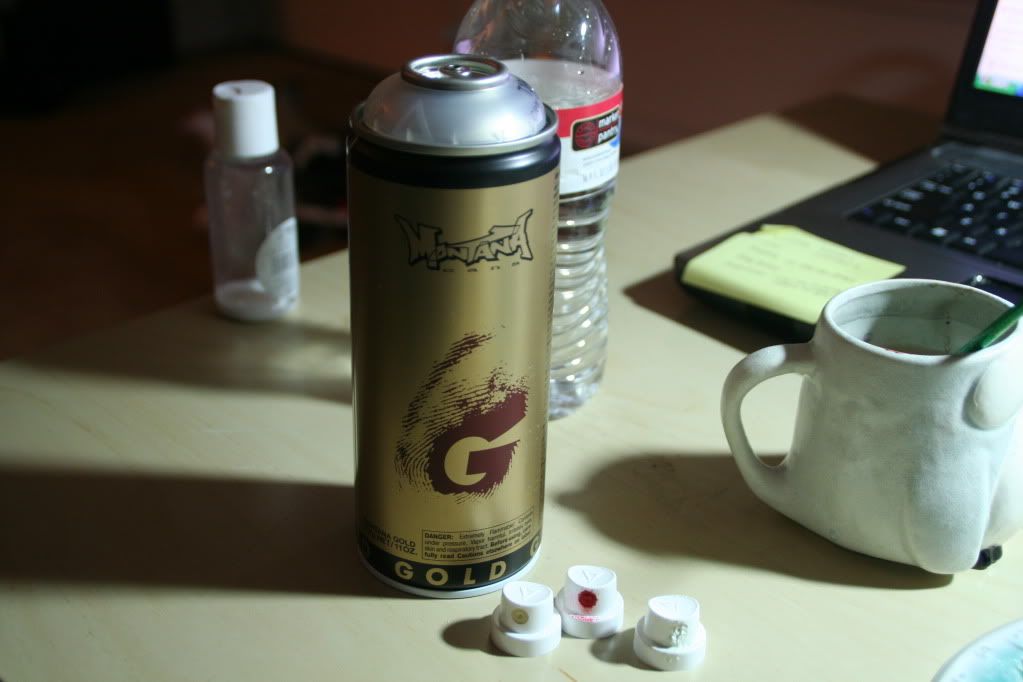
To finish the wand I use Montana spray paint in clear. I used Montana paints for everything I have spray painted on this project, and I like that you can change the tip depending on what kind of lines you want--can be more precise or if you don't give a fuck you can just use a regular cap.


20110606

wind wizardry (zephie), accessories assembled part 1

I used my little bit of extra time to add more details to the accessories. A lot of this may seem time-consuming, and it really is, but it's strangely a stress-reliever and I get to use my noodle-noggin to think "out of the box", to figure out how to replicate the 2D concept into a tangible object. I think it's kind of exciting. Ok, who am I kidding, I think it's insanely exciting which is part of the reason I cosplay. Anyway, digressing here again so I'll explain my processes through photos again:

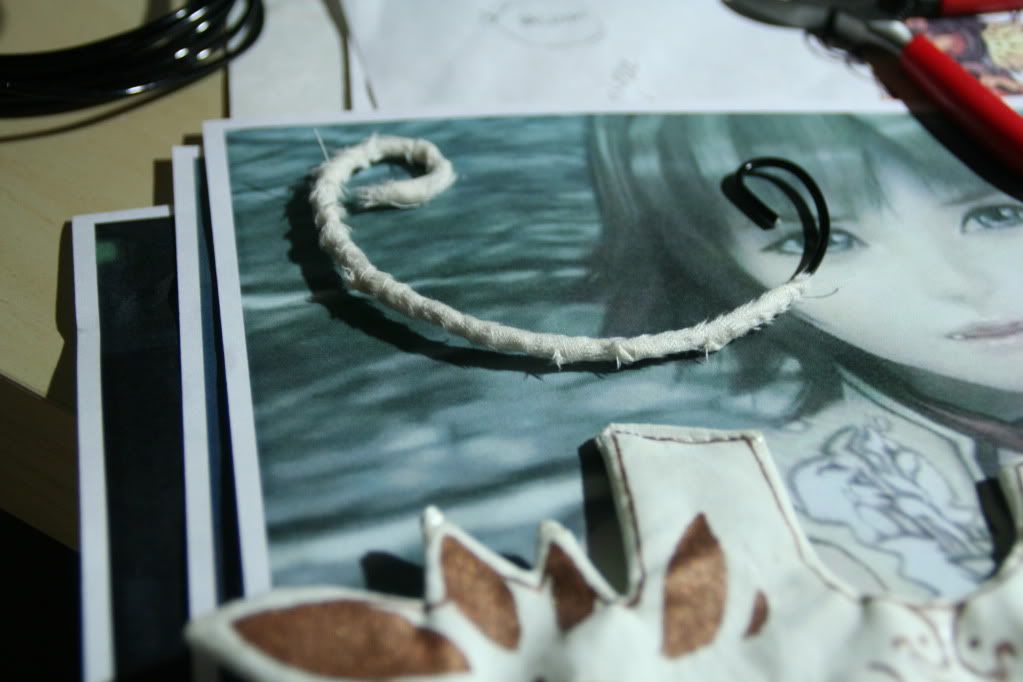
1. That weird bust piece...
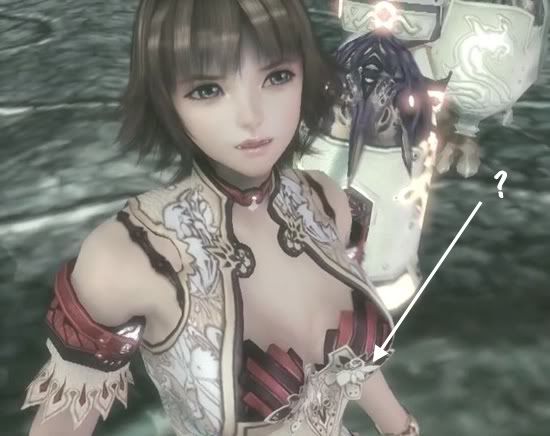
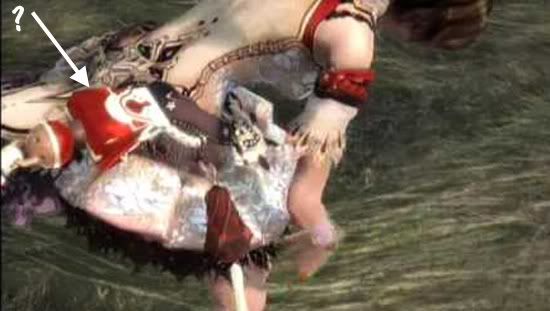
(reference photo)

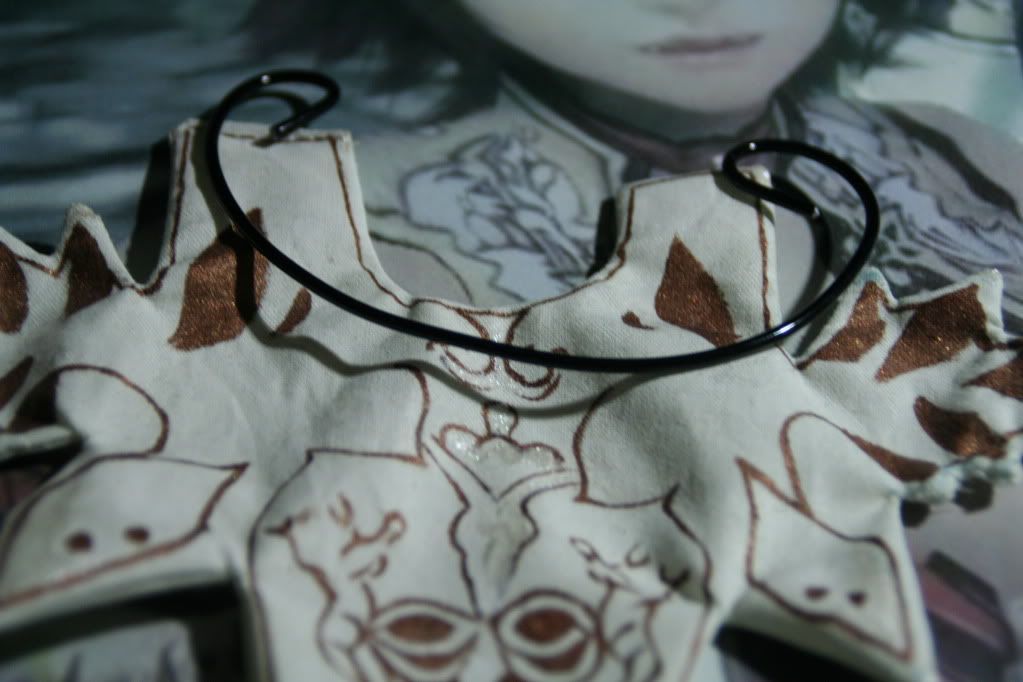
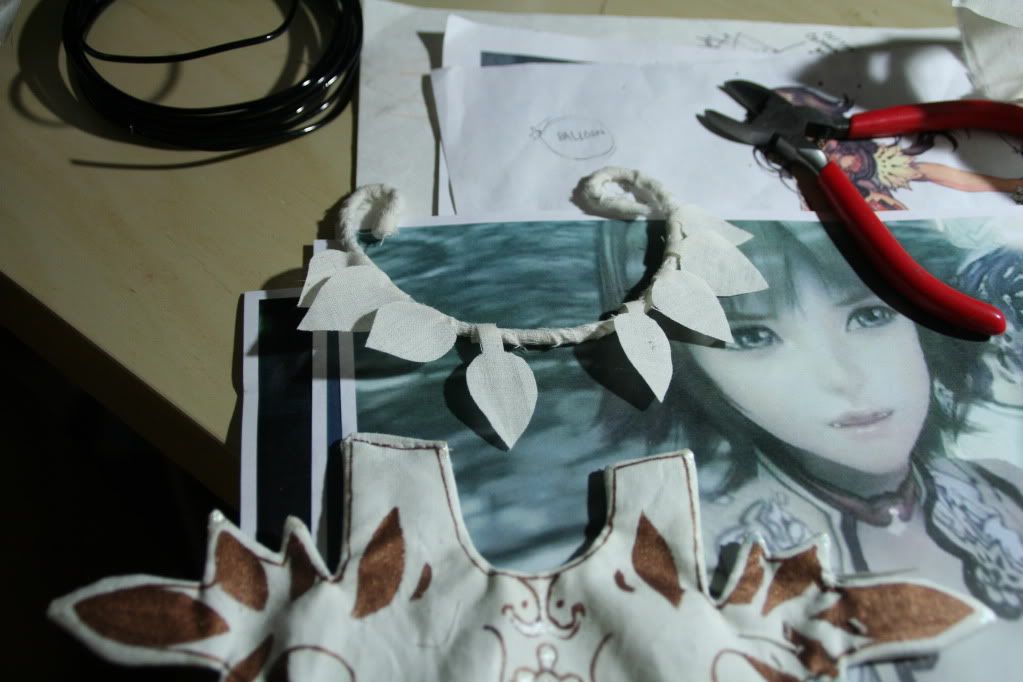
After looking at the screencaptures again I realized I probably shouldn't miss out on this detail because I have this extra time to add it into the costume. I wanted this weird piece to "stick out" and be stable, so I used some craft wire twisted into the appropriate shape.

I cut an 1/4" width strip of muslin, applied glue onto the wire and wrapped the wire in muslin.

I cut leaf shapes from the muslin as well, leaving LONG stems to wrap
around the wire (also glued).
\

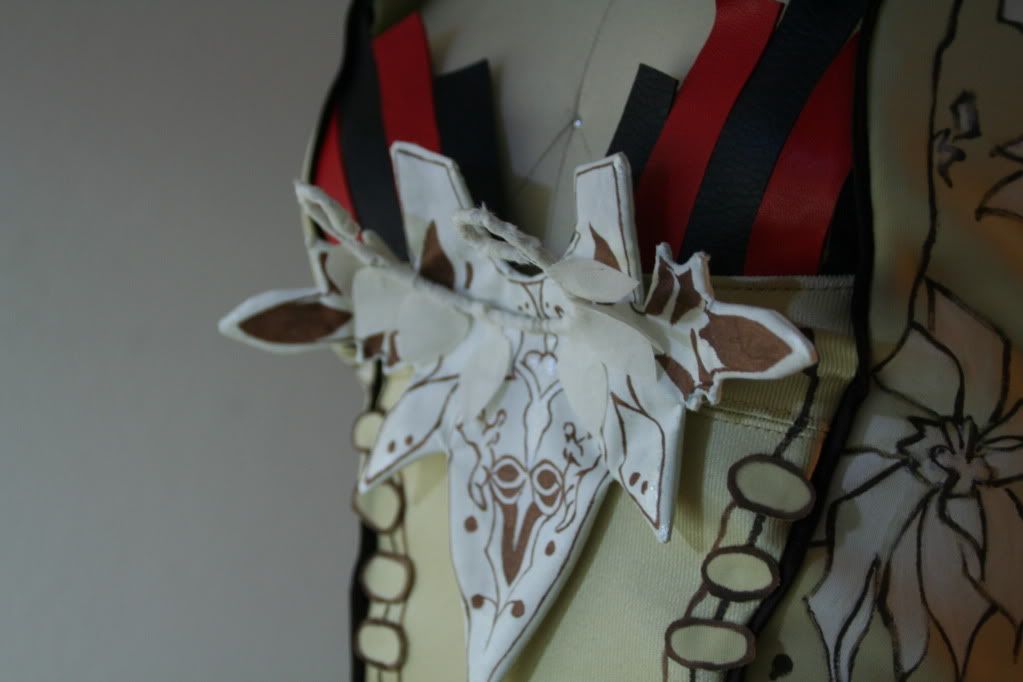
I then tacked this piece to the weird bust piece.

2. Weird bag .... thing attached to belt

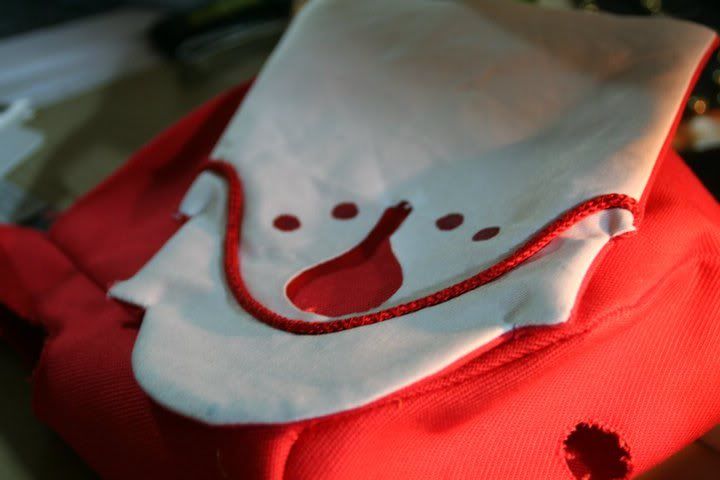
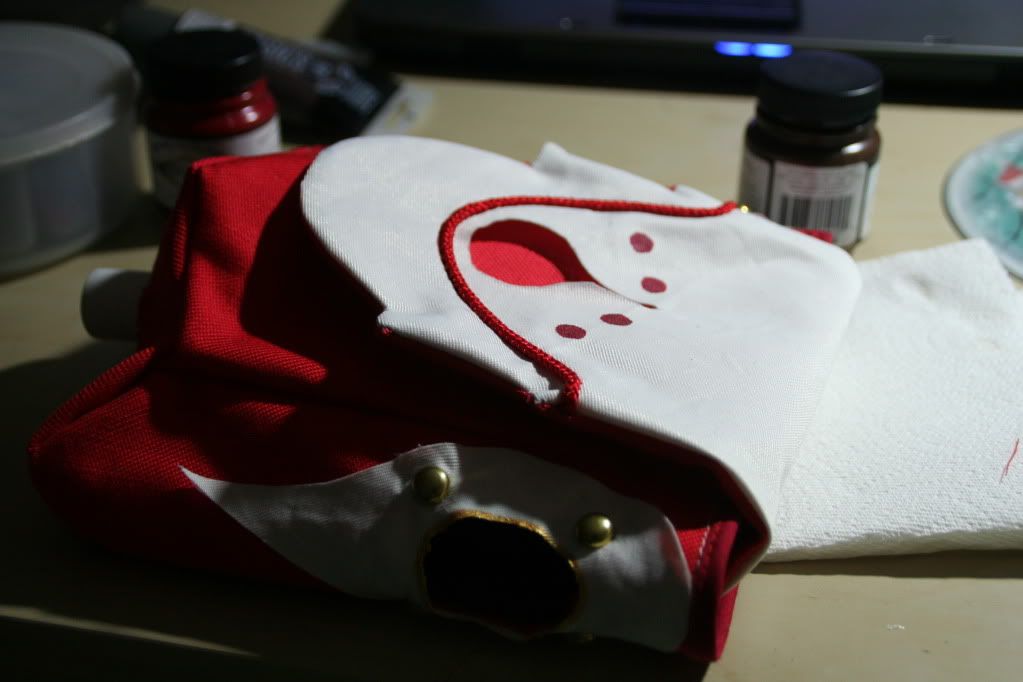
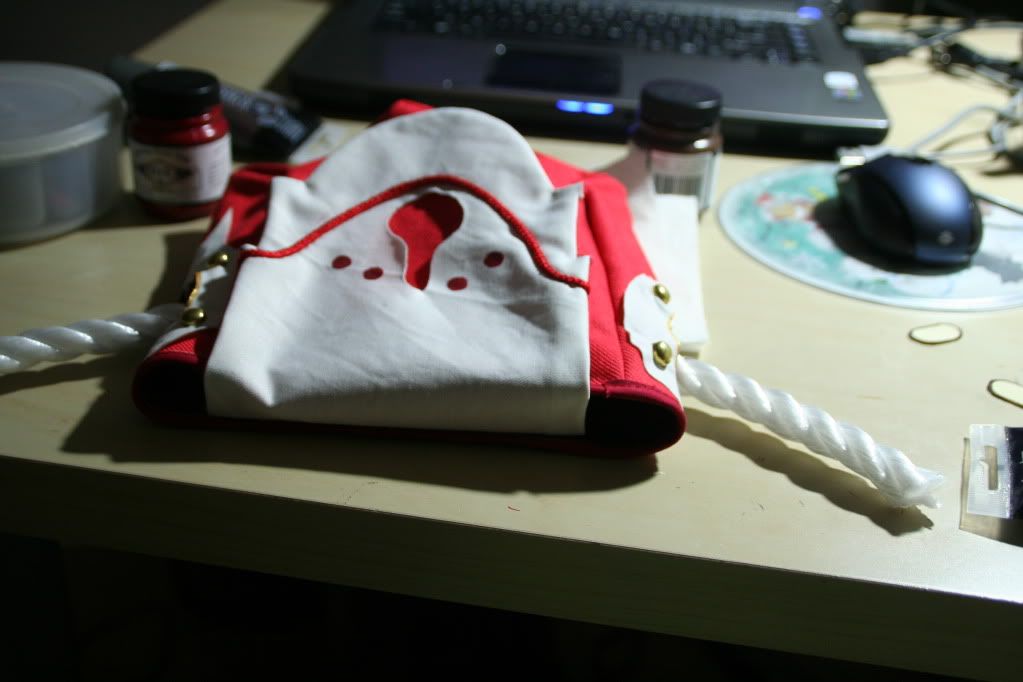
Firstly I realize I didn't take enough progress photos of this, but I literally just made a mini bag. The red is a thick and sturdy canvas, the "flap" is canvas with a shiny twill face. The oblong shape in the middle was cut out and the little circles were painted. The cord was zig-zag stitched.

I used dome studs to attach these teardrop shapes onto the side of the "bag".
I sewed the flap to the back as well.

I had cut holes at the sides for the rope to go through.
There is also a hole at the bottom where I attached pipe tubing.


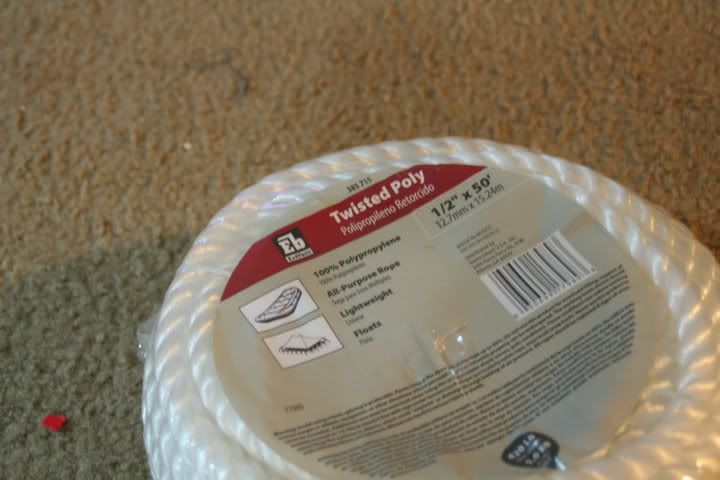
I ended up buying a ton of supplies from Home Depot.
Let me tell you, that is not the place to be when you're a young Asian girl by herself. No bueno.

20110601

wind wizardry (zephie), finishing touches- dress

Since I posted about the shoes yesterday, here's a post with the completed dress. I shall explain through photos:


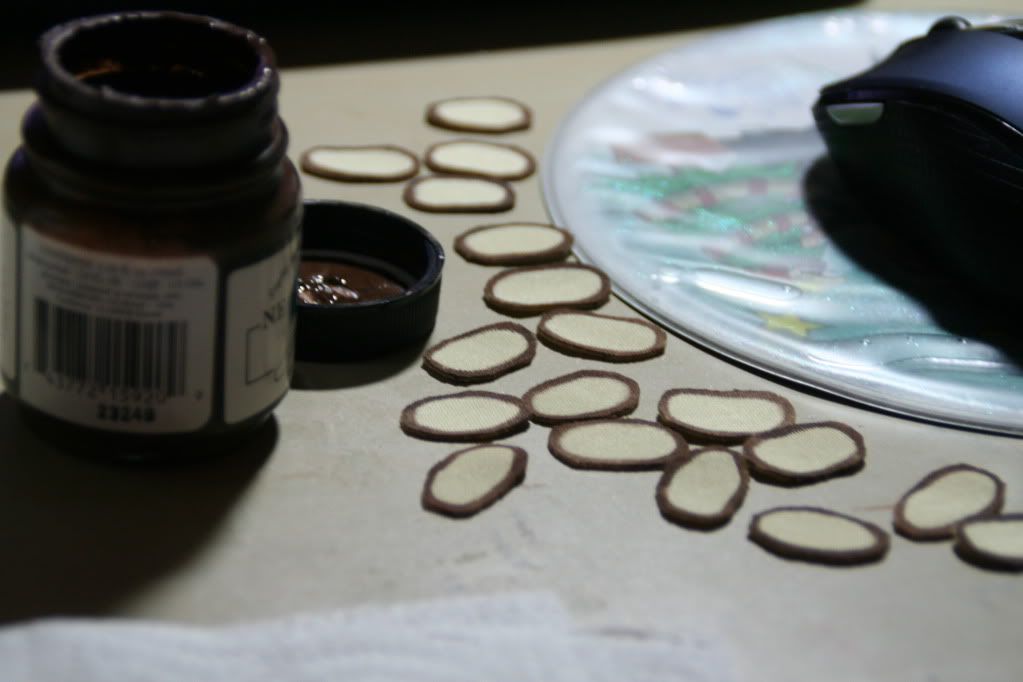
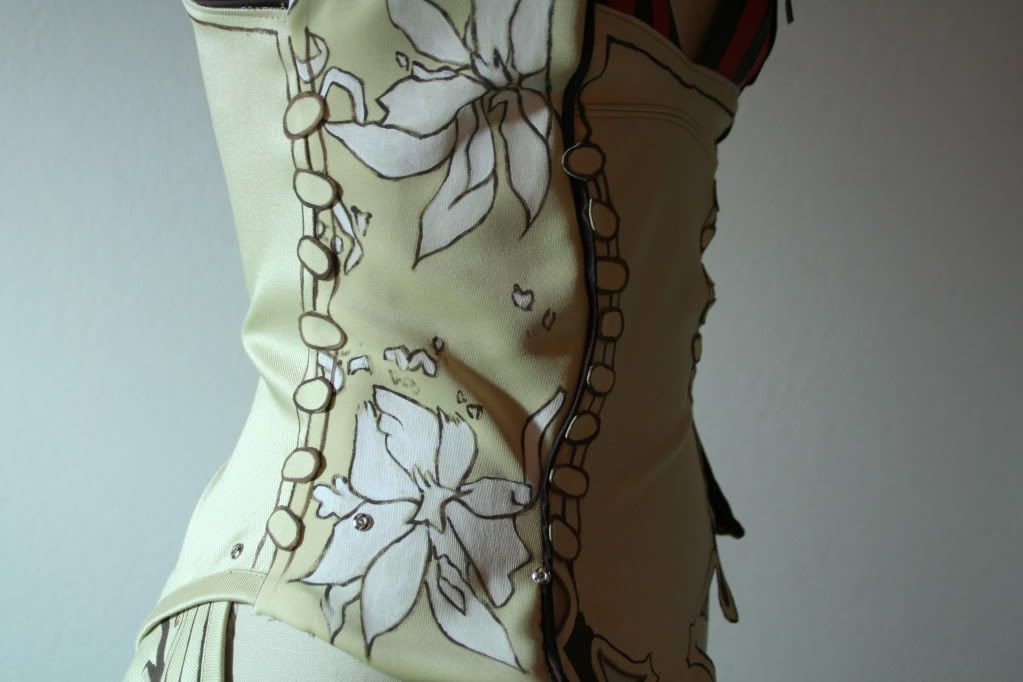
My friend said these looked like roll cakes. I thought they looked like flattened beans. No matter, they belong on the side of the dress. I just glued them. For the side with the zipper, I attached them with snaps. (The pieces are cut from the same interlock fabric from the side panels)


Added snaps to attach the "belt" pieces.


Ended up painting the trim along the really weird edges I couldn't sew properly.


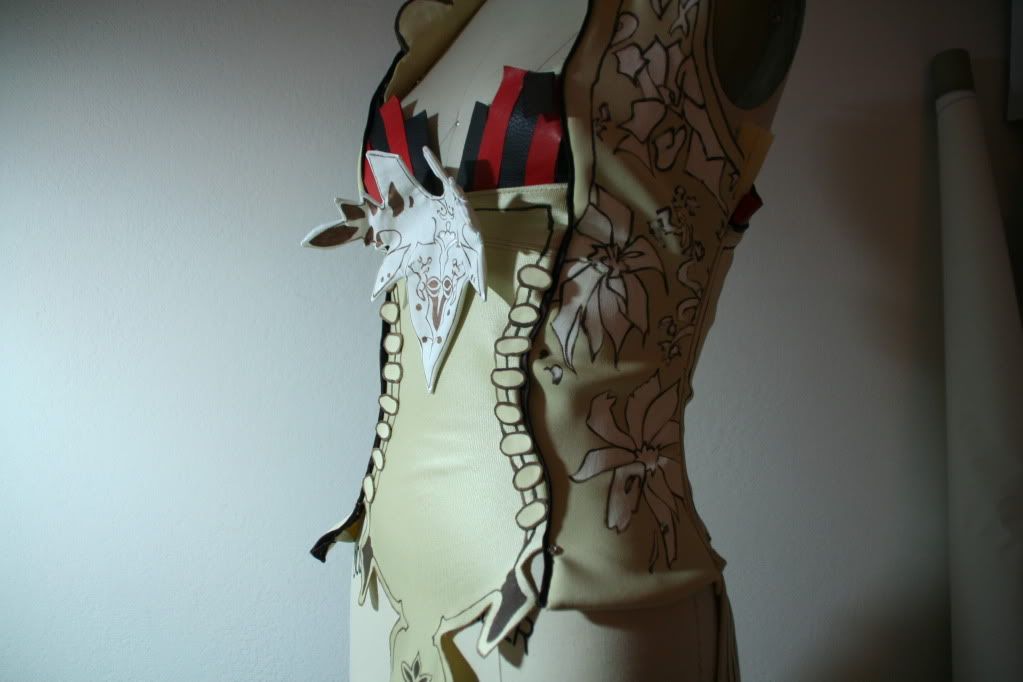
Hah, does anyone even remember that bust piece at the front?! I attached it with a snap. Ok clearly I took this photo before I finished sewing the zipper....
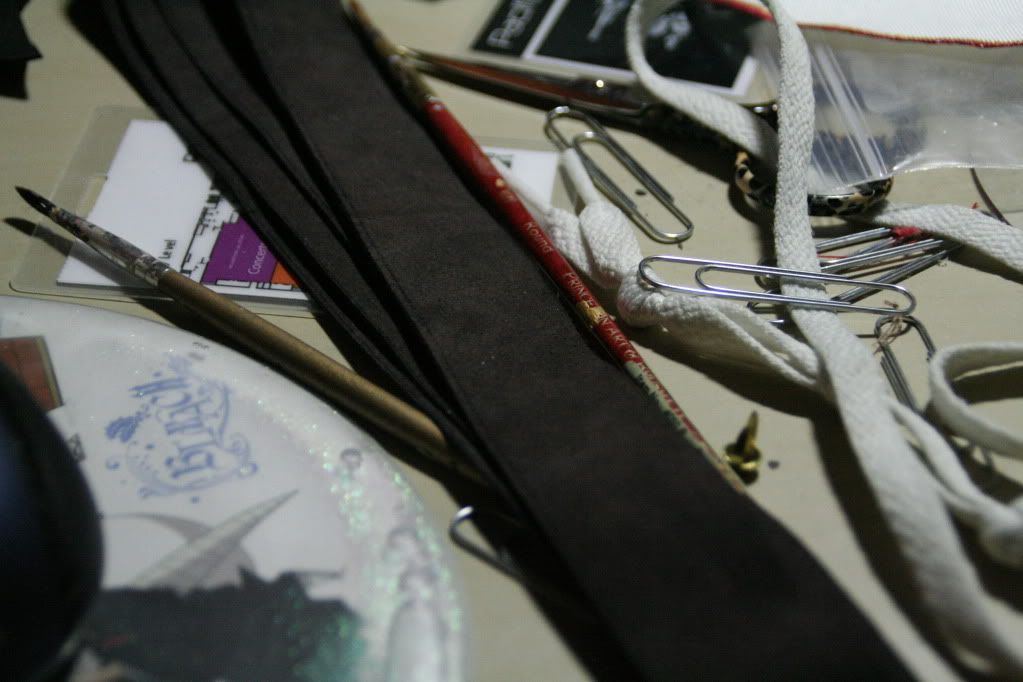
Here's a not-very-clear photo of the back details, which were also painted. It suddenly hit me that I seem to enjoy making costumes that have a ridiculous amount of painting. Why. Is. This. Someonehurryandgetmealife.


Nope, I did not forget this little trim! It was hand-sewn to the back as well as the front,
but it is more visible from the back.

20110531

wind wizardry (zephie), on your toes!

Finally an update on my Zephie cosplay that seems to have taken forever to finish. No pictures of the completed cosplay until July though, for Anime Expo! There is a cosplay meet-up for Magna Carta 2 cosplayers that weekend though so I'll upload photos with other characters/cosplayers then :)

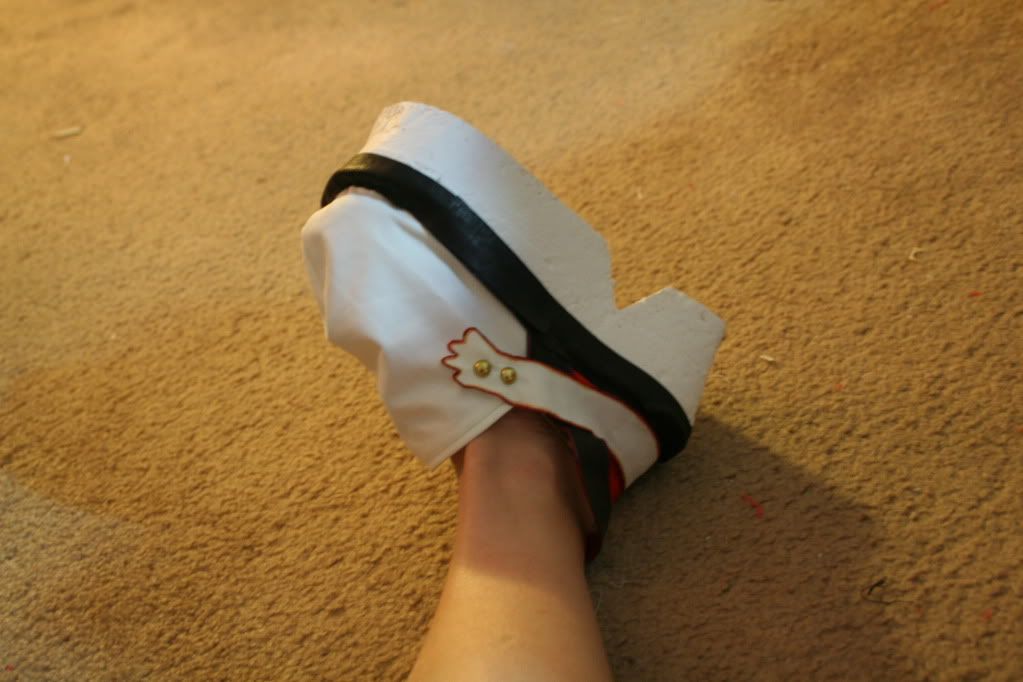
Real quickly (quickly? Who am I kidding this is an insane amount of photos), here's a brief post about how I made these weird shoes. I'm sure this was not the best way to make them but they did the job (as being fancy crocs, I mean). I'll have to work with different materials next time as I didn't really like working with canvas; it was not sturdy at all (but it was comfy and light!)

Basically, this write-up below is the noob version, I'm sure the next cosplay I make that requires a custom shoe will be a legitimate shoe and not something I tacky-glued all up in this place.

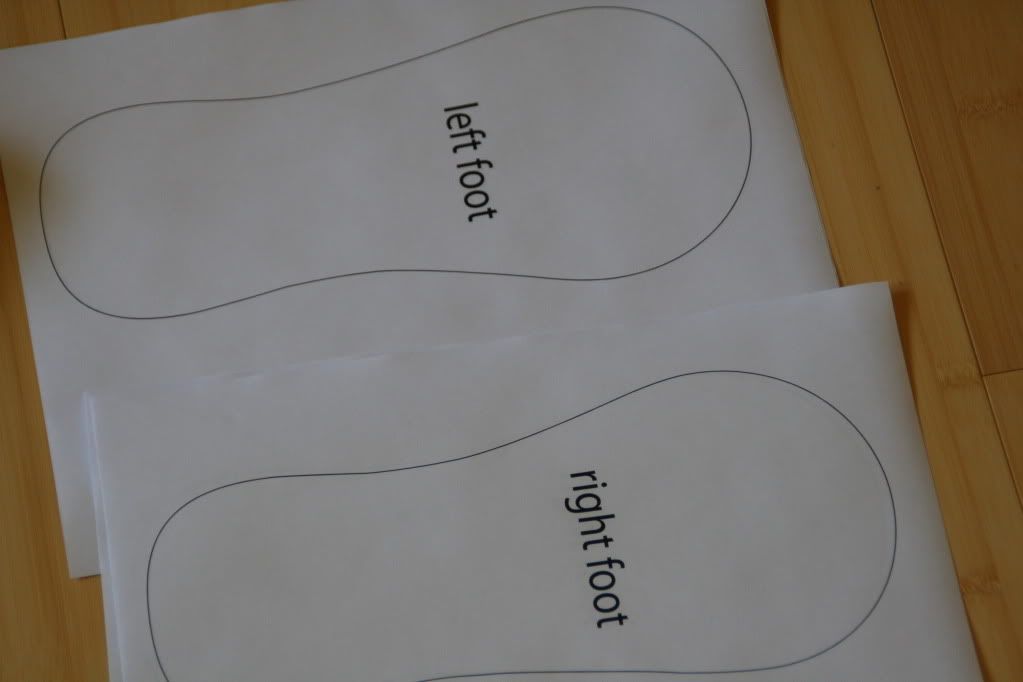
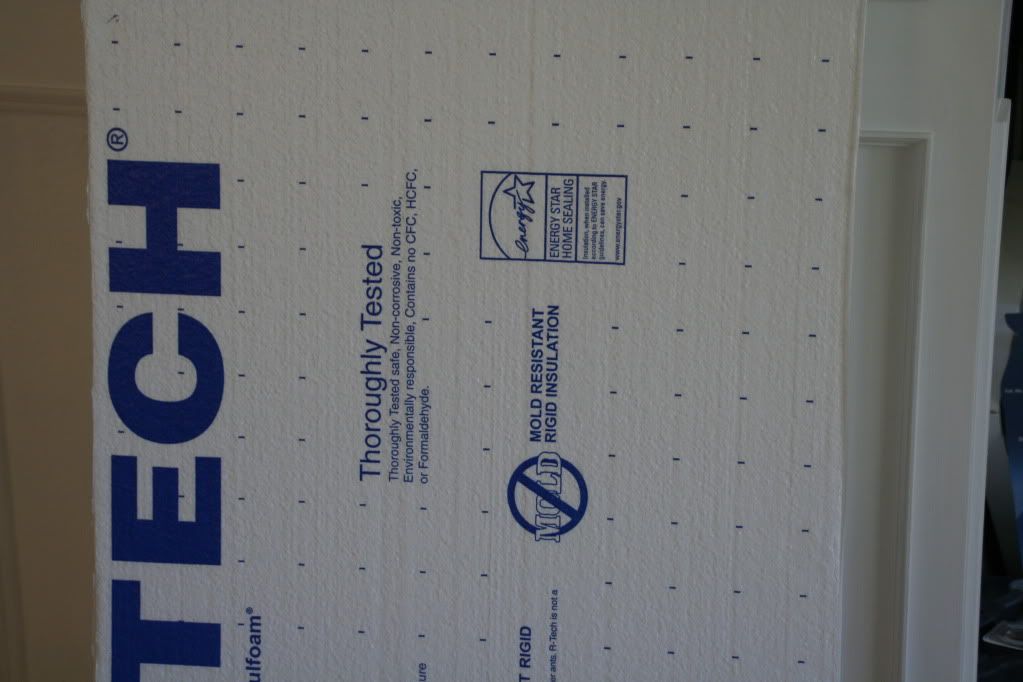
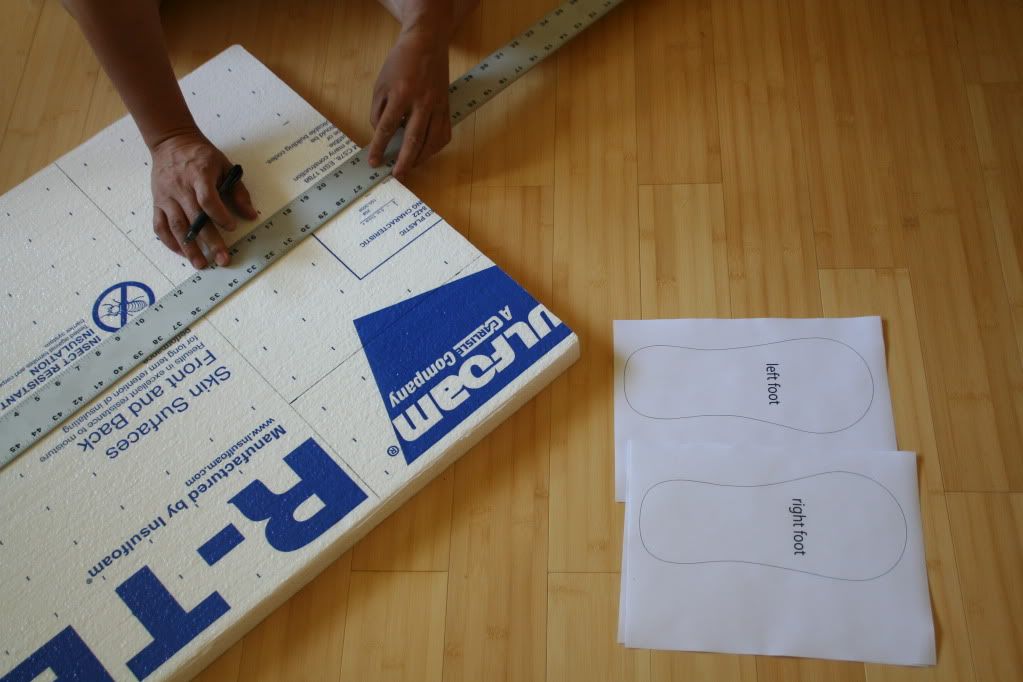
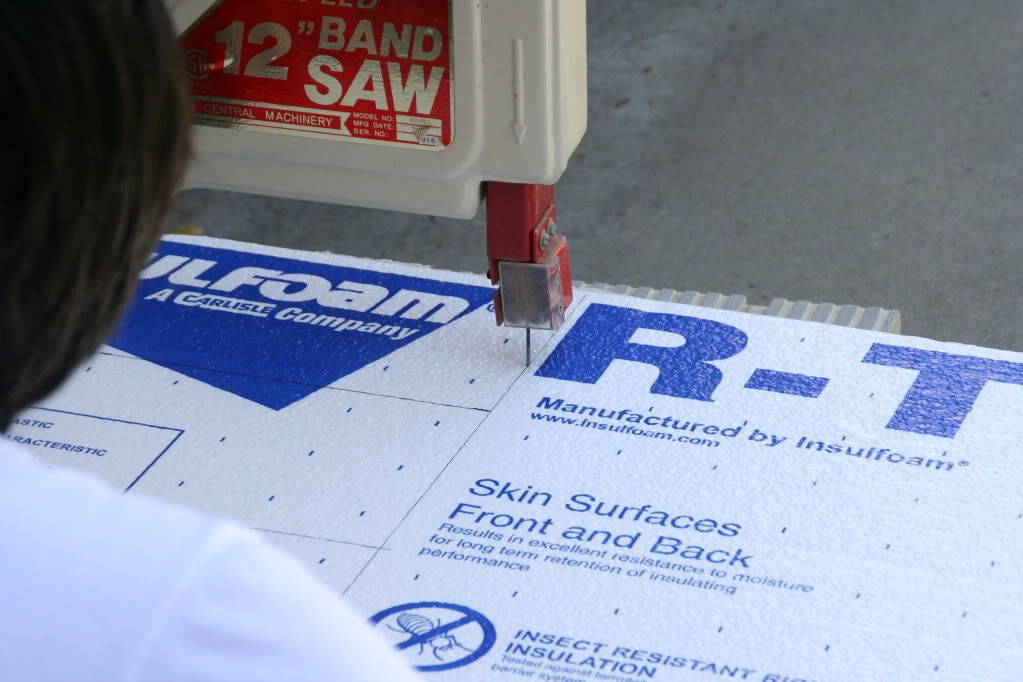
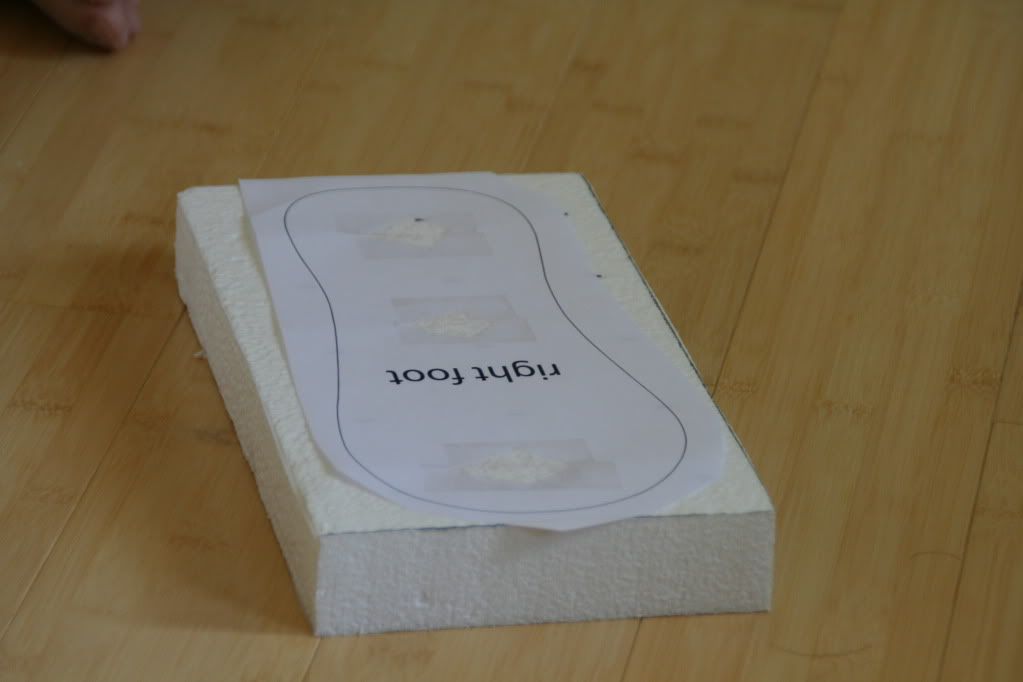
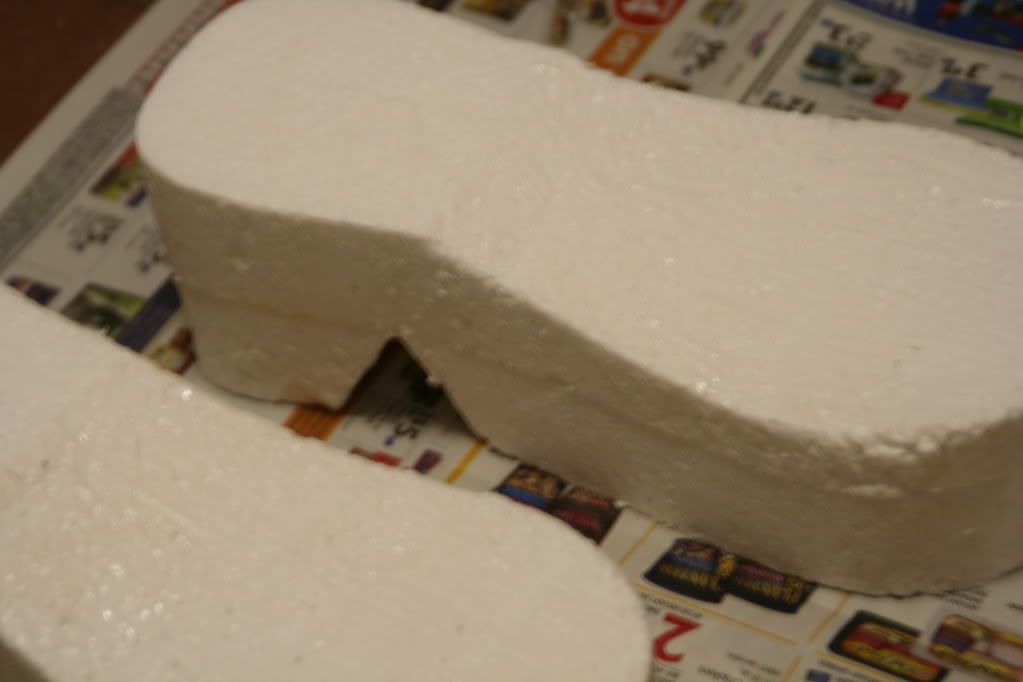
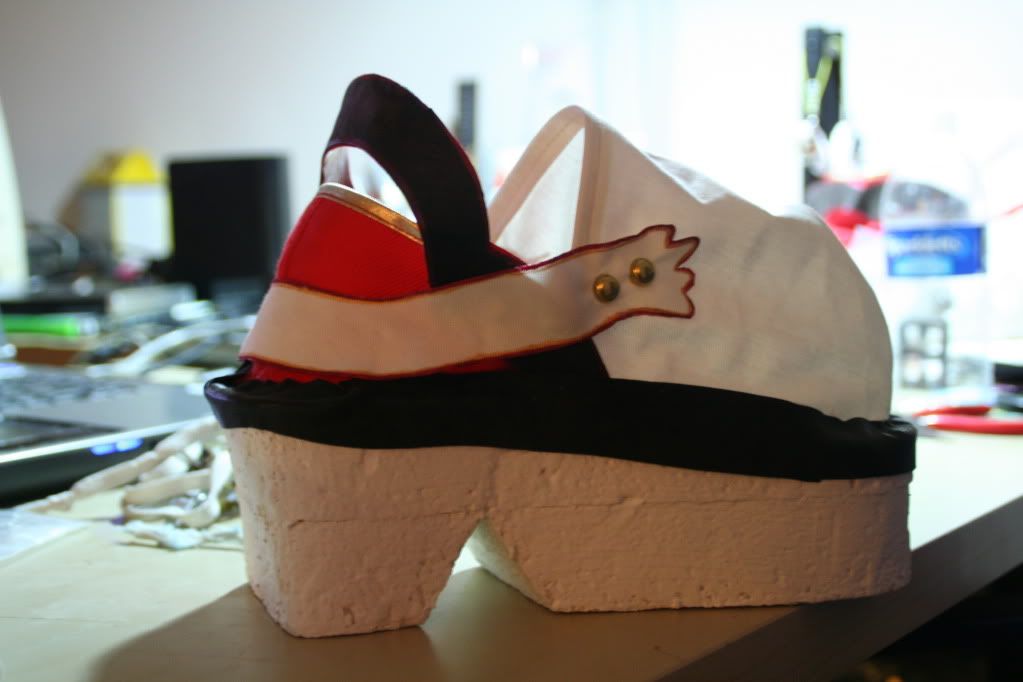
I drew the sole of the shoe on Illustrator and glued the pieces to insulation foam (2 pieces, glued together to form the required thickness). My dad helped me cut the shape I drew on the computer, using a band saw.


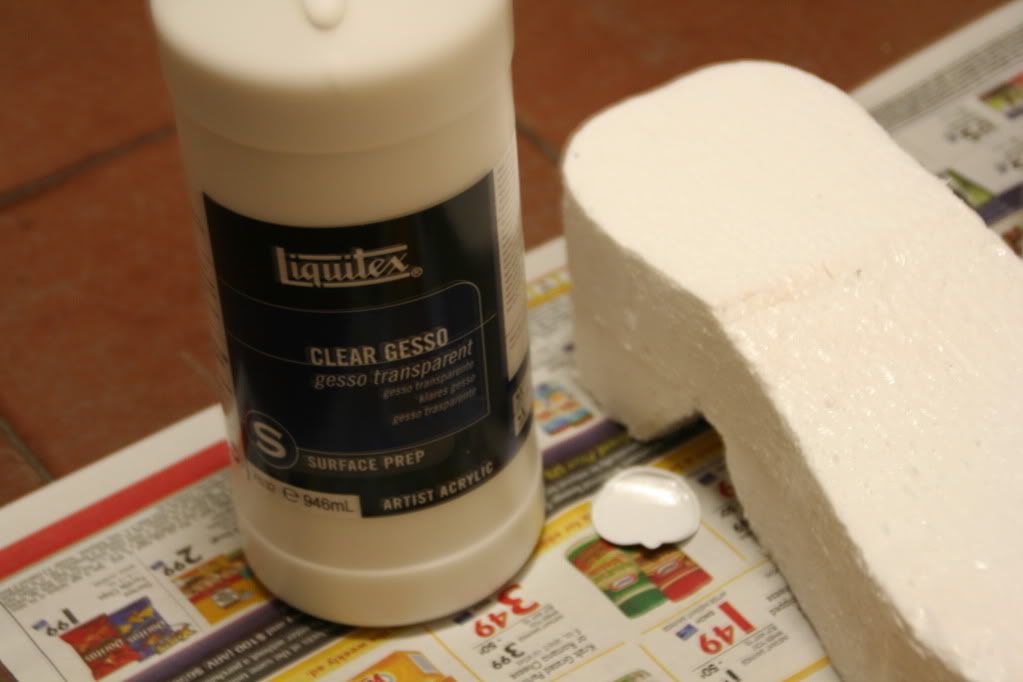
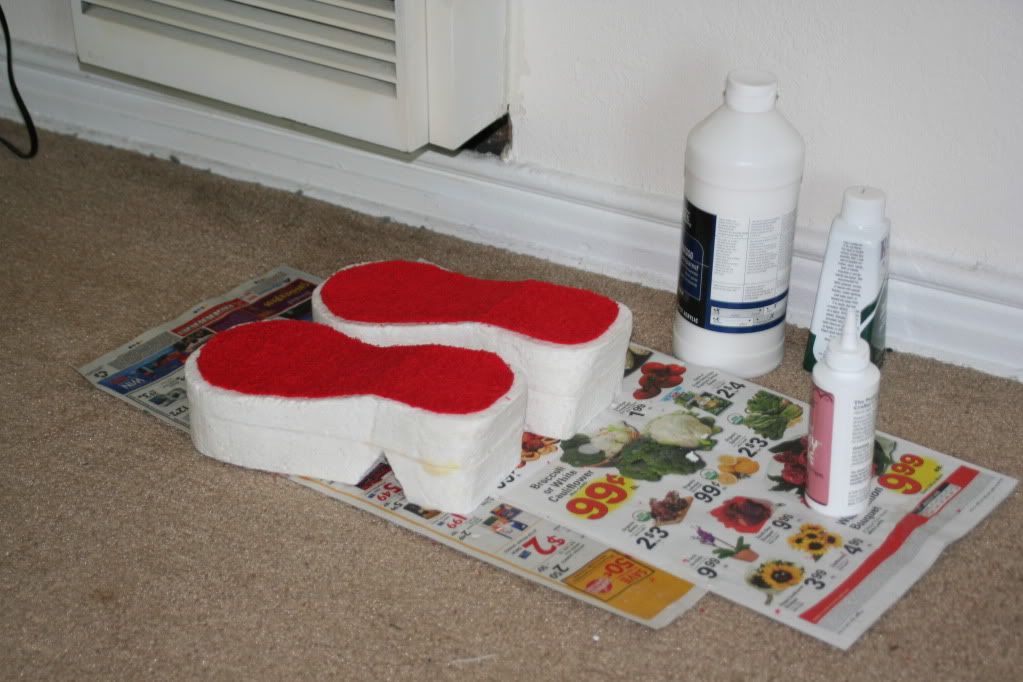
Before painting over the foam with white paint though, I had to coat the foam with a couple layers of liquid gesso to smooth out the surface, otherwise the foam will just absorb the paint like a sponge. Luckily it dried fairly fast so this process only took a day of work (on and off).


I decided to use a red terry fabric for the padding of the shoe, I just glued it with tacky glue. You can see I still haven't finished coating the foam with gesso, heh.


I am now going to apologize for the lack of high quality photos because I seriously rushed the rest of this process and I took camera phone photos at some point.

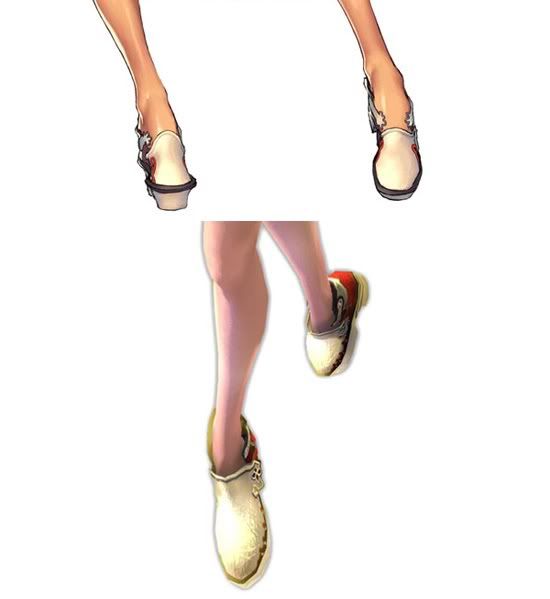
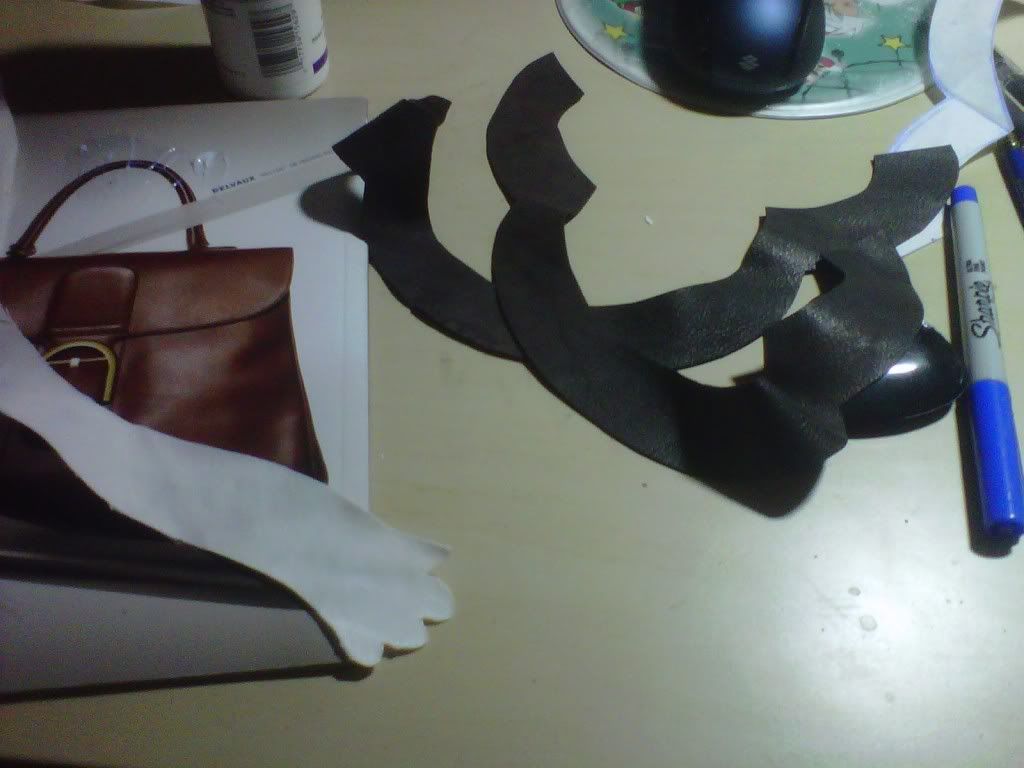
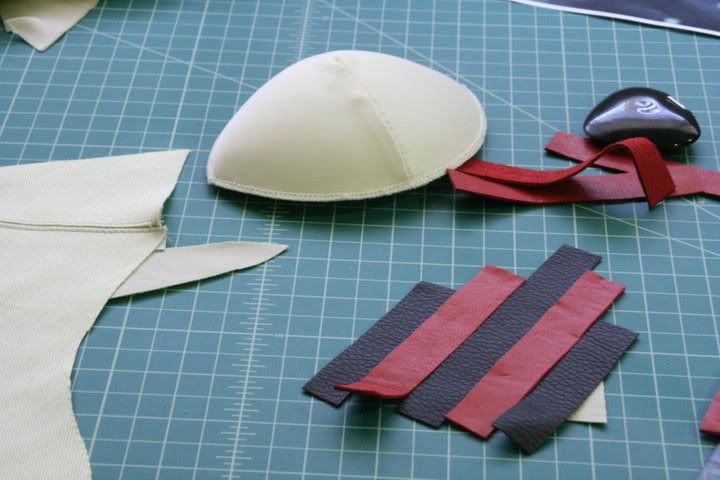
I guess I could say I was lucky that there weren't any clear photos of Zephie's shoes, which meant I was free to interpret the general design of the back. I think there were 2 straps of some type at the back, so I cut one strip out of leather and one strip out of a white canvas fabric.


(why do these look SO DIFFERENT FROM EACH OTHER?! FRUSTRATION.)

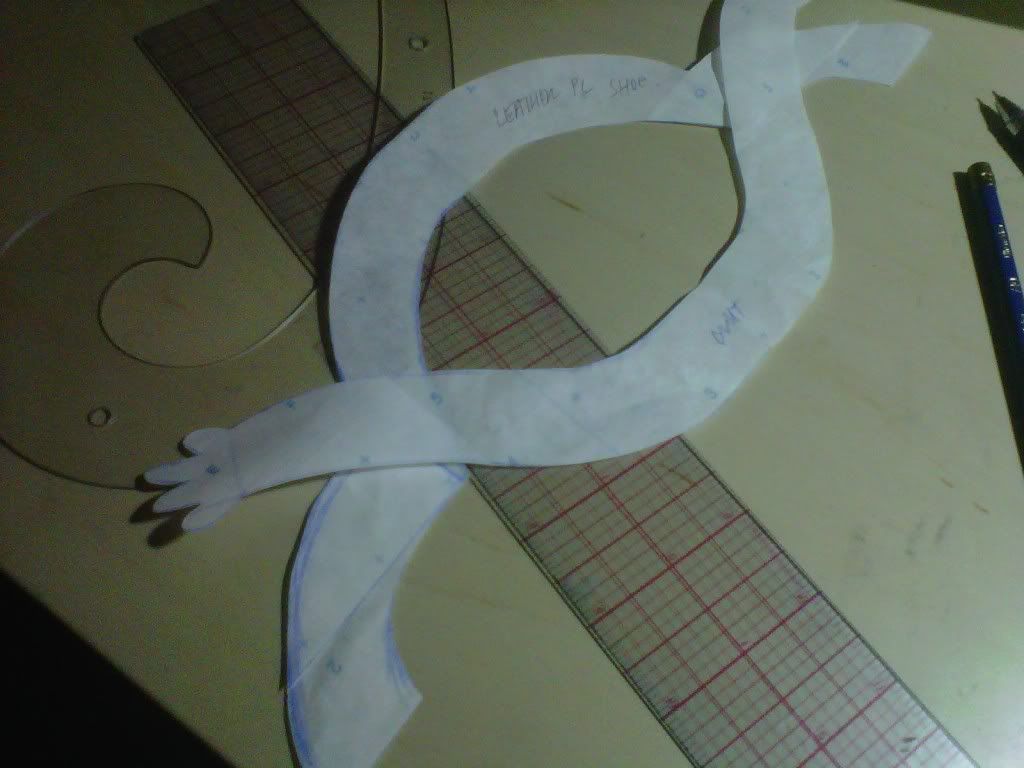
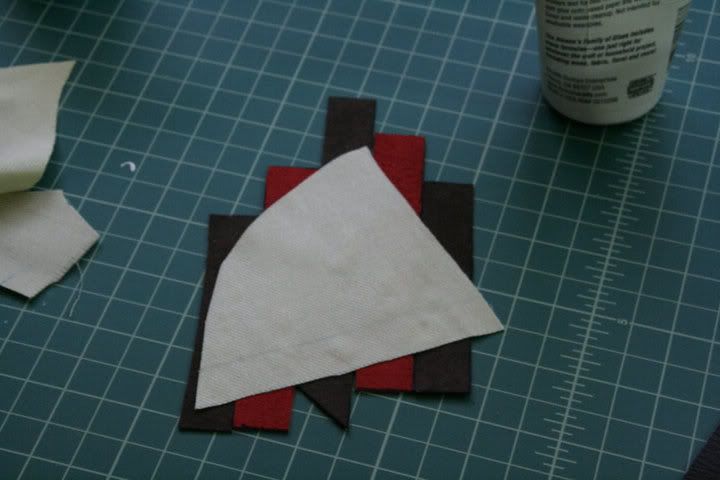
(pattern pieces)


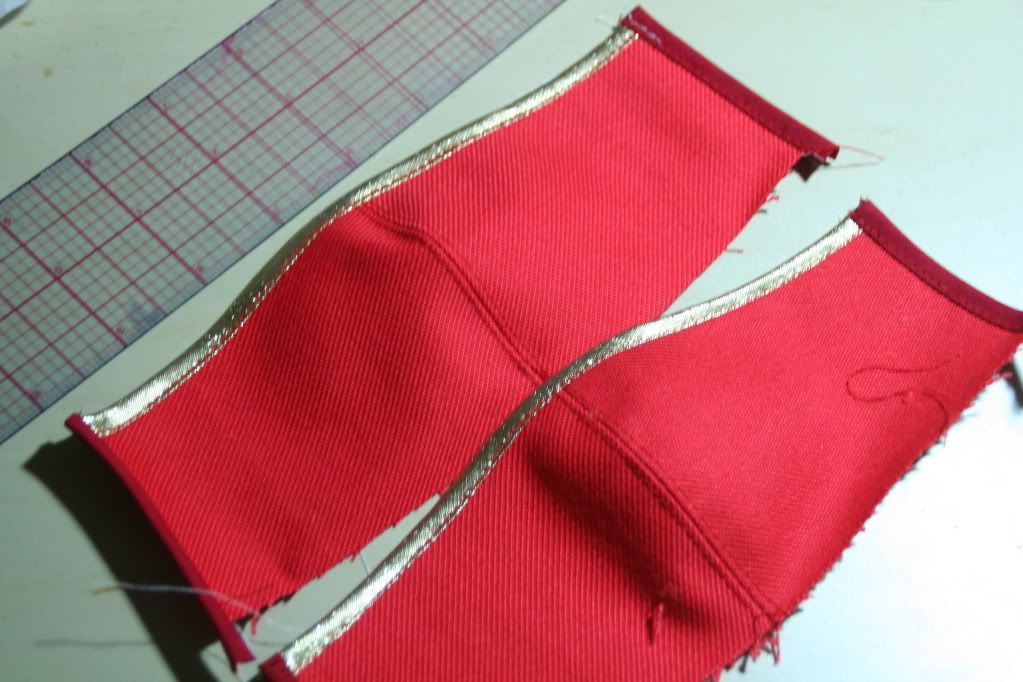
This was for the back of the shoe, I also cut this out of red canvas and I literally just measured my foot, I got really lazy >>;

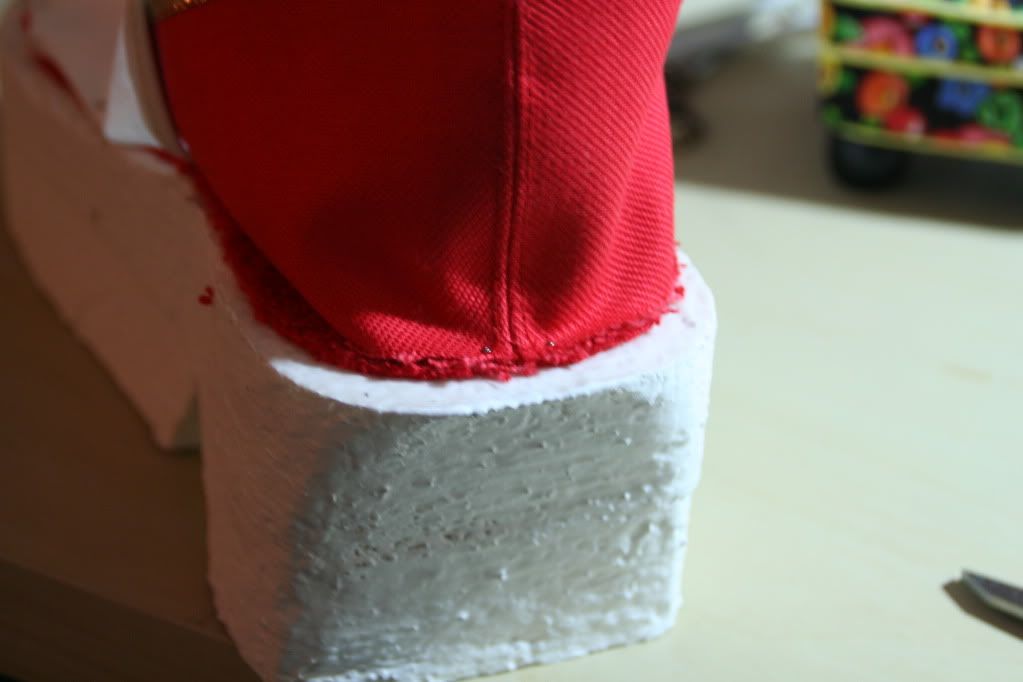
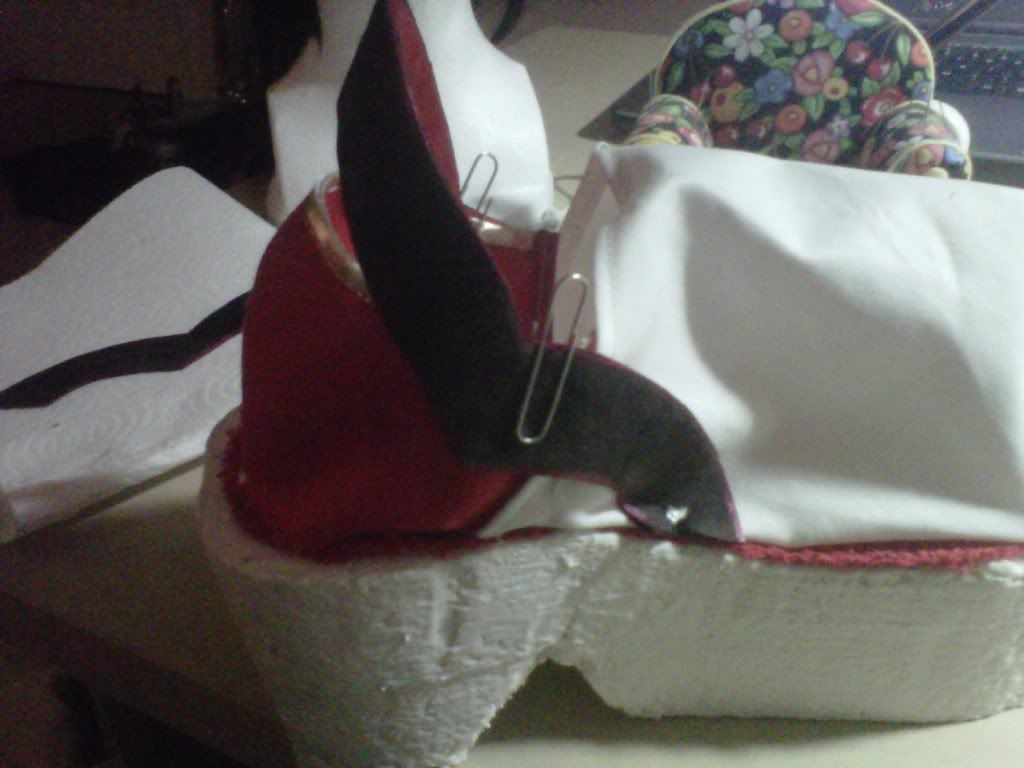
This next part was trickier, I actually used satin nails to attach the fabric portions of the shoe into the foam platform. After I secured the position I took out each nail one by one, dipped it into tacky glue and re-applied it to its previous position. It got a bit messy but I was watching anime at the same time so all is good.


I realized I didn't take any photos of how I cut out the front part of the shoe. To be honest I didn't really measure anything except for the length and height so I didn't even really want to explain it. It doesn't look that great and if I had the time I would remake it.

I used paper clips at another point to hold everything in place, heh.


To clean up the edges of the shoes I cut out 1" leather strips to glue along the edges. (You could also see the details of a brown trim on the rendered artwork which I was referencing)


I threw in some studs to make it look like I put some effort into the shoes. And voila. Meh.


(I should have painted over the foam more because you can still see that I used 2 layers of foam, sigh)

20100823

wind wizardry (zephie), in your breast interest

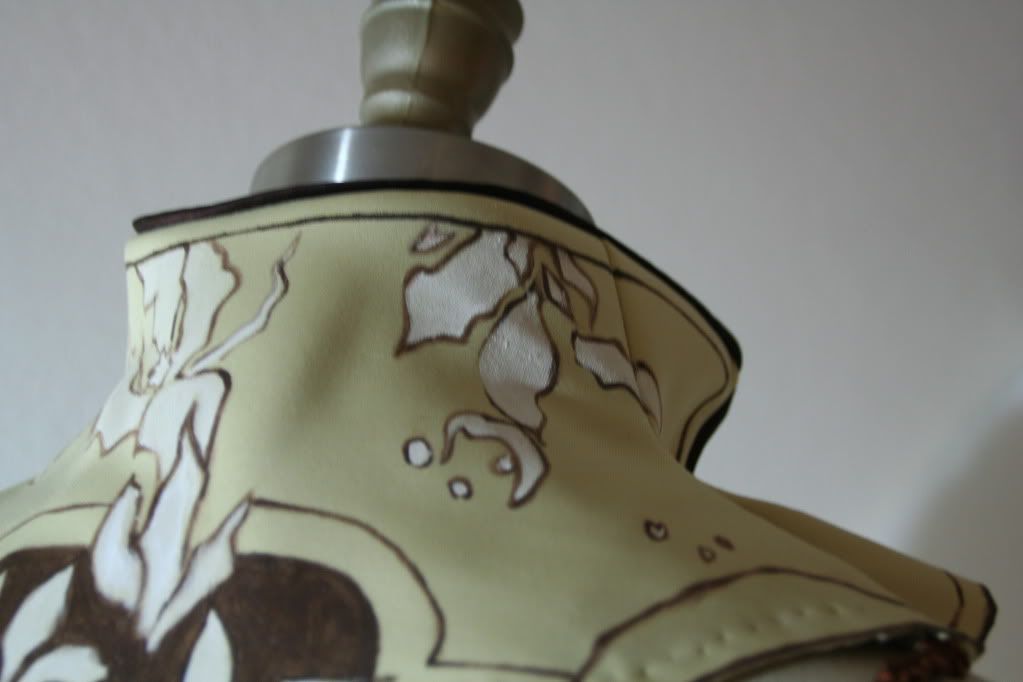
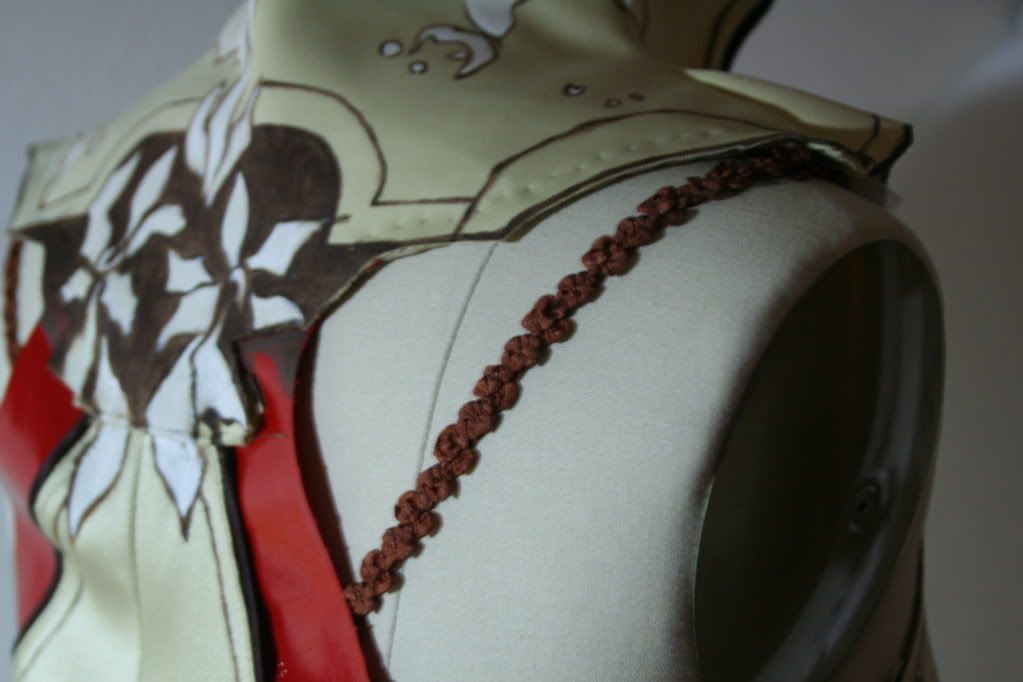
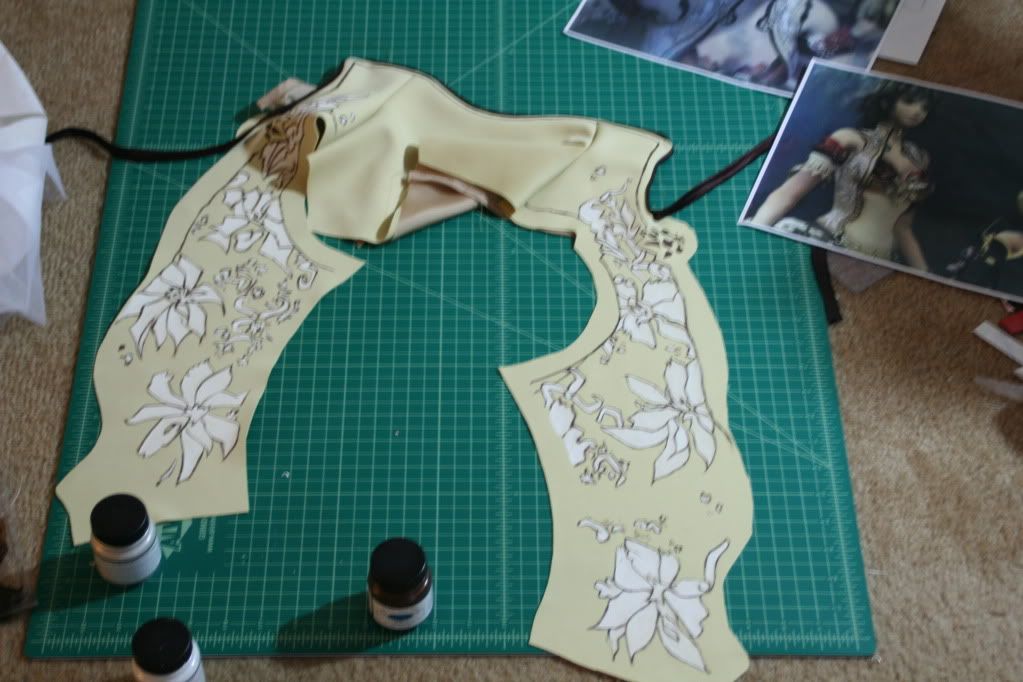
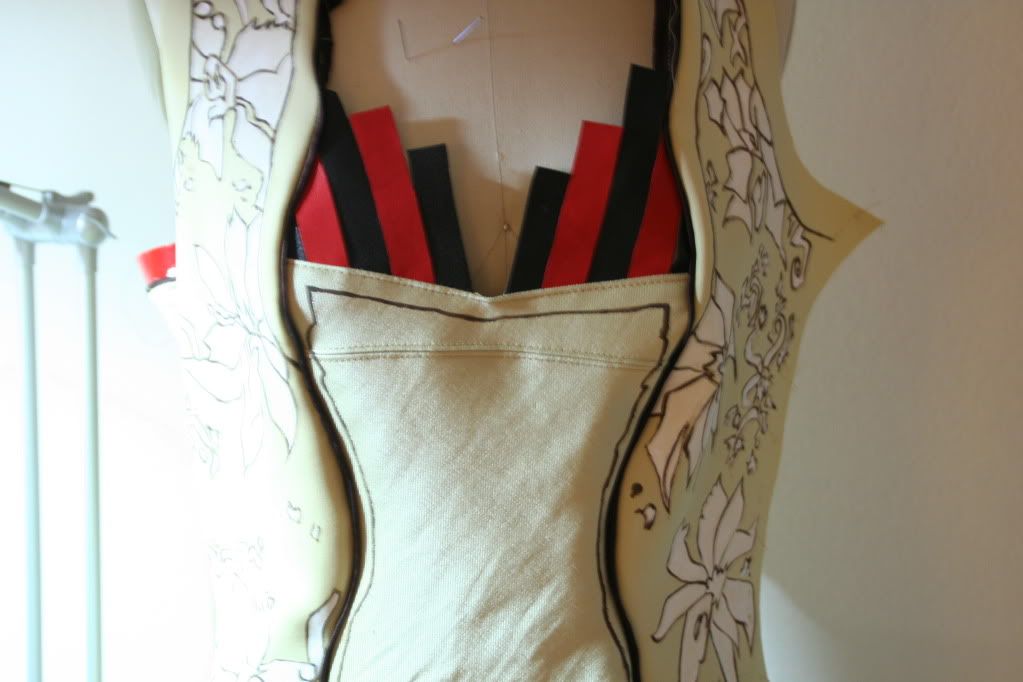
Here's a quick post on the bodice piece of this costume. I used an interlock knit for the 2 side panels, stiffened with tricot interfacing and a facing fabric. I sandwiched the piping between both layers, and that is how I got the border.

The center front piece is a stretch twill that is similar to the ribbed detail in the illustration / game rendering. I had to add push-up bra pads underneath since I don't have a nice rack like Zephie does. Sad. But hey! I get to practice sewing bra pads into a garment :D The bust piece has the leather stitched into it and glued into place. If I'm going to keep working with leather in the future I think I will have to invest in a leather sewing machine, because even as I was using a leather sewing needle, the stitches skipped a little and were uneven, even though you can't really see them.


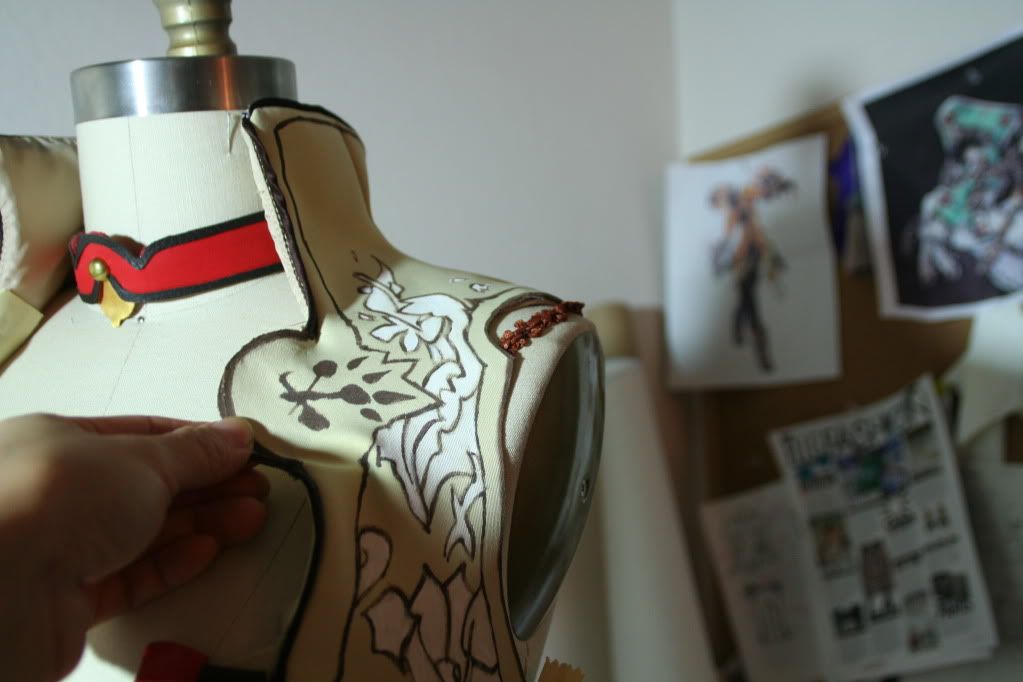
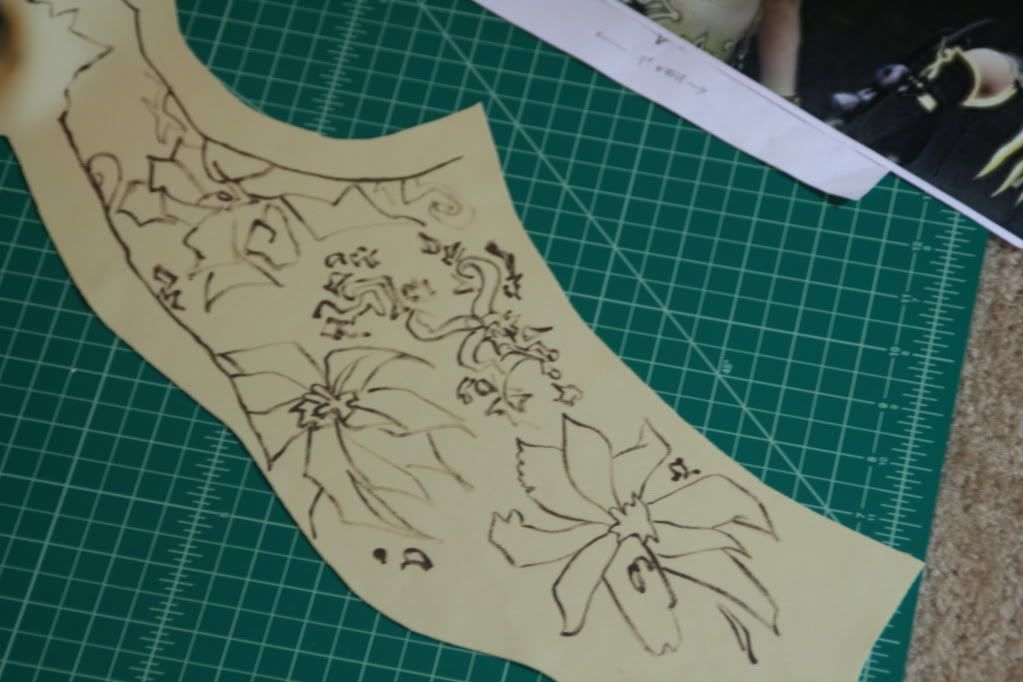
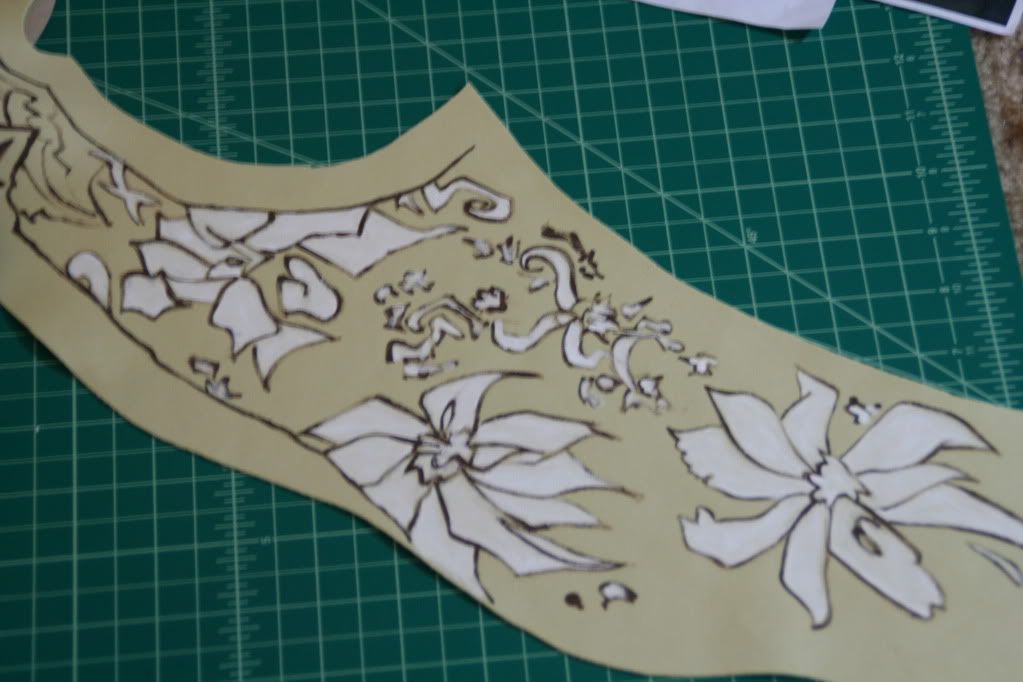
Again, all the details along the side panel were painted by hand using Jacquard paint.


Details were lightly painted in brown first, filled in with white, then retraced in brown.


The dress is only half-lined where necessary. I didn't want it to be bulky so I did not want to line the body at all. I used an invisible zipper along the side.

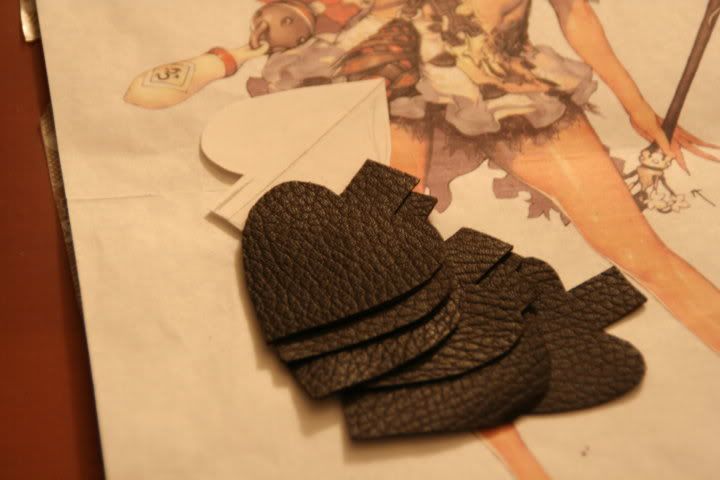
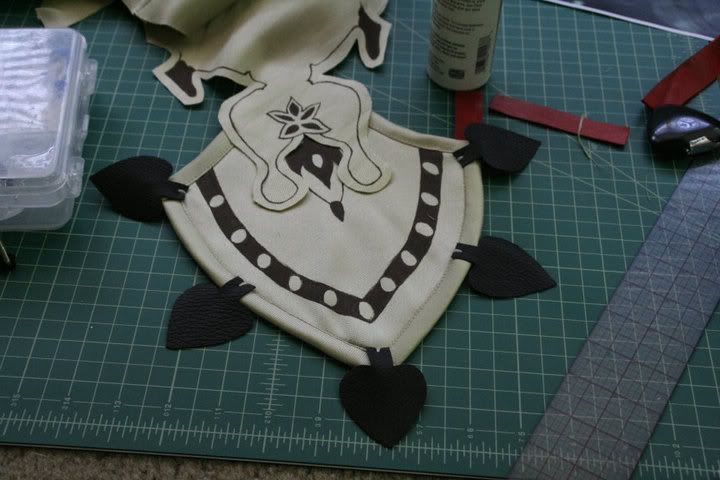
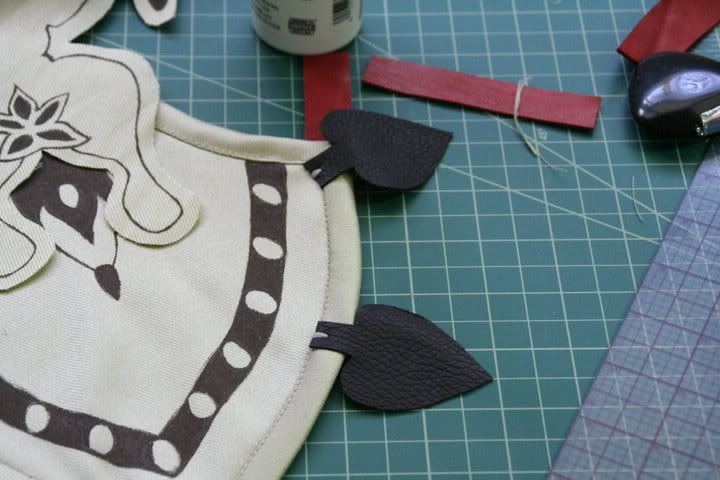
The little spades were cut from leather and hand-stitched to this panel, which was also painted.


Most of the details in the front were painted.


When cutting thinner sheets/pieces of leather, make sure you use a SHARP pair of scissors. And if you have some type of straight or long, curved edge, use a rotary cutter to keep a smooth line. This is why most of my pieces are always laid on this gridded cutting mat, most of my pieces I'm cutting with a rotary cutter. I bought a rotary cutter for $8 at an art supply store.