Showing posts with label natsu. Show all posts

20120530

the calibur of your soul - natsu (leathers)

I think buying the leather made my wallet cry the most in this cosplay. At $4/sq foot, I ended up buying 15 sq ft, but each piece wasn't a perfect square (I bought 3 "sheets" of 5 sq ft each). This was because I had a ton of trim to cut in leather, and I couldn't do with short pieces or scraps.

I bought a textured calfskin, which is thin and easy to sew, if you're like me and still can't afford a leather sewing machine. I just sew my leather with some waxed paper or parchment paper between the needle and leather surface.

1. Greaves?
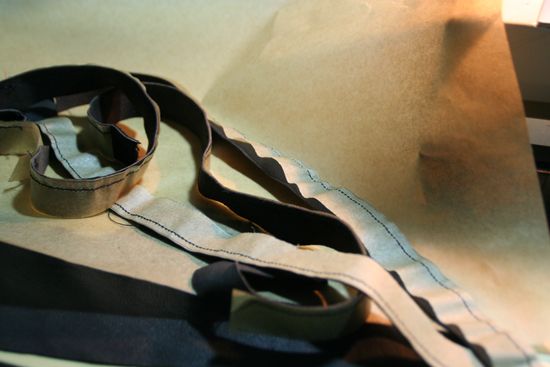
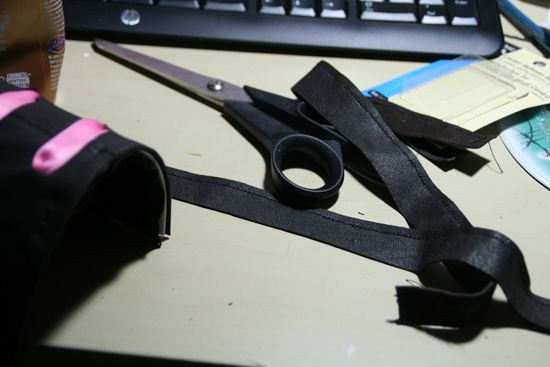
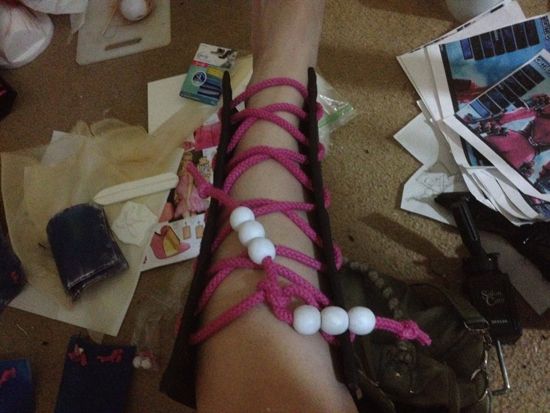
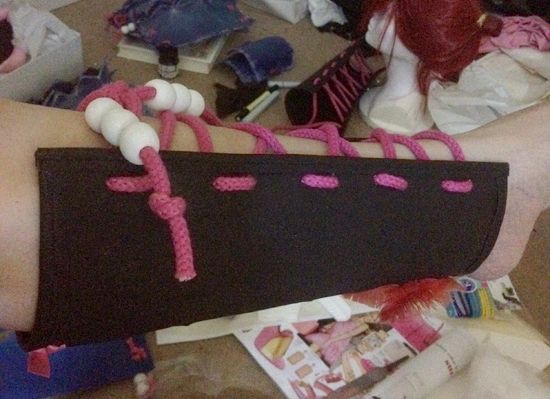
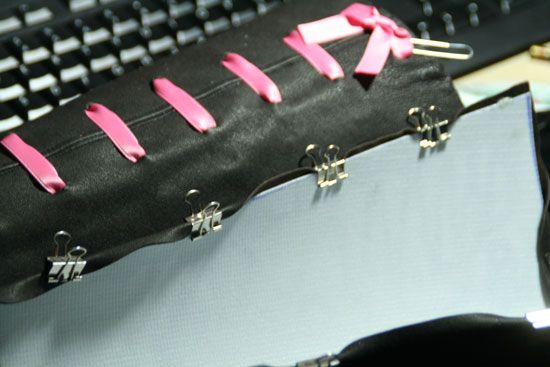
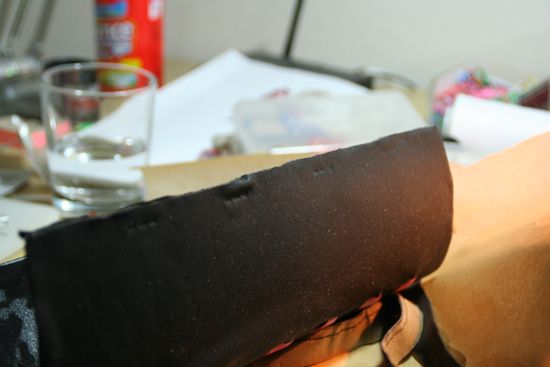
I needed these to be sturdy so I made a base from Wonderflex that I molded to my calves. I modified the pattern I made for my Late But Lucky shin-covers, and marked how I'd "thread" the ribbon. I ended up punching holes (with an awl) for each strip of ribbon to thread, and glued the ribbon ends to the inside of the leather. I glued the leather (after the ribbon trim was completed) to the outside of the Wonderflex. I used paperclips and binder clips to hold the edges together while the glue dried. I used gorilla glue because I was afraid the rough surface of the Wonderflex would render tacky glue a bit useless this time. I sewed 2 more pieces of a brown knit fabric leftover from another project and used these as a "lining", but in actuality I glued these to the inside of the calf guards. For the "trim", I actually sewed the "topstitching" before cutting the leather into 3/4" wide strips and gluing them along the edges of these calf guards. The final step was punching the holes along the front for the cording. The cording is hand-dyed because nobody sells hot pink cording, haha. I bought wooden beads and painted them white.
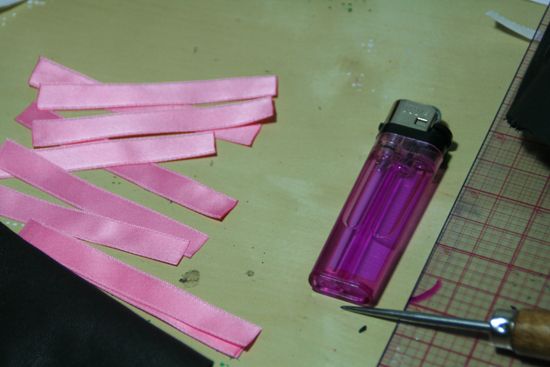
Above--melting the edges of the ribbon to prevent fraying


Sewing fake topstitched trim


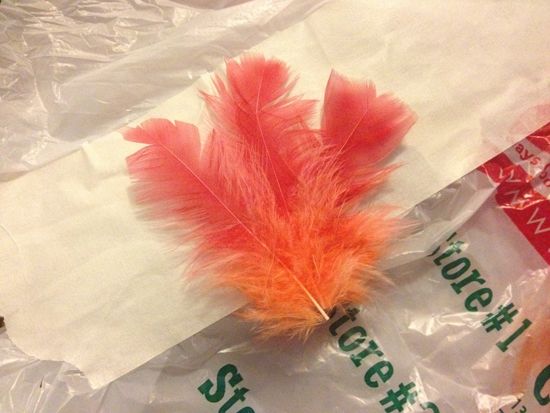
Airbrushed feathers--
For the feathers I bought cheap white feathers from a craft store and airbrushed them. I bought LONG feathers that I trimmed to shape. I like having more to work w/ than less.


^crappy iPhone pics :(


2. Leather corset?
So this isn't really a corset, more like two waist pieces, but I'm not sure what else to call this part of the costume, so "corset" it is. I wanted this to be sturdy as well, but the Wonderflex was actually too THICK with the leather glued onto it, and it wouldn't form to my body as well as going the corset route of adding boning into the layers of fabric that make up the corset. I also tried forming styrene to my body shape, and I just ended up wasting a ton of it (hello, fail whale...). I just eyed where I wanted the corset to start, the width and height, using my measuring tape, and drafted a very simple pattern from the measurements. I draped it on myself and pinched out the excess paper. All the seams to hold the boning are along the inside--there are 3 layers to this corset. The inner layers hold the boning, and the outer layer is the leather, which is actually glued onto these inner layers. This time I was actually able to sew on the leather trim since I didn't have to worry about a layer of Wonderflex to sew through. I debated putting velcro onto the insides of these corset pieces, to stick onto the sides of the bodysuit, but thought that would look tacky (for the bodysuit, anyway) so I ended up using clear elastic to hold the leather "corset" together. As long as I don't eat anything crazy the corset fits perfectly.
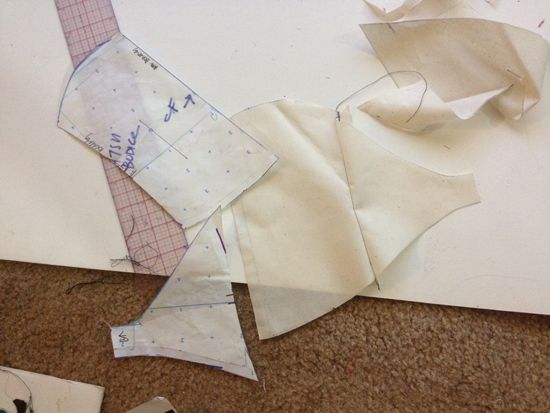
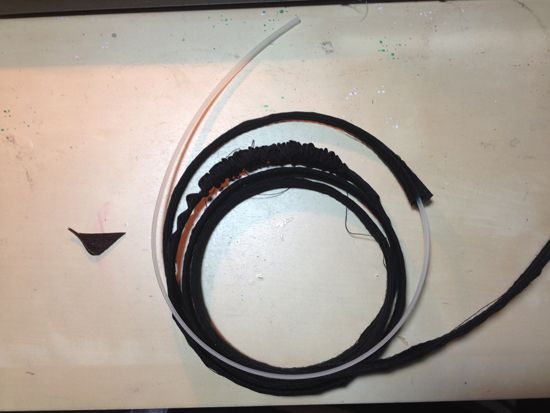
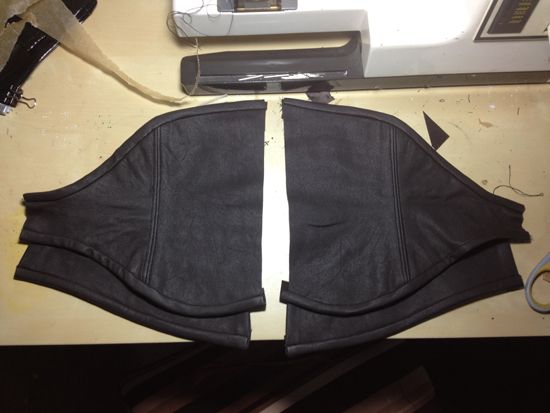
Plastic boning


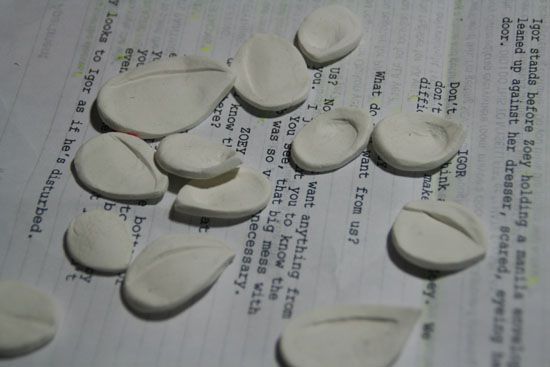
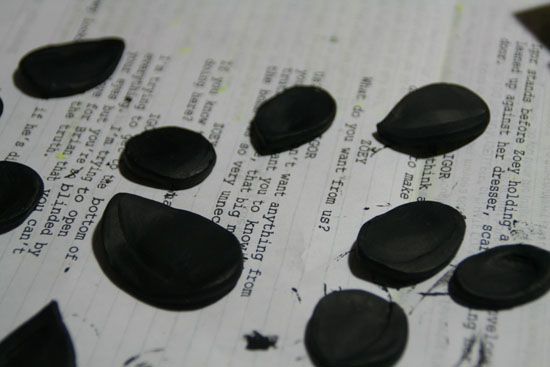
For the flowers at the front of her corset I sculpted them with lightweight stone clay and painted them with the same brushed gold technique as my swords. I glued these to the front with gorilla glue. I bought pearls from a trim store and was pretty lucky to find exactly what I was looking for! I decided the best way for me to get in and out of this corset was to use a hook for the strand to latch onto.
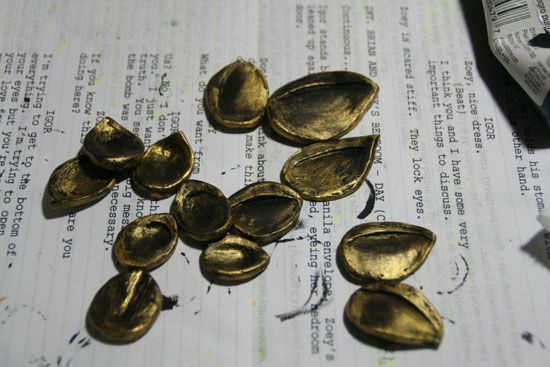
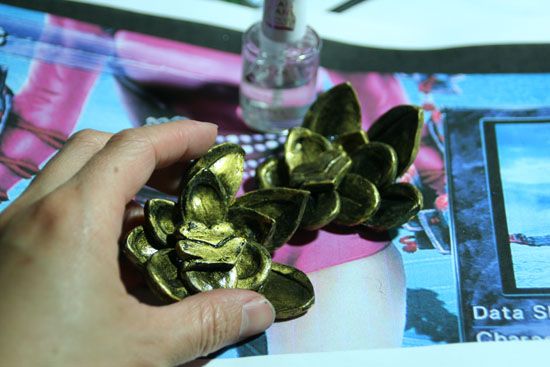
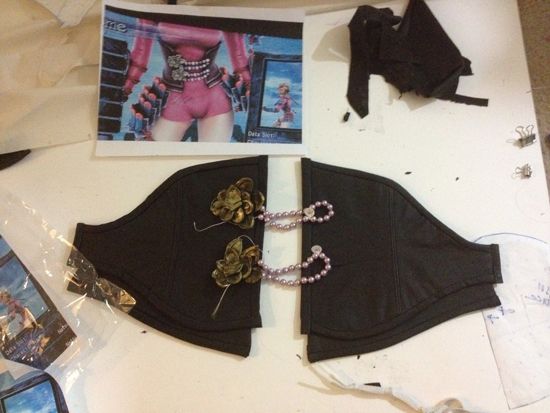
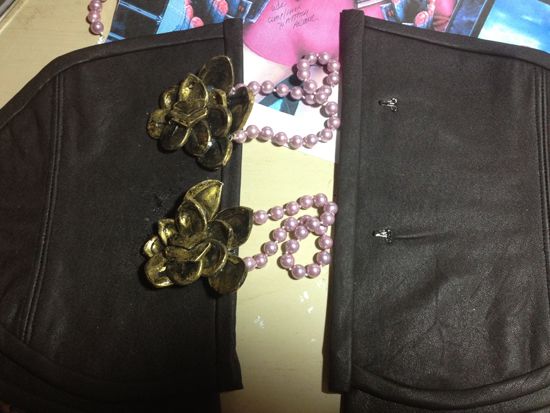


A note on the boning I used: I prefer metal boning but I actually used the cheap plastic boning because I needed very short lengths for this corset.  I don't think it as "sturdy" as metal boning but this waist piece isn't actually holding up my chest, I just need some kind of structure and shape.

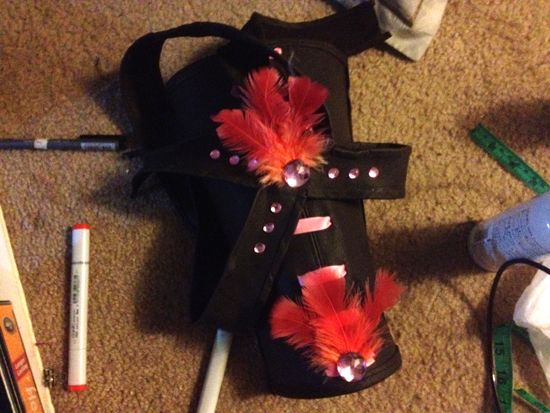
3. "Harness"
Cutting this piece out also created a lot of wastage in my leather piece since I wanted it to be a continuous piece but it was about 30" in length going both directions... For this part I drafted a paper pattern first, draped it on my dressform, then cut a muslin sample. I draped this again on myself, and cut from the actual leather. I knew that I wanted to use some kind of buckle as the closure, and found a buckle I could modify. I cut a tiny strip of leather to glue along the edges to give a "raised" effect. I altered the buckle using Wonderflex scraps.
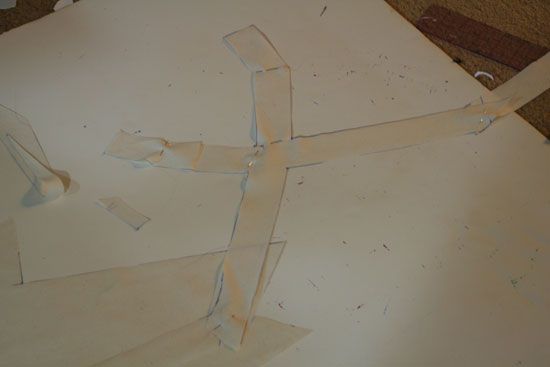
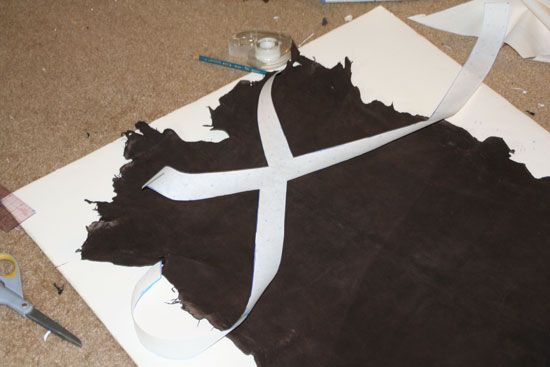
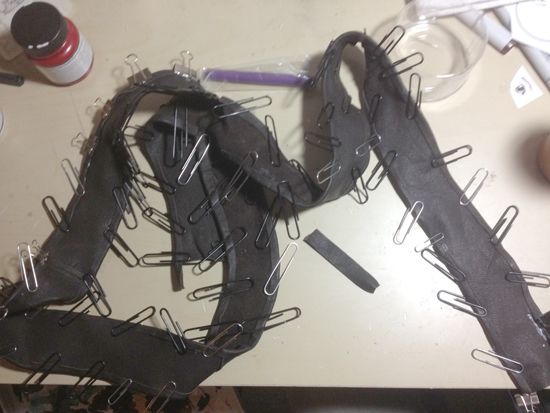
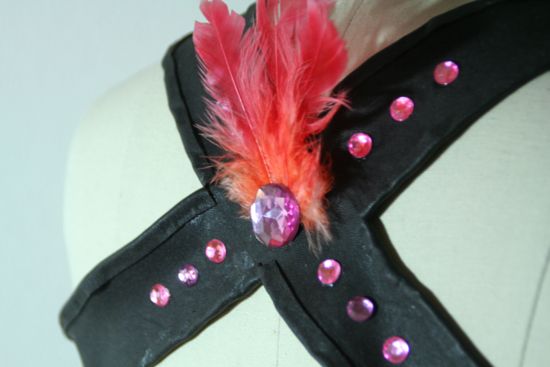
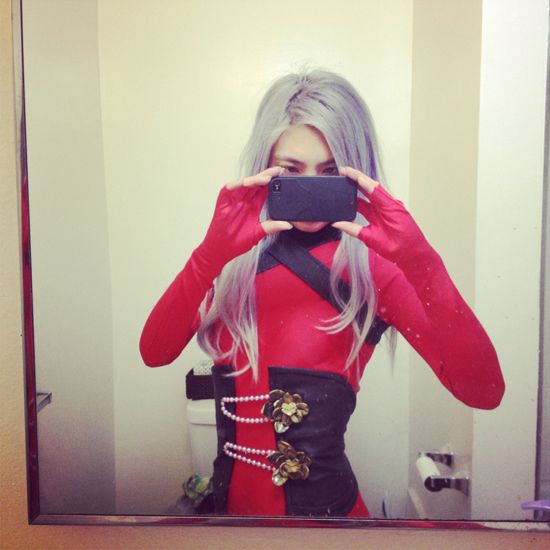
^another crappy iPhone picture


And now for the cost as I promised on Twitter:
3 pcs of leather, each at roughly $20/pc = $60
bag of feathers = $4
acrylic jewels (large) = $4
acrylic jewels (small) = $4
plastic boning, $1/yard, I bought 2 yards = $2
strand of pearls (3 strands, $3 each) = $9
clear elastic (small roll of 5 yards) = $4
satin ribbon, $.75/yard (3 yards) = $2.25
white cording, $1/yard (5 yards) = $5
red dye = $6
pink dye = $6
wooden beads (dozen) = $3

My wallet is currently crying because all of this cost me = $109.25

20120402

the calibur of your soul - natsu (SPANDEX)

Tried to break up the process of this cosplay into semi-organized "sections" per post, because I was a little all over the place in working on this cosplay, didn't have enough materials, time constraints, got distracted by Mass Effect 3... I already did the write-up on Natsu's default swords, the link is here.

I decided to include all the details related to sewing the spandex pieces in this post, which consists of the bodysuit and tabi socks.

Here's the character illustration showing a red bodysuit--the in-game rendering is of a dark salmon bodysuit w/ an iridescent finish. Wanted to go w/ the in-game bodysuit but could not find this fabric ANYWHERE. Luckily I found a great spandex fabric with a nice sheen, which was a painful $24/yard. I bought a yard and a half, which was exactly enough for the bodysuit and the socks, and just enough to cut an extra pair of socks since I have never made tabi socks before!


^ How I brainstorm


I wanted this to be a one-piece bodysuit, meaning there is only a zipper at the back and no side seams! Luckily it fit after the first fitting, so as long as I don't eat any burgers or buffets for a while, ha.


The spandex I bought is fairly thick--it was called "Super Spandex". But obviously I still had to buy a special bra so as to avoid awkward bra lines. Yes, these pictures above look WEIRD but once on the body the fit is perfect (I'll post a picture later with some of the armor on). And below is the pattern. I first drafted a 2-piece full-length bodysuit, then modified the 2 pieces into ONE piece. It was surprisingly easy and I can make a video about it/write a step-by-step process when this cosplay has been completed.

^ The pattern for the bodysuit.


I didn't finish the edges because they didn't unravel and for the fingerless sleeves there was no way I could fit that through my machine...


I had to create a two-piece sleeve, which was kind of a pain, because usually sleeves are one piece, and the only time you really need a two-piece sleeve is for creating a tailored jacket/blazer. BUT, Natsu's sleeves don't stop at the wrist, and the easiest way for me to create the fingerless glove look was to have another piece sewn to the "top piece" of the sleeve, which starts from the sleeve cap/armhole seam.

Even with the tabi socks I didn't want the seam going down the center front of my leg because it would bother me for the rest of my life if this didn't look as close as possible to the game rendering/illustration/concept art. I found a tabi sock tutorial (though it's in Japanese, I'll write my version soon), cut one sample, sewed it up, and after test-fitting on my leg, I drew a line for where I wanted to shift the seam. I had to keep the seam separating the toes otherwise I wouldn't be able to control the fit on the top of my foot. I went with a curved seam so I could "hide" the seam to the side, as you can see in the pictures. I basically changed what was a 3-piece pattern into a 2-piece pattern, which, actually, results in less sewing for me! I was very pleased w/ the fit after I shifted the seam. Also very comfortable.


To create the closure for the bodysuit, I bought a regular (not invisible) red zipper. I was okay with the zipper being slightly exposed because my fabric is fairly thick, and wrangling an invisible zipper while keeping my one and only seam neat was not worth it to me. I don't like taking out the seams and restitching on knit fabrics, even if you're using a ballpoint needle you are basically destroying the fabric :( I'd rather focus on stitching all my seams correctly the first time. Because you all know how much we cosplayers love ripping out seams at 3am!


I was lucky to find a mesh fabric that had the exact look I was going for--and which I thought would be pretty accurate to the concept art. My other option was to layer 2 fabrics together but this saved me some time and headache. The neck piece is only sewn to the rest of the bodysuit at the shoulder seam and center back, because I didn't want any topstitching around the actual neckline. I added a knit binding along the top edge of the neck piece mesh to finish.

I said I was going to include all the costs in this cosplay, so here's a quick rundown--
Spandex fabric = $24/yard, 1.5 yards purchased = $36
Mesh fabric = $11/yard, 1/4 yard purchased =  $2.75
Zipper = $2.00
Black knit fabric for binding = leftover from previous cosplays

Just to make the bodysuit cost me $40.75 (materials only).

20120311

the calibur of your soul - natsu (swords)

I'm not entirely sure how I'm going to finish the rest of this cosplay in a week, especially since I started playing Mass Effect 3, and that's been my life for the past 2 days.... but in any case, I did finish Natsu's swords Kuzukiri and Awayuki. My dad helped me with the sanding as there were a lot of fine sanding details and I'm not that great w/ a belt sander (yet).

I couldn't find great pictures of the swords but that gave me some freedom to play around with some of the details.

Since I am a lot shorter than Natsu, I scaled the swords down so I could translate the cosplay to my body type.

I knew I needed something relatively light and easy to work with so I used MDF for the scabbards. The handle of the swords are also MDF. The blade is actually made of poplar because poplar is much easier to sand than oak or plywood; at the same time, it is rigid, I don't want a floppy blade haha. I drew the swords on Illustrator first, just to get my ideas finalized. I decided that I wanted the scabbards to have beveled edges, and the handle to be an elliptical shape. I guess if you look at the in-game screenshots the scabbards have beveled edges? There was a lot of math involved while creating the scabbards and the blades in order to have the blades fit snugly.


A shitload of sanding.


Hours of sanding later...


After the bases were created, I began painting the scabbards and the swords. I used Montana Gold for the red--I actually used up half a can!! Fumes everywhere...


Instagram photo lol.


For the handle, I wanted to do something a little different and give it a stone-textured finish. I bought a stone-textured finish spray from Home Depot and applied that over the primer. It takes 24 hours to fully dry, but the effect looks really cool! I sprayed the red paint over this to finalize the look.

I had already decided ahead of time that I would be sculpting the details on the scabbard with clay, and creating the details on the handle with Wonderflex. I didn't feel it was important for the details to look perfect on both swords; I wanted these swords to differ slightly in the details. I used lightweight stone clay--dries faster and easy to sand. I kept the sanding to a minimum because I knew I wanted to apply a brushed gold finish afterwards. The best way to create this brushed gold look is probably to apply black paint to the surface you're working on, then use a dry brush to apply the gold paint on top of the black base. If you have too much gold paint on an area you can quickly wipe it off with a damp towel or brush. I used acrylic jewels for the accents. For the less "organic shapes" on the scabbard I used Wonderflex for structure and stability. Then came more clay for the twisty-vine details. For the twisty-vine details on the scabbards, I used black puffy fabric paint. All of these were given the "brushed gold" treatment as well.


For the sword handles, I used Wonderflex for all the details since it would be easier than sculpting, and especially since these pieces were very thin to begin with it would be easier to add layers of Wonderflex rather than to roll out a ridiculously thin piece of clay, only to have it break later.


I used more black puffy fabric paint for the raised details on the swords. Then gave them the "gold treatment".

These probably don't look like they took FOREVER, but the fabric paint took at least 20 hours to fully dry, and I had to lay the scabbards completely flat while I applied the paint otherwise it would drip. So I could only paint one surface at a time! Stone clay also dries fairly quickly but I still had to wait at least 4-5 hours in order to start applying paint. Lots of time spent waiting for things to dry!!


4/1 edit --I mentioned on Twitter that I was going to break down the cost of this cosplay, and I realized I didn't write that here. I am only including things I had to buy specifically for this cosplay, not leftover materials:

2 strips of poplar = $2/ea, $4 total
2 3/8" pieces of MDF = $2/ea, $4 total
1 can of stone finish spray = $9
1 bottle of puffy fabric paint = $4
1 sheet of 21" x 27" Wonderflex = $33 (after shipping)
1 can of red paint (leftover)
1 can of metallic silver paint = $6
1 lb of lightweight stone clay (leftover)
2 bags of acrylic jewels = $3/ea, $6 total
1 tube of gold acrylic paint (leftover)
1 tube of black acrylic paint (leftover)
TOTAL = $62