Showing posts with label alice2011. Show all posts

20110906

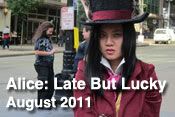
late but lucky, return to wonderland

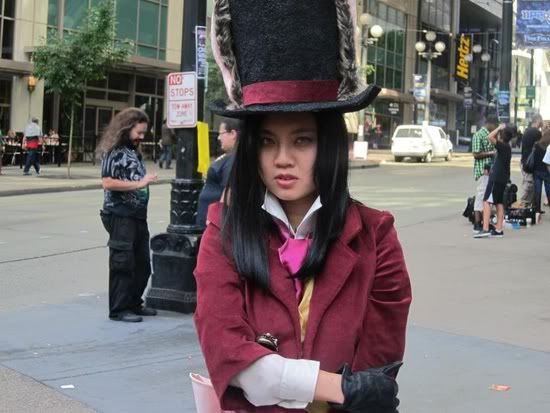
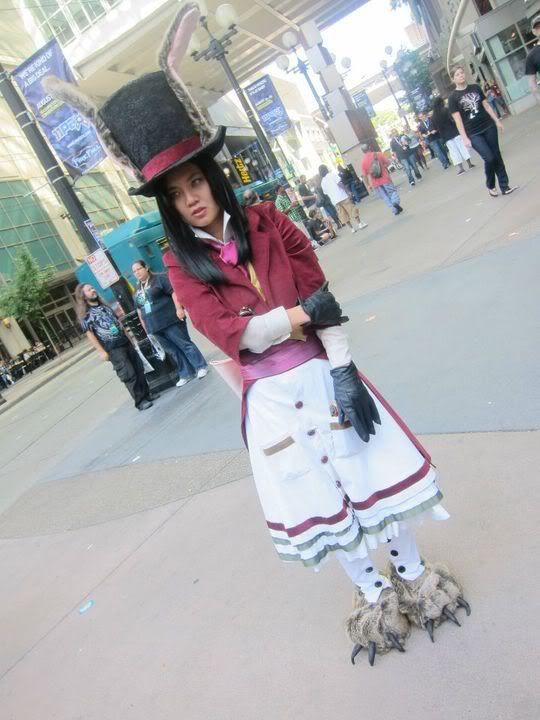
If you want to see more photos and a pretty damn detailed run-through of what people do at PAX, go to my friend Collin's blog, asiandoood.com. He did a great job of doing his convention write-up. Here I will shamelessly post pictures of my cosplay.


Thanks Jesse for the photos!


I didn't get the make the Omega pendant :( I will have the opportunity to sculpt it soon as I am planning another Alice: Madness Returns cosplay! But of course! Not sure if you can tell in the photos but I am wearing pink contacts. The pocketwatch I ordered from eBay for $11. Win again.

This was the most comfortable costume ever and I didn't have to worry about any of my body parts accidentally flashing anyone, hallelujah!

And thank you to the one person who recognized me, you are awesome.

I would also like to thank my friend Jesse for housing me and showing me around Seattle, buying spray primer, letting me use up all your black spray paint and feeding me spam musubi at 3am while I finished up my cosplay.

Some photos from PAX!


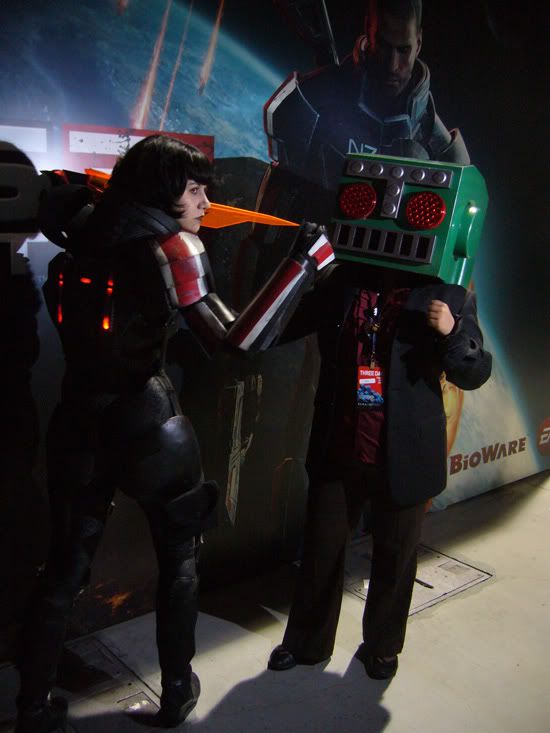
Really good Femshep cosplay + Destructoid head haha 


I still remember this arcade game, it ate all my tokens but it was so much fun 


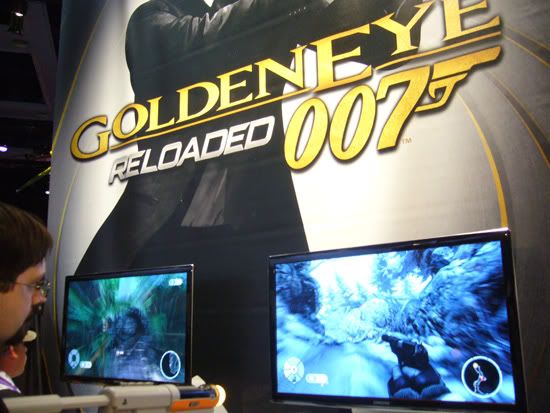
Another one of my favorite games from my childhood, I need to be more skilled in fps games though, I suck 

 
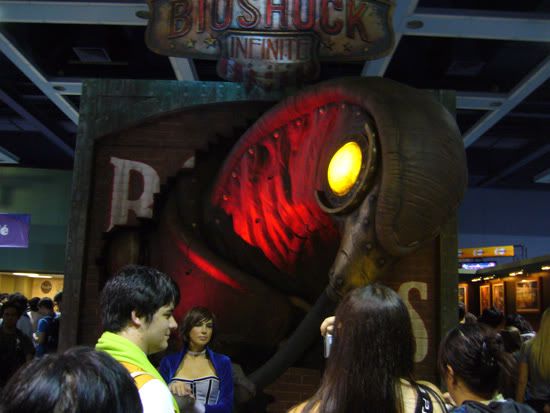
I'm a huge fan of the Bioshock series so I cannot wait for Bioshock Infinite!!! 


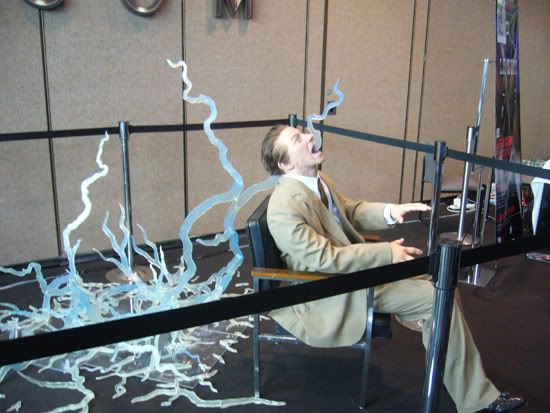
X-Com area, this wax sculpt was shockingly REAL 


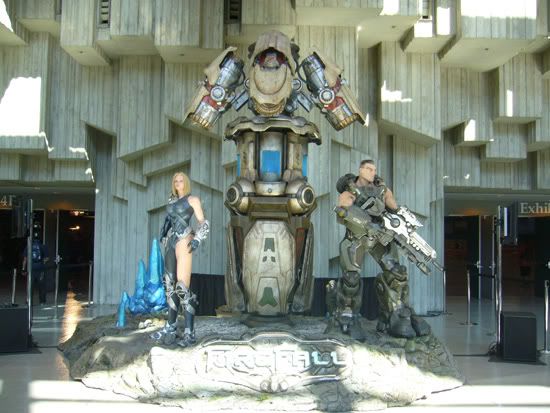
Firefall greeted us at Registration, not gonna lie, we kinda hated on it because it looked like Gears of War so much but it wasn't the same at all. 

 
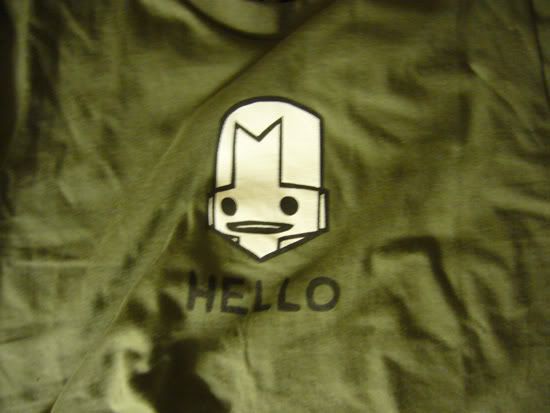
Castle Crashers tee. Wearing it now. It's my pajama shirt....

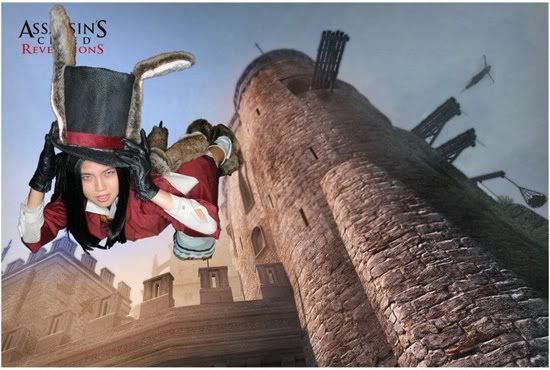
And... a really goofy pic taken at the Ubisoft booth promoting Assassin's Creed: Revelations


I suppose the official photoshoot pictures for this costume will be up much later, as I want to do the shoot with some props that I am working on at the moment.

late but lucky, collected memories (10)

The final part of this costume (not including the Omega pendant) was the top hat. I really didn't have time to search for a top hat exactly like the one in the reference image, and I also kinda wanted to try making my own hat. Yes, that is my logic--no time to find one to modify so I'll make one from scratch.

I did some research on how to make hats, and stumbled upon Fosshape. There's a pretty good fosshape tutorial on cosplaysupplies.com, but I think you're really going to need to just experiment via trial and error, which I expect to do more of when I make the Clockwork Bunny.
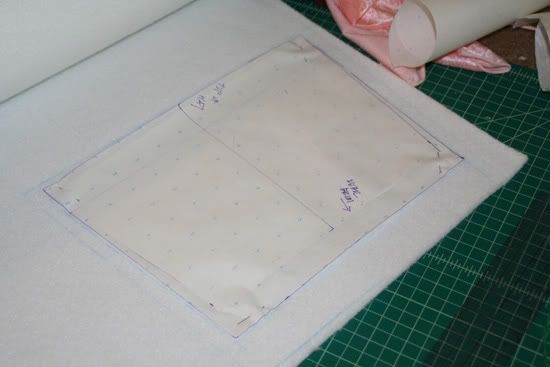


Fosshape is sold by the yard, it's basically fabric. I bought 2 yards because I figured--trial and error. I drafted a hat pattern based on an existing hat I had--just for the head circumference, really. In hindsight I would have added at LEAST an extra 1/2" to all the sides because fosshape shrinks a LITTLE when steamed. I also should not have used a regular seam to join the hat piece together, it was very bulky. I will try a lapped stitch next time (sewing one side directly on top of the other).

I made a hat base in the most last-minute (aka "ghetto") way possible--I used a roll of paper towels and wrapped it in layers of paper and cardboard. This was the exact shape of my top hat, wider at the top. My sewn fosshape piece fit perfectly over it. I cut out a circle for the top part of the hat. In hindsight I should have hand sewn the top of the hat to the sides, not done this after I steamed everything because all the edges shrank about 1/4"-3/8".
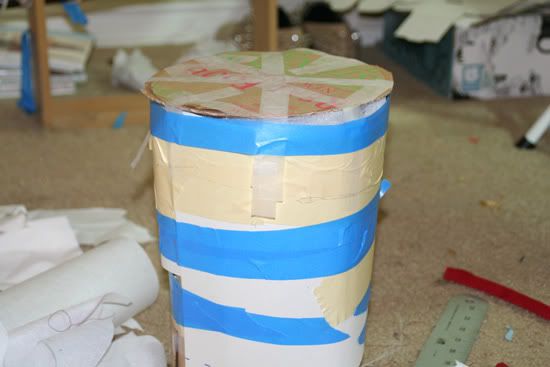
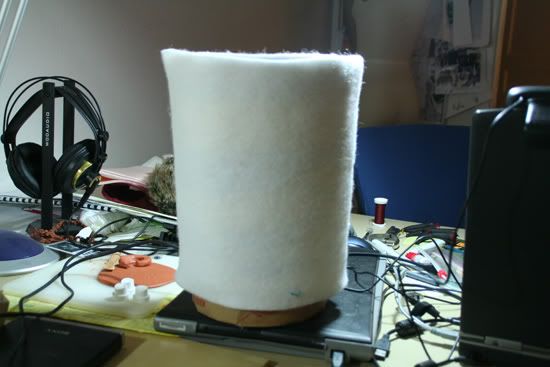
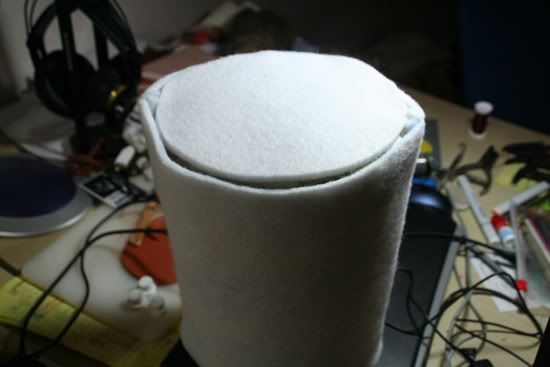


This is where the magic began--because making cosplay is magic?! Yes, it is. After you steam the fosshape (you NEED to use a steamer, do not even use an iron to steam it), it becomes stiff! Very very cool. I steamed the brim along a curved edge to get the sides to flip up.
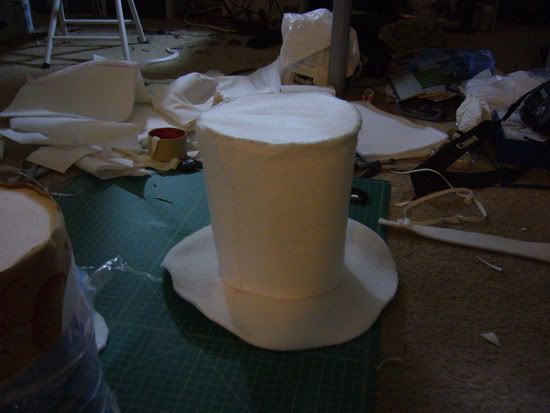


I then sewed the steamed pieces together by hand as you can see in this photo below. Always remember to clip your edges when sewing round surfaces.
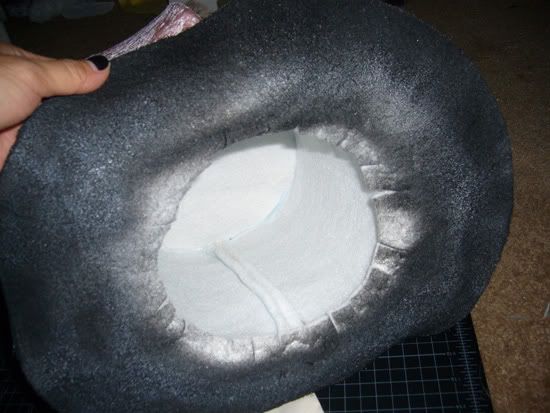


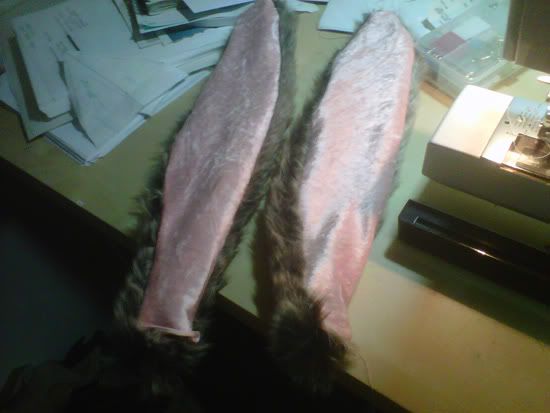
I also cut fosshape pieces for the ears to give them structure. I forgot to take a picture but I used the same pattern as I did for the ears.

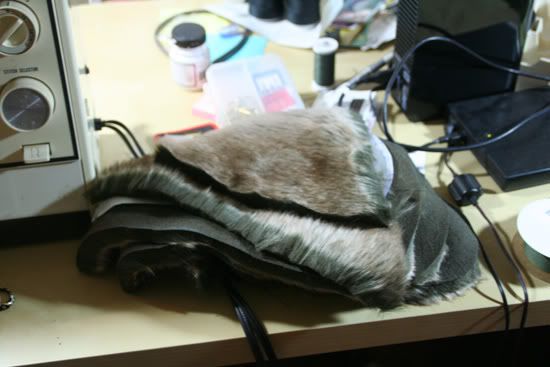
For the ears I used the faux fur from the paws, and I bought a chenille fabric for the insides of the ears. Stuck the fosshape inside. Done.


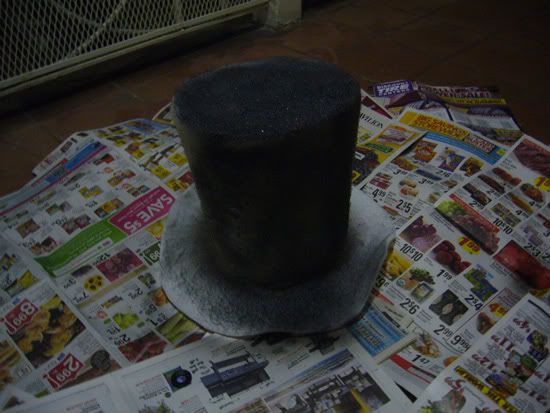
How I "colored" my hat is a big no-no. Do not do it this way. It will smell and look fug on the surface. I didn't have time to dye the hat so I spray-painted it. I used primer, and this caused the "hairs" of the fosshape to raise a little, so my surface was no longer "flat". Anyway, I sprayed about 2 coats of primer and then sprayed the entire hat black.
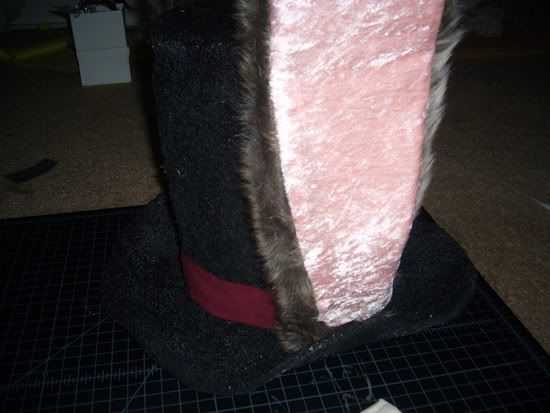


I cut the "ribbon" from the same corduroy as the jacket, and glued that to the hat. I hand sewed the ears to the brim, and tacked the ears to the top of the hat because I didn't steam my fosshape enough to make the ears stand upright on their own. Fail.

This was a decent amount of work and I should have started earlier so I could make a more beautiful hat :[

late but lucky, collected memories (9)

Here comes the part where I hauled my unfinished cosplay to Seattle and finished the rest of it at my friend's apartment, yikes!

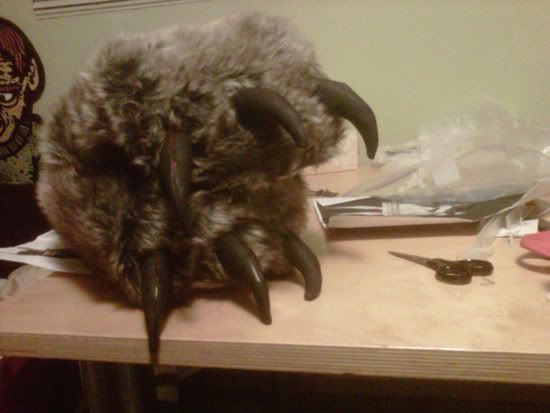
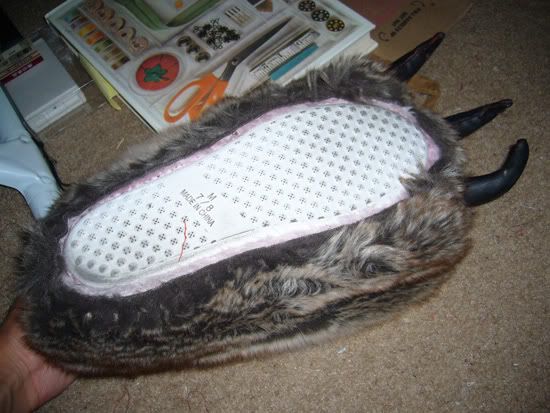
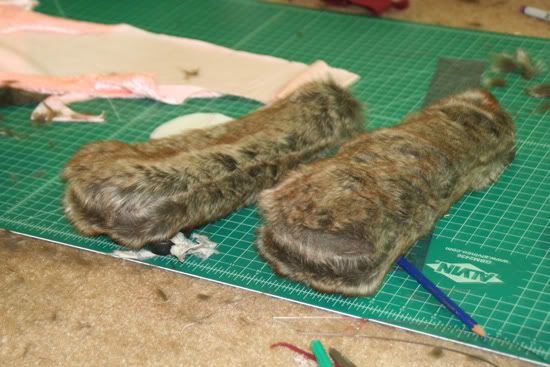
For the "shoes" I made the calf-boot separate from the paw-shoe. I really don't know what to call them, sorry if they sound lame. Anyway, I cut 3 pieces for the paw-shoe, using a pattern similar to the one I drafted for my Zephie shoe.


This was actually just a covering, as I bought bedroom slippers ($7 at Target, WIN) and simply hand-sewed the fur covering over these slippers. My friend commented, "dude, you're basically wearing slippers all day, you lucky bastard". Yep, it was pretty damn comfortable!


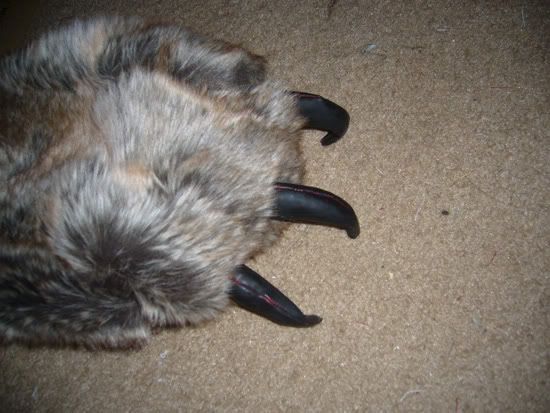
The claws were also hand sewn. I created the separations for the paws the same way I sewed the sash's paws.


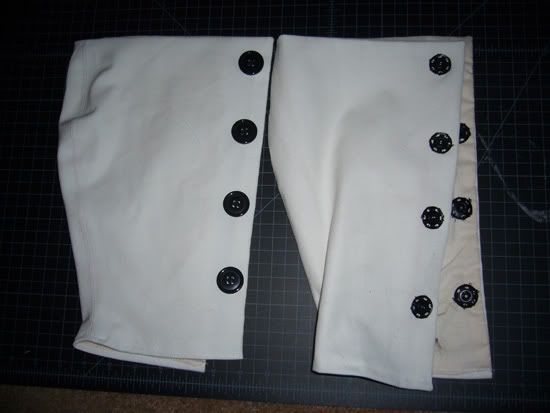
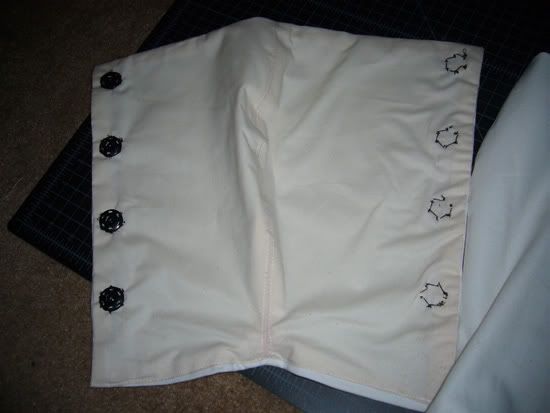
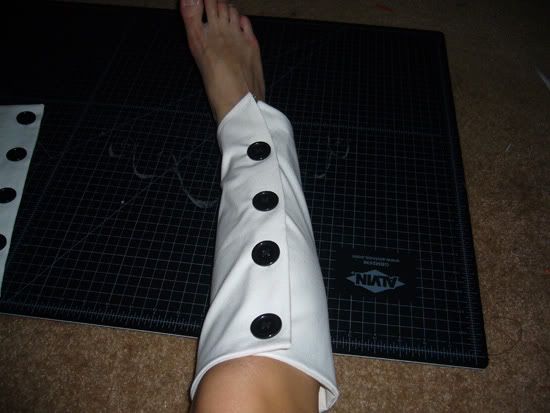
For the calf-boot I used leftover cotton stretch twill from a previous project and drafted 2 pattern pieces to my calf size. I lined the inside with muslin. The buttons are not functional--I used snaps to make getting in and out of them much easier. In hindsight I should have made the calf-boot tighter around my calf because walking around all day, these things kept slipping down. However I wanted the placket to lie flat, so I didn't want to use an extremely stretchy fabric. I think the twill I used had only about 1% spandex.

These didn't take that long for me to make; I feel like I kind of cheated by sewing the covering over a slipper, but hey--it worked and was super comfortable for me!

20110829

late but lucky, collected memories (8)

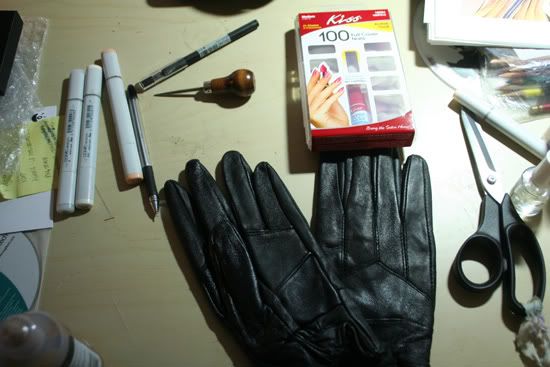
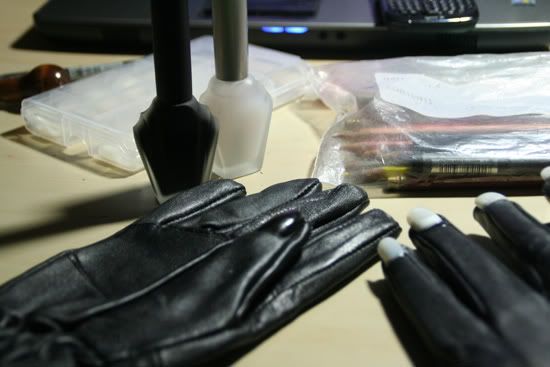
I didn't forget about the gloves, but I didn't have much time to work on them.


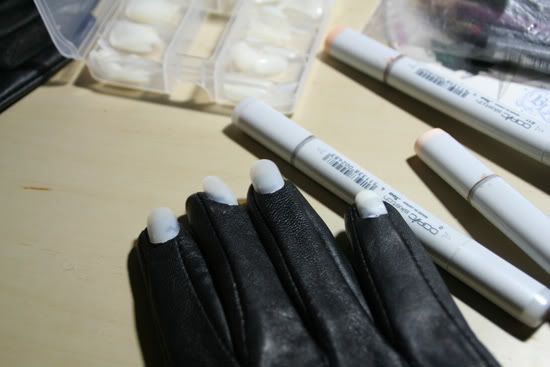
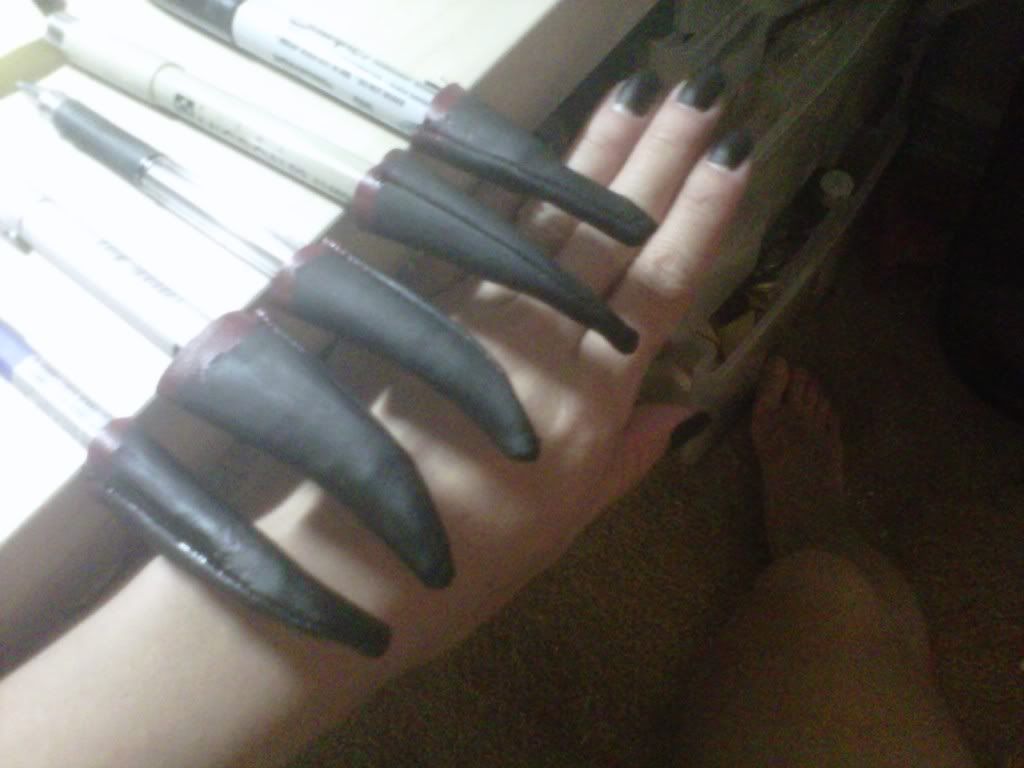
I picked up a cheap pair in a used leather goods shop and bought some fake nails.

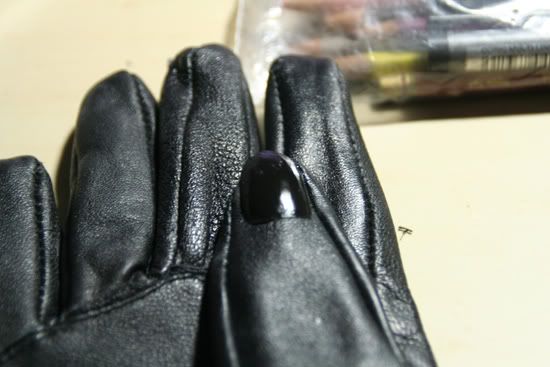
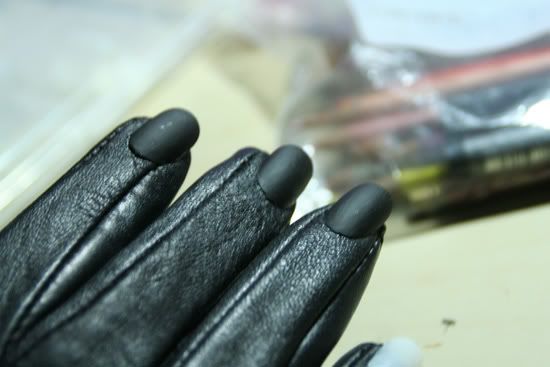
I glued the nails to the gloves, and painted the nails with matte black nail polish like so...


Goes on shiny...

dries matte

You could use acrylic paint too, but the matte nail polish I have is pretty nice and wouldn't chip. I also have matte clear (top coat), so the color is pretty much going to stay on these gloves forever.

If you're wondering where I got matte nail polish I ordered it from Knockout Cosmetics, they carry a ton of really cool matte nail polishes.

late but lucky, collected memories (7)

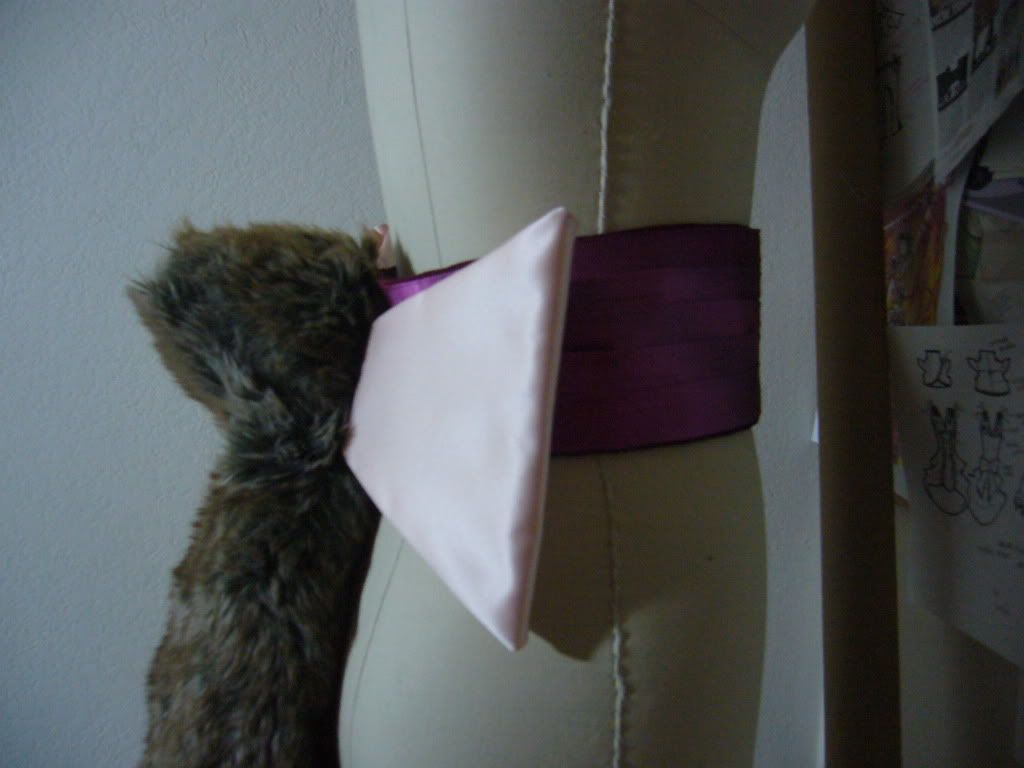
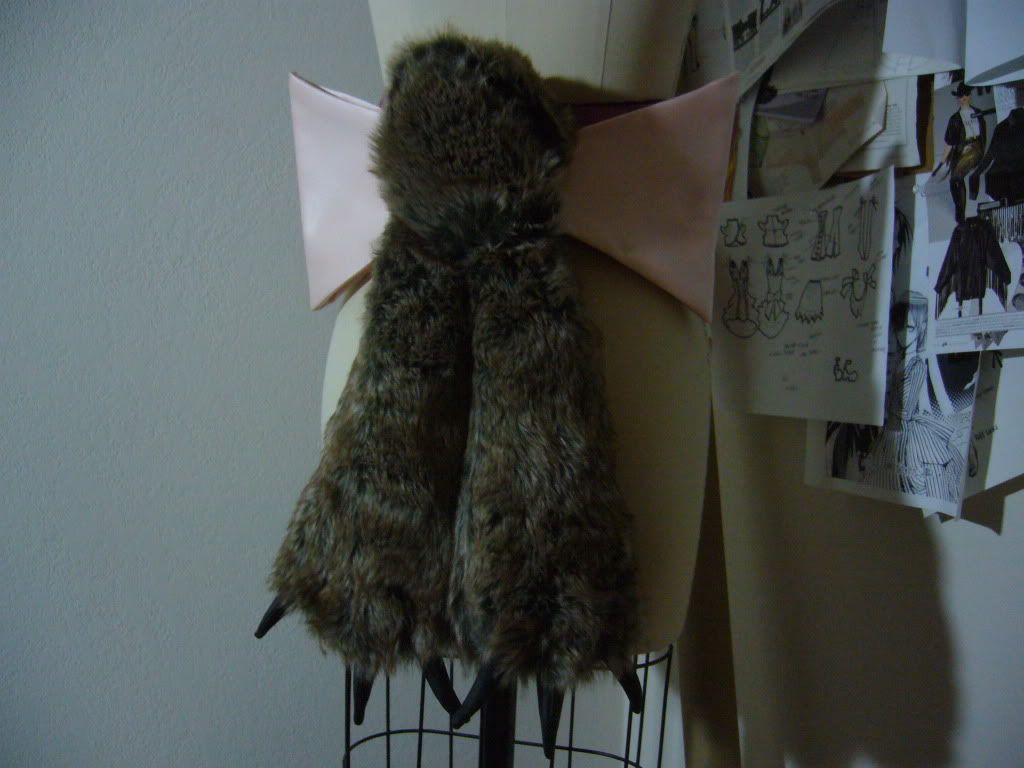
After some careful consideration I thought it would be best to make the tail-bow (I don't know what else I'm supposed to call it?) attached to the sash. Sash-tail-bow. Yes.

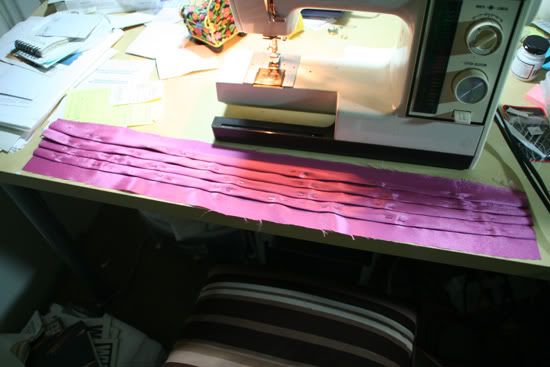
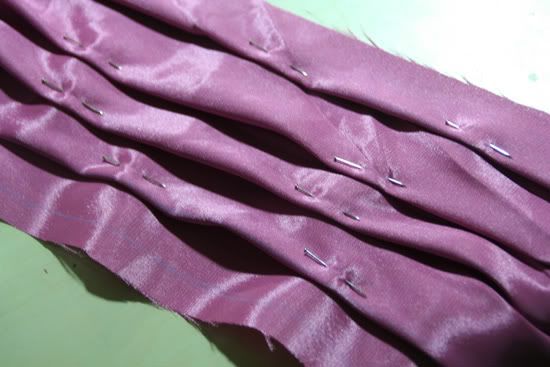
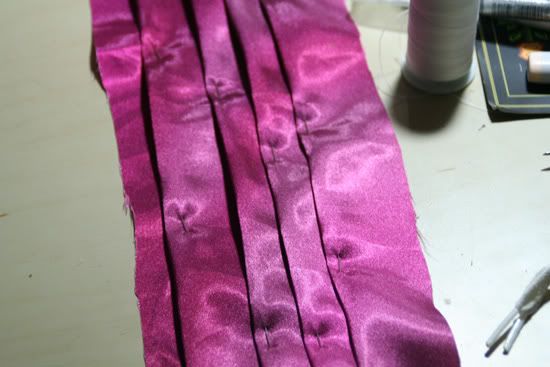
I was lucky again to find the color I was looking for--tons of obscure colors on this costume. I used a poly charmeuse (poly?! BLASPHEMY, RIGHT? Well, I need to use polyester in order for the pleats on the sash to retain their shape) and drafted a simple rectangle pattern with 1/2" pleats. Then I pinned the shit out of it like below.


I don't have a photo of this but I cut a piece of interfacing that was attached to the pleated sash. I backed the sash with the corduroy from the jacket and skirt cape otherwise the sash just by itself would be too flimsy.

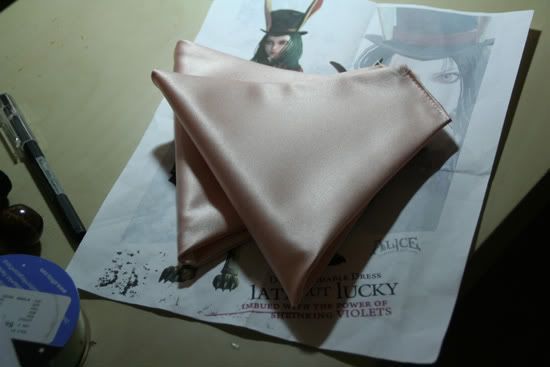
I bought bridal satin in a baby pink color and cut the pieces for the bow. I also put some interfacing in these pieces to make them more stiff.


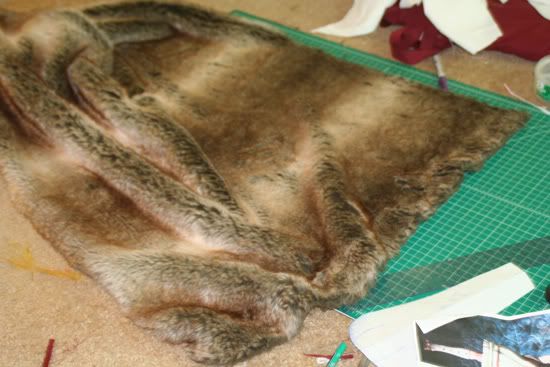
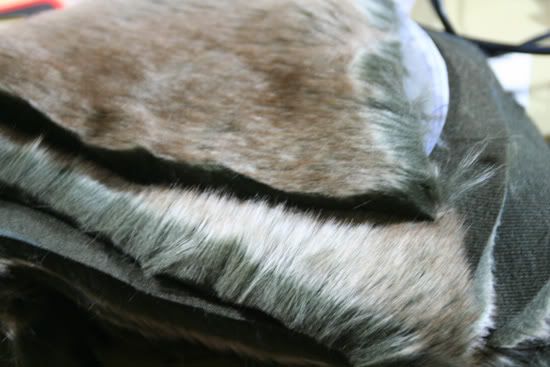
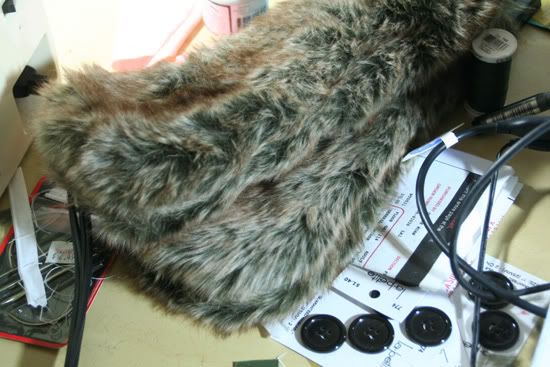
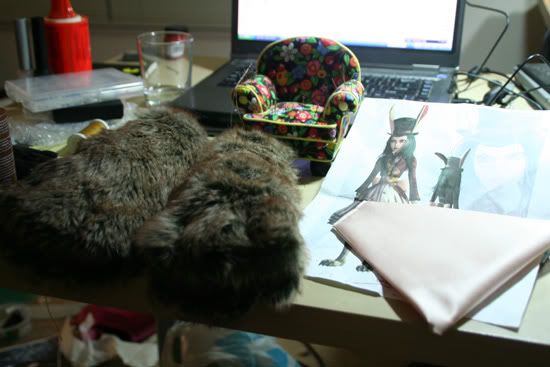
I was blessed again to find faux fur in the exact texture and color I wanted, at some random fabric shop in the fashion district. I bought a yard at 60" width.


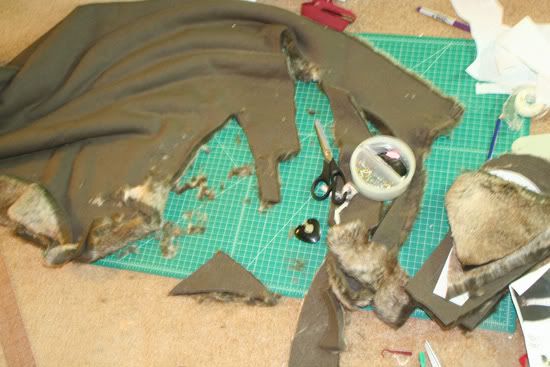
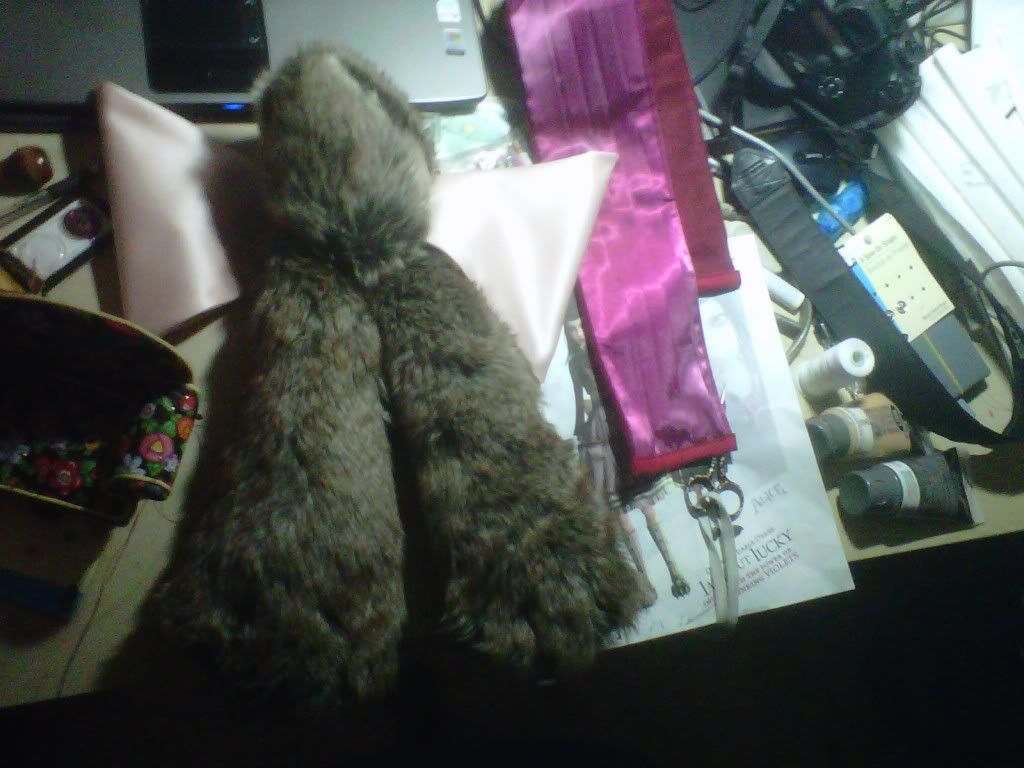
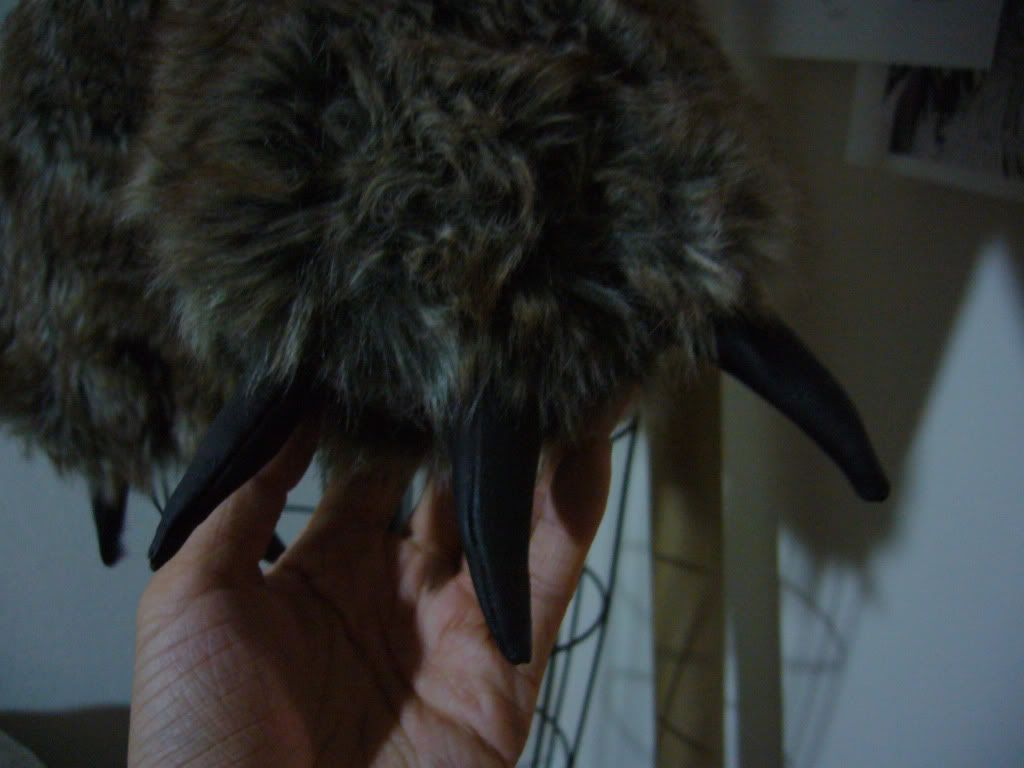
The thing with faux fur is that it GETS EVERYWHERE. So cut all your regular fabric first, cut the faux fur last, otherwise you're going to be wasting a ton of time doing clean up in between fabric cutting sessions. Technically you can tape the underside while you're cutting the faux fur to prevent the piles from exploding everywhere but as you can see I was too lazy to do that and now have to have a vacuum party. I cut the bunny tail and paws from the faux fur, making sure I cut these pieces out in the correct direction (nap). I used a 1/2" seam allowance on all these pieces.


I stuffed the sewn pieces with polyester batting, which is always pretty helpful to keep around for cosplay projects. You can get a pretty big bag for under $10, worth it.

You can see that some of the fur got caught in the seam--no worries, just scratch your fingers over the seam and the fur is released from the seam.

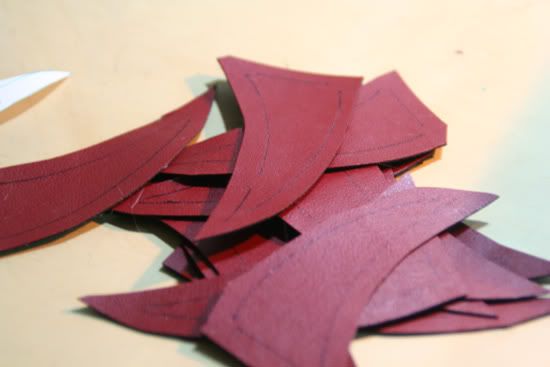
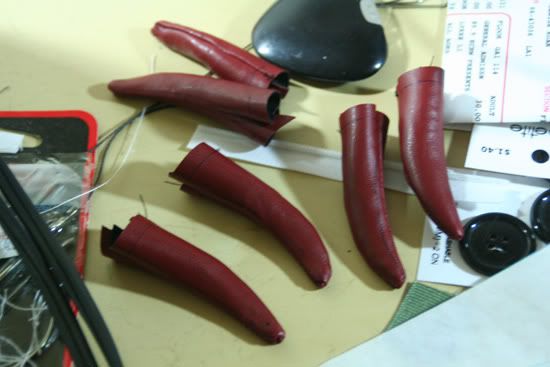
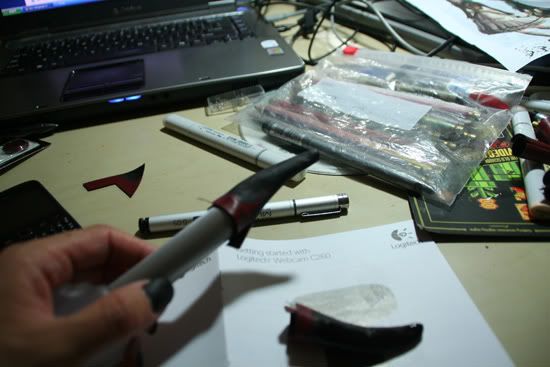
For the "claws" I used leftover vinyl from my Zephie project and cut pieces to stuff with batting. I painted the sewn claws with matte black nail polish, and once these pieces were dry, I hand sewed the claws to the paws. To create the separation in the paws I simply used huge stitches with black thread similar to how paws are made on plushies.


Might as well paint my nails while I wait...


Once I finished the fur pieces I simply hand sewed everything to the pleated sash, and used large snaps for the closure.


late but lucky, collected memories (6)


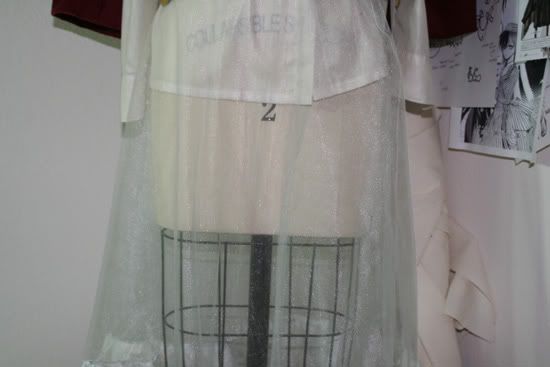
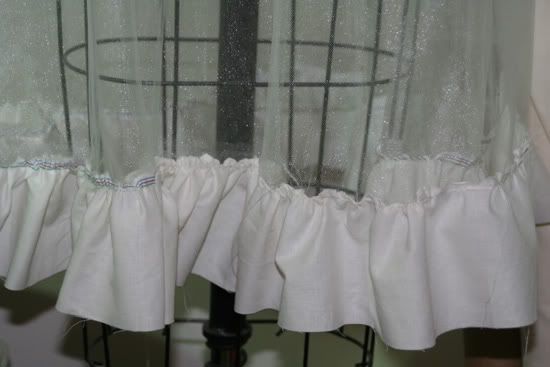
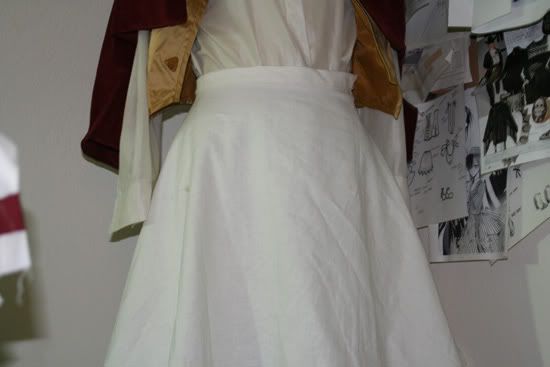
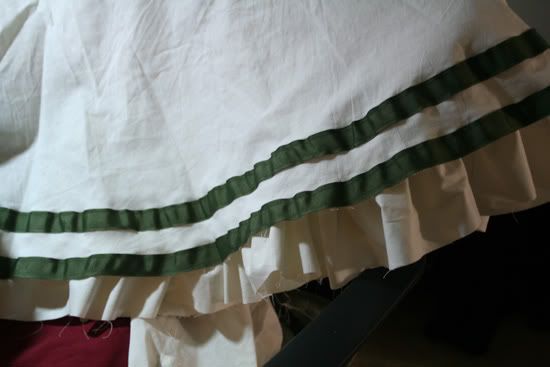
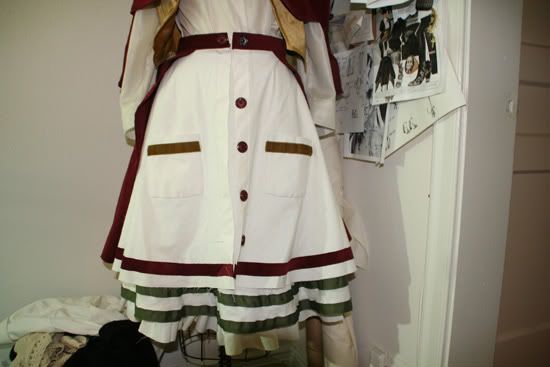
I thought the skirt should be 3 layers, a petticoat underneath, and 2 skirts worn on top of the petticoat. I bought close to 25 yards of nylon tulle for my Bjork swan dress costume 3 years ago so I'm pretty much stocked up on tulle for the rest of my life. I used 2 layers of tulle and I cut the skirt in a half-circle shape to create a bit of volume when worn. Added a 4" ruffle to the bottom of this "petticoat" using the same self fabric (linen broadcloth) as the other 2 layers of the skirt. Yes, this was a bitch to gather, gRRRRR!!!


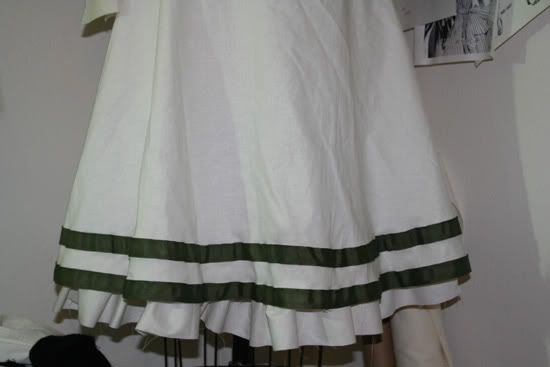
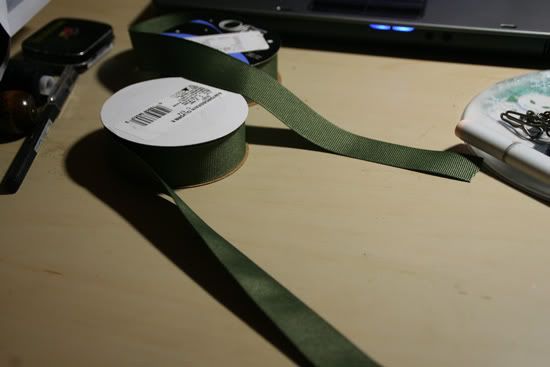
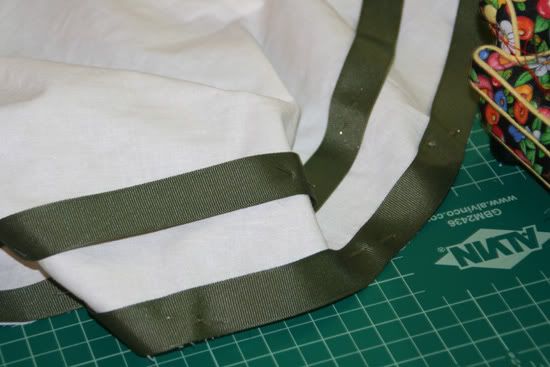
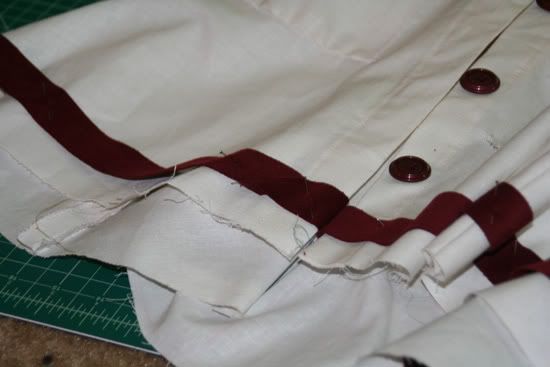
The 2nd layer of the skirt was cut from linen broadcloth as well. I decided to use linen broadcloth based on the rendering looking a bit textured and rough. I wanted the skirt to look well-made but slightly unkempt, if that makes any sense at all. I kept the wrinkles in the fabric. I bought 6 yards of grosgrain ribbon and sewed 2 rows near the hem. Yes, this also took me FOREVER. I had to press the shit out of the ribbon after it was sewn because it bubbled slightly due to the curved hem I cut.


(not ironed yet)

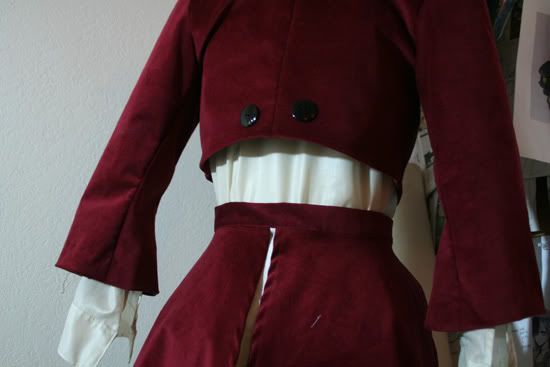
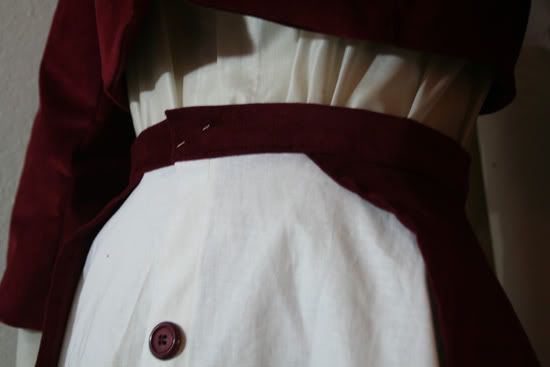
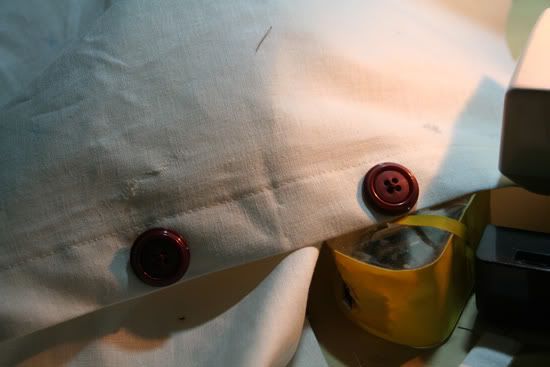
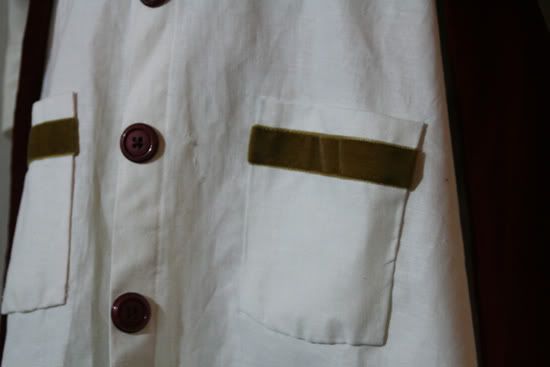
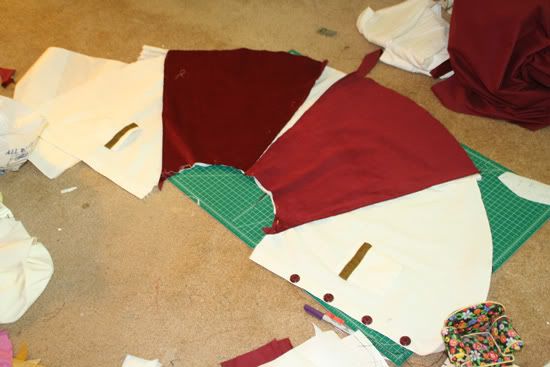
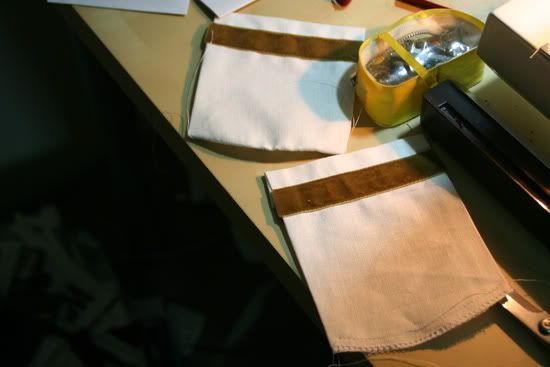
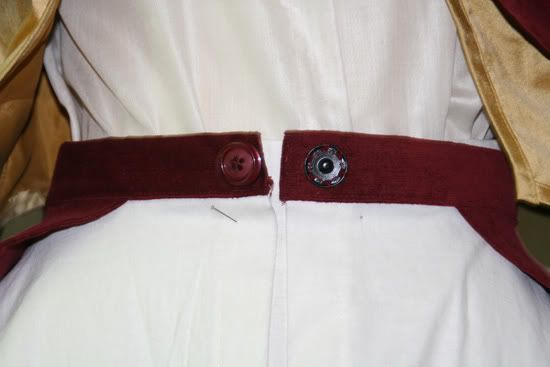
The top layer of the skirt is also linen broadcloth. I have never bought this many buttons for a project in my life. I was very lucky to find buttons to match my jacket's color EXACTLY, and have the outer lip as I was thinking. I also got lucky enough to find the exact type/color of velvet trim for the pockets. The trim on the top layer is cut from the same corduroy as my jacket.


The "cape" part of the skirt is sewn into the same waistband as the top layer of the skirt. I used a snap at the center front of the waistband. There was a ridiculous amount of hand sewing on this project.

I purposely left all the hems unfinished because I just didn't want the skirt to look too "clean", I wanted it to be a bit battle-worn--hell, there are holes at the front of the skirt which I embraced.