Real quickly (quickly? Who am I kidding this is an insane amount of photos), here's a brief post about how I made these weird shoes. I'm sure this was not the best way to make them but they did the job (as being fancy crocs, I mean). I'll have to work with different materials next time as I didn't really like working with canvas; it was not sturdy at all (but it was comfy and light!)
Basically, this write-up below is the noob version, I'm sure the next cosplay I make that requires a custom shoe will be a legitimate shoe and not something I tacky-glued all up in this place.
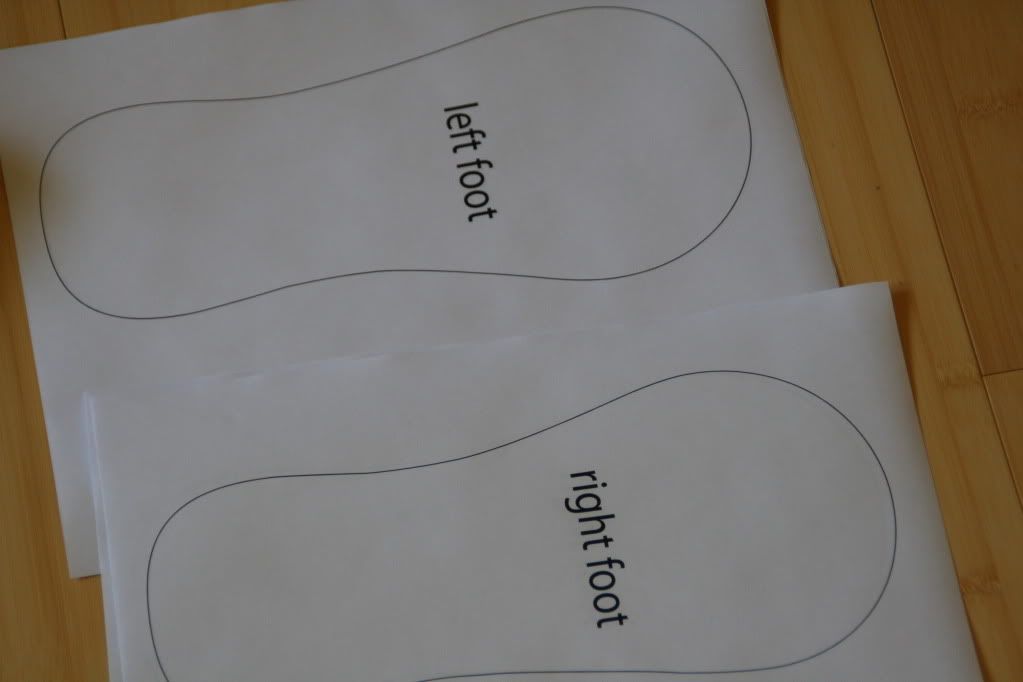
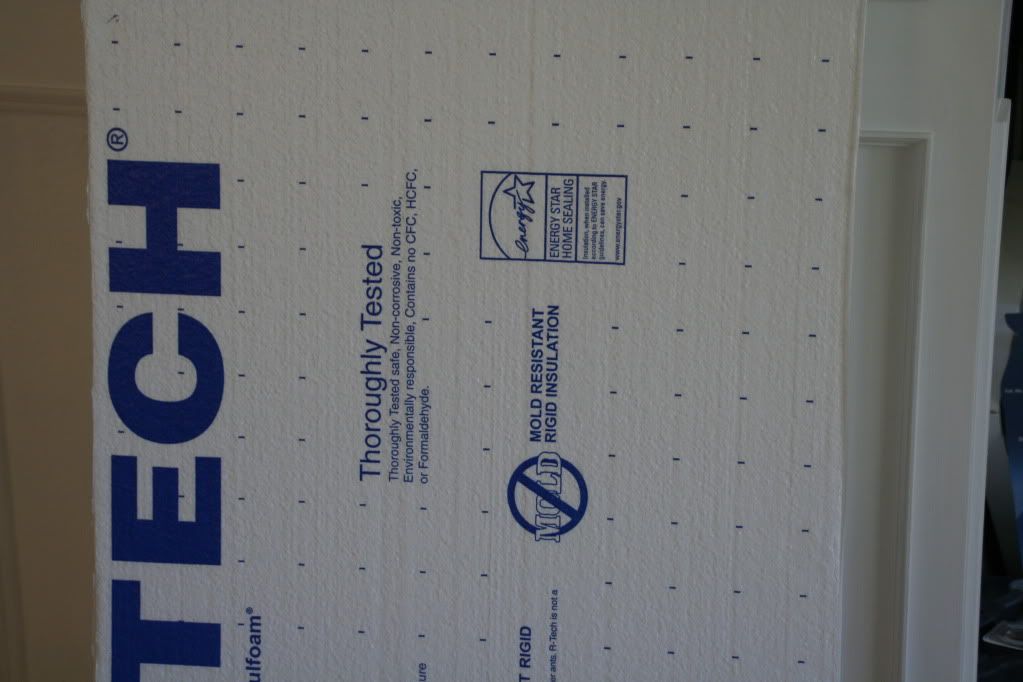
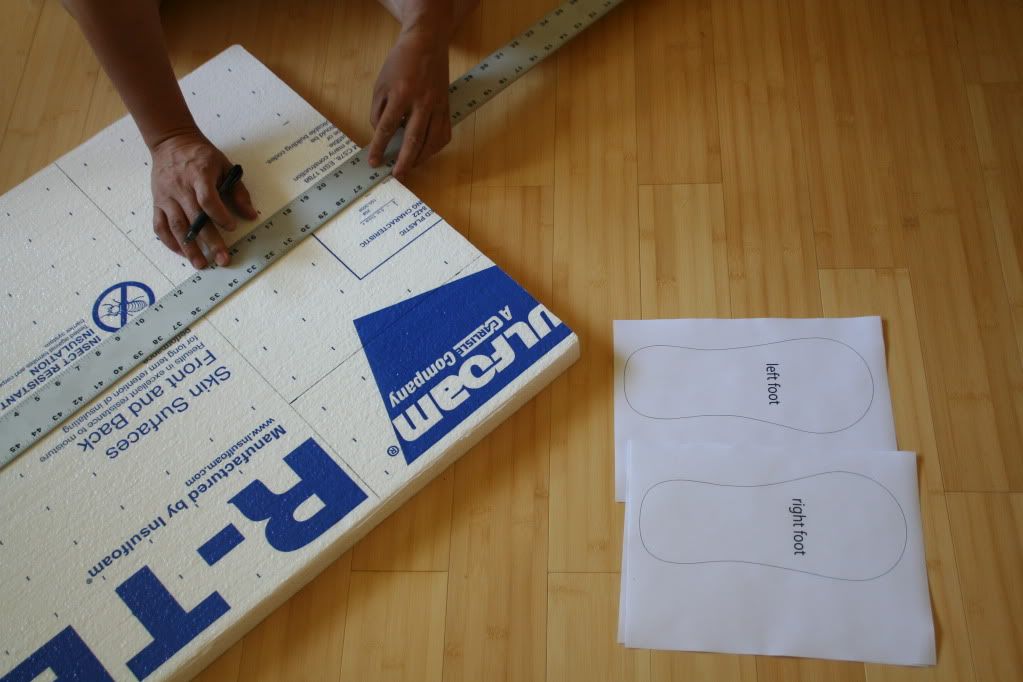
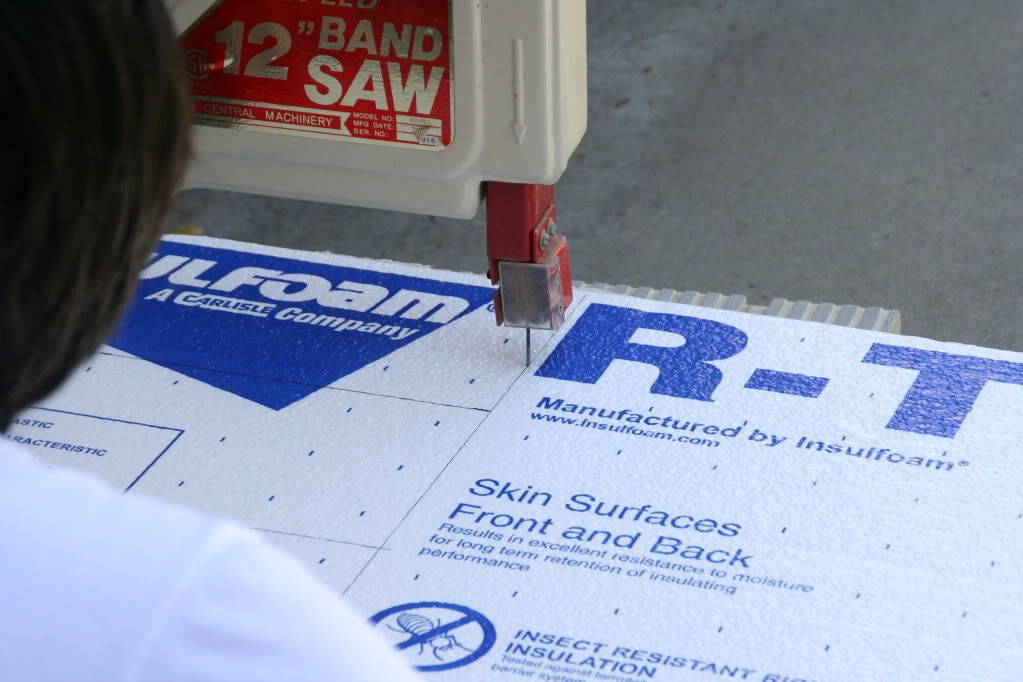
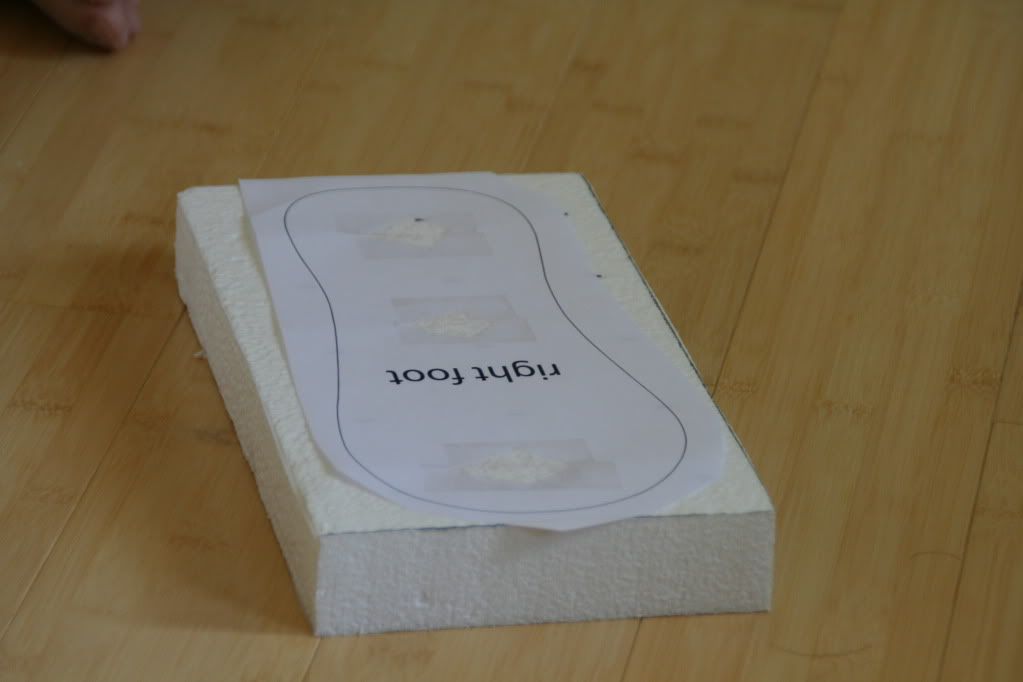
I drew the sole of the shoe on Illustrator and glued the pieces to insulation foam (2 pieces, glued together to form the required thickness). My dad helped me cut the shape I drew on the computer, using a band saw.


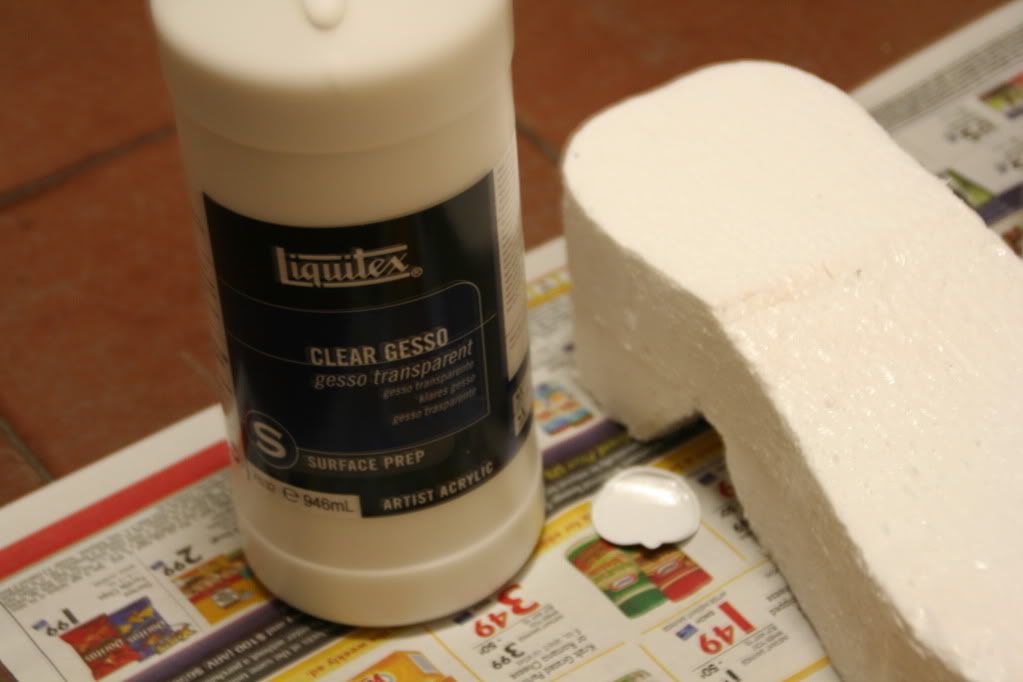
Before painting over the foam with white paint though, I had to coat the foam with a couple layers of liquid gesso to smooth out the surface, otherwise the foam will just absorb the paint like a sponge. Luckily it dried fairly fast so this process only took a day of work (on and off).
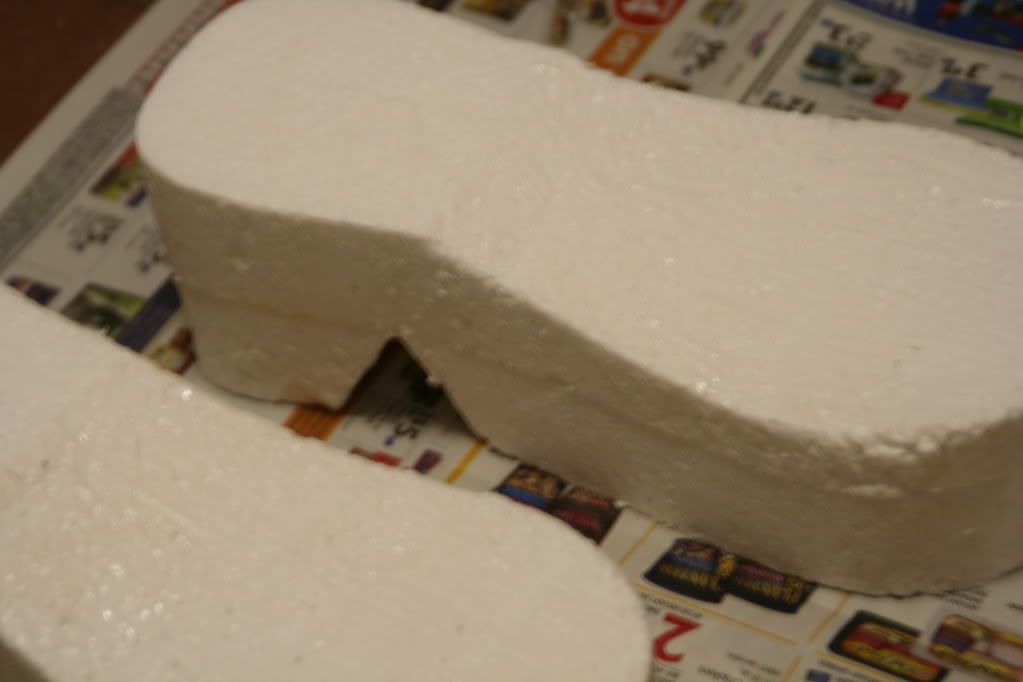
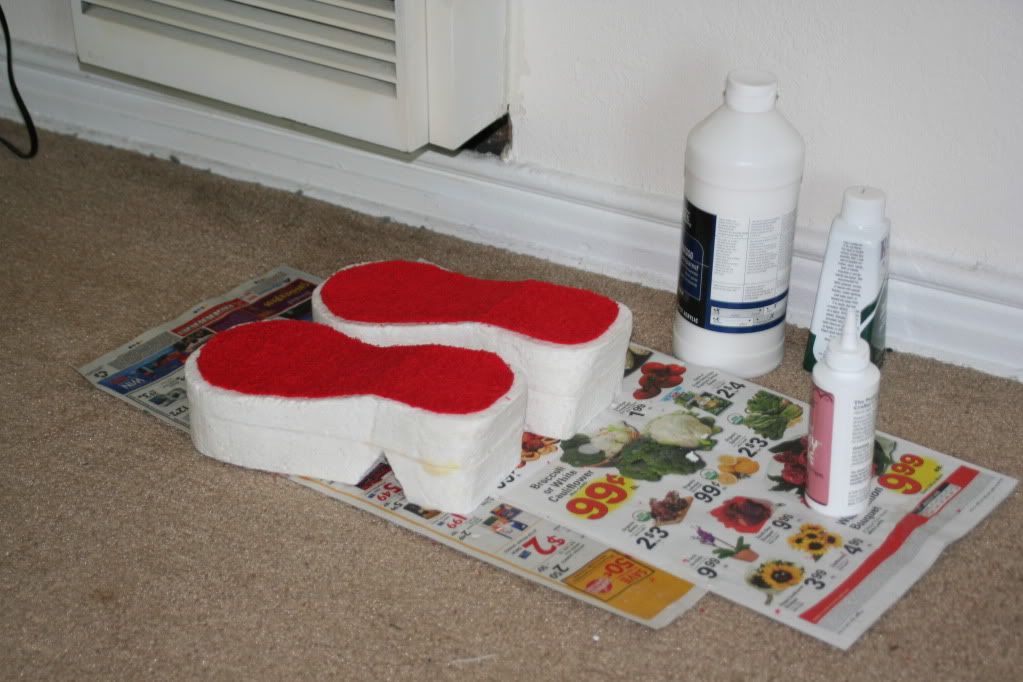
I decided to use a red terry fabric for the padding of the shoe, I just glued it with tacky glue. You can see I still haven't finished coating the foam with gesso, heh.
I am now going to apologize for the lack of high quality photos because I seriously rushed the rest of this process and I took camera phone photos at some point.
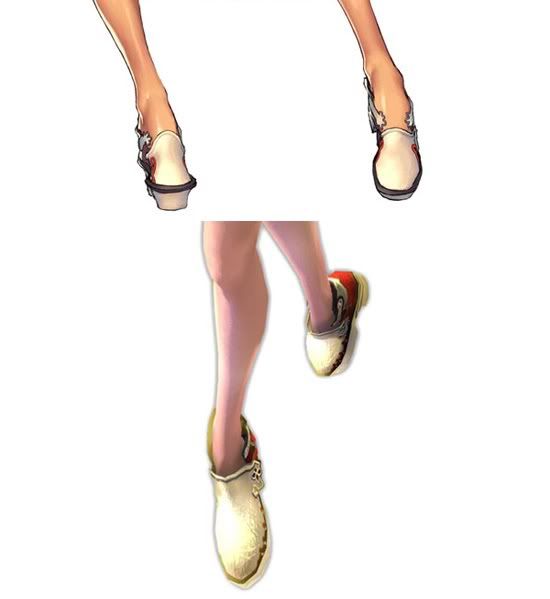
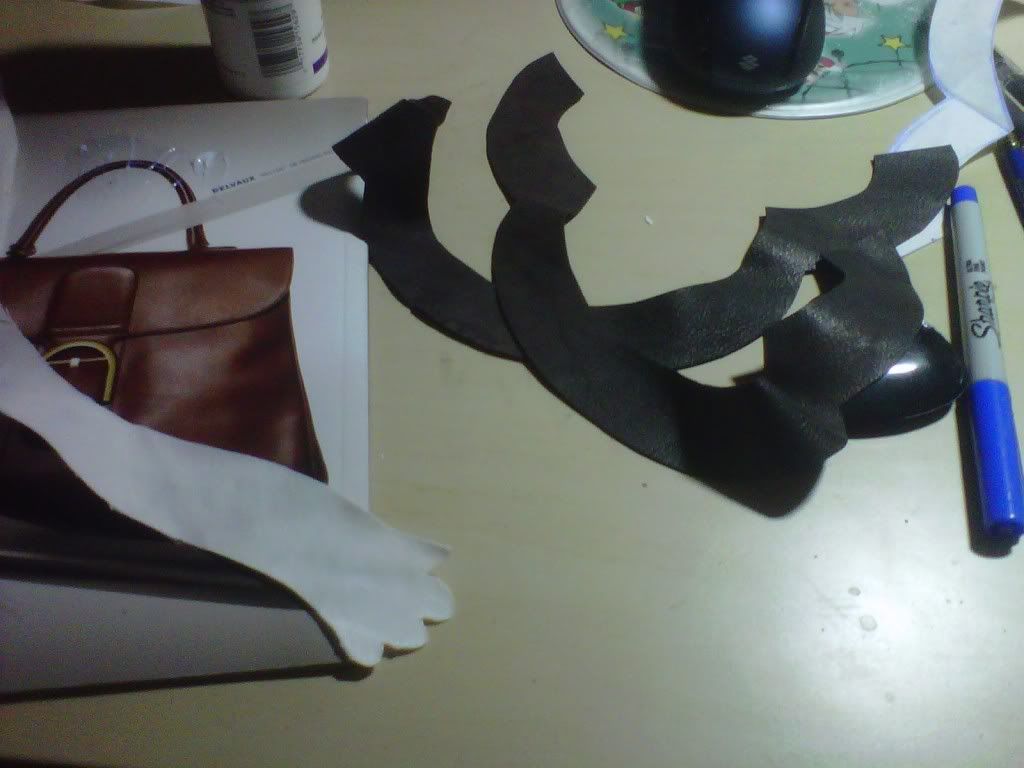
I guess I could say I was lucky that there weren't any clear photos of Zephie's shoes, which meant I was free to interpret the general design of the back. I think there were 2 straps of some type at the back, so I cut one strip out of leather and one strip out of a white canvas fabric.
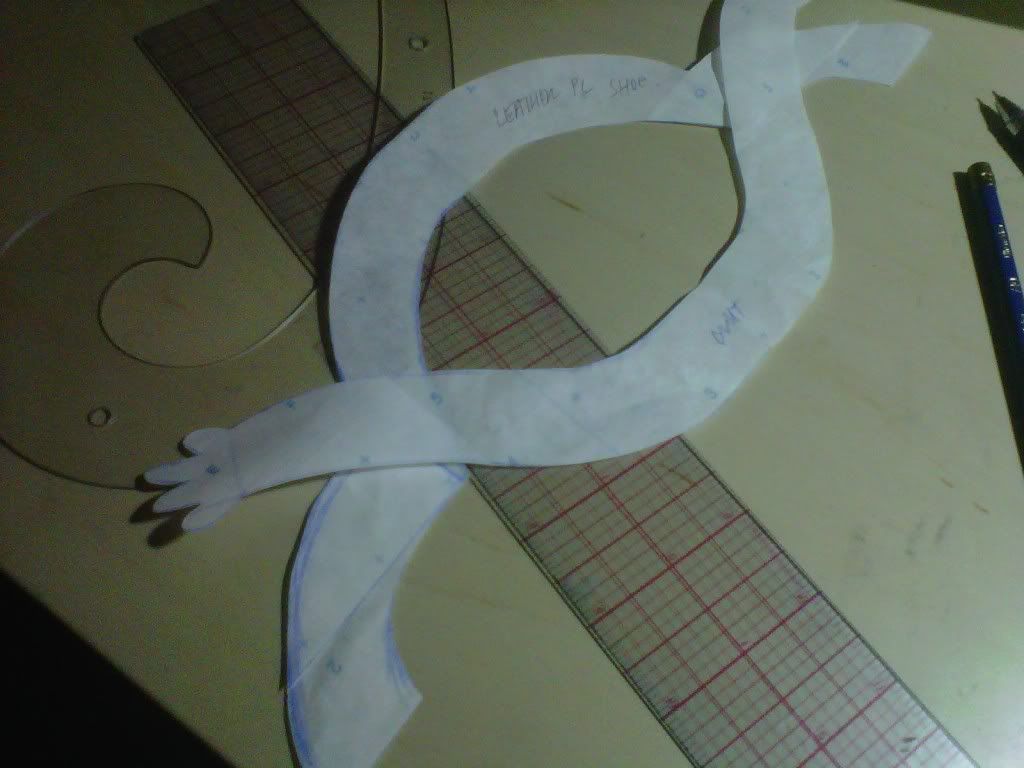
(pattern pieces)
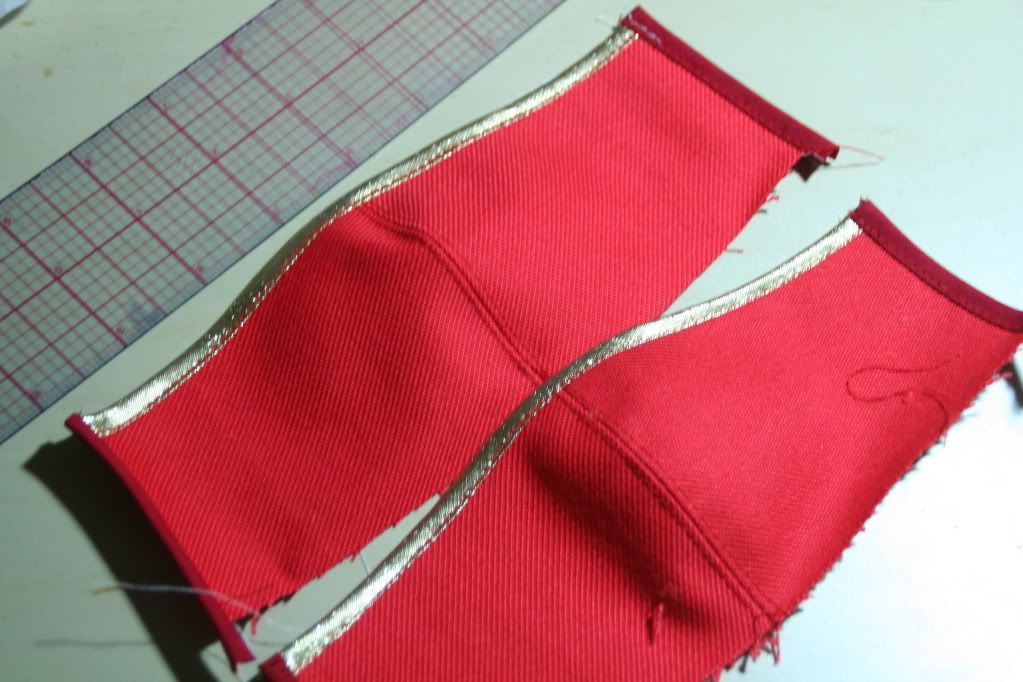
This was for the back of the shoe, I also cut this out of red canvas and I literally just measured my foot, I got really lazy >>;

This next part was trickier, I actually used satin nails to attach the fabric portions of the shoe into the foam platform. After I secured the position I took out each nail one by one, dipped it into tacky glue and re-applied it to its previous position. It got a bit messy but I was watching anime at the same time so all is good.
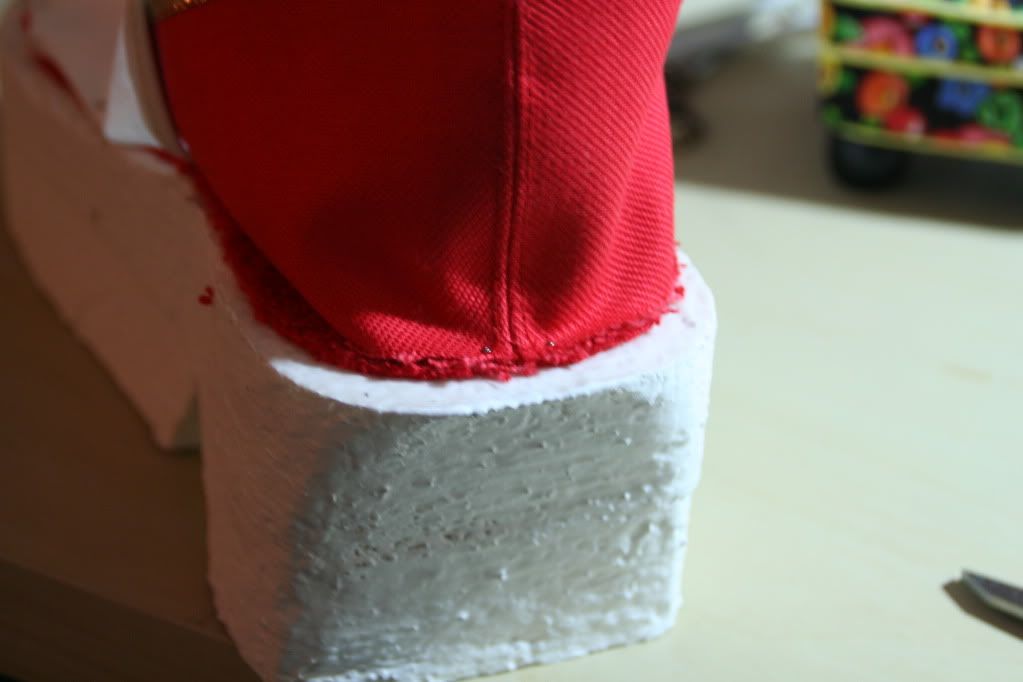
I realized I didn't take any photos of how I cut out the front part of the shoe. To be honest I didn't really measure anything except for the length and height so I didn't even really want to explain it. It doesn't look that great and if I had the time I would remake it.
I used paper clips at another point to hold everything in place, heh.
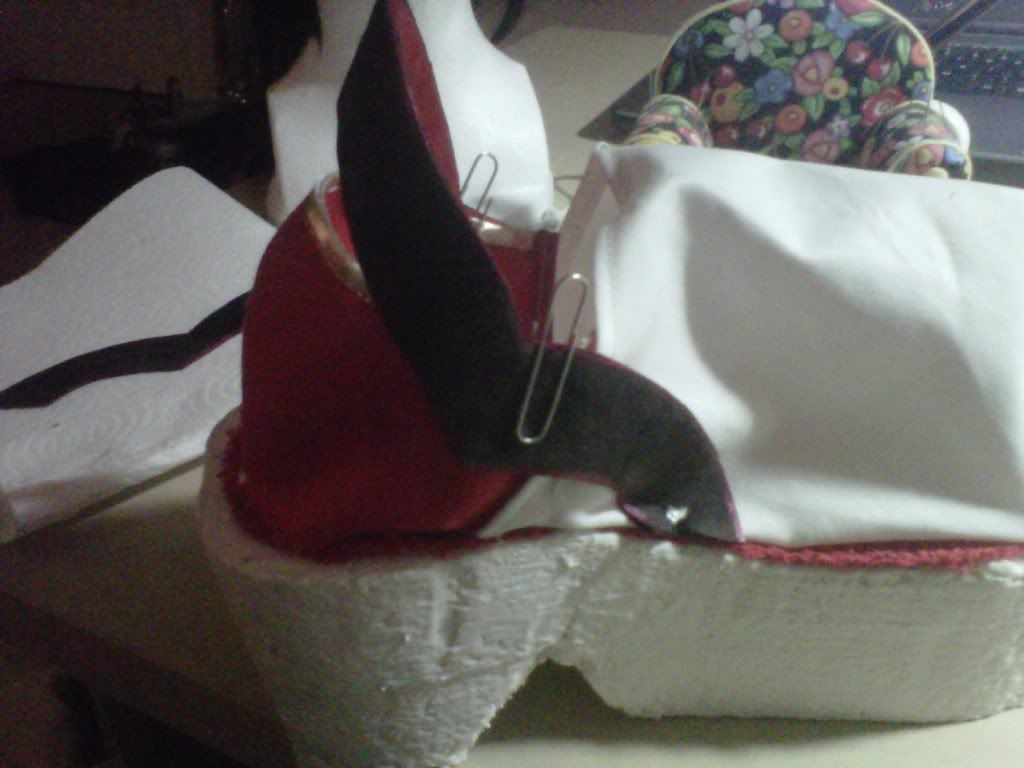
To clean up the edges of the shoes I cut out 1" leather strips to glue along the edges. (You could also see the details of a brown trim on the rendered artwork which I was referencing)
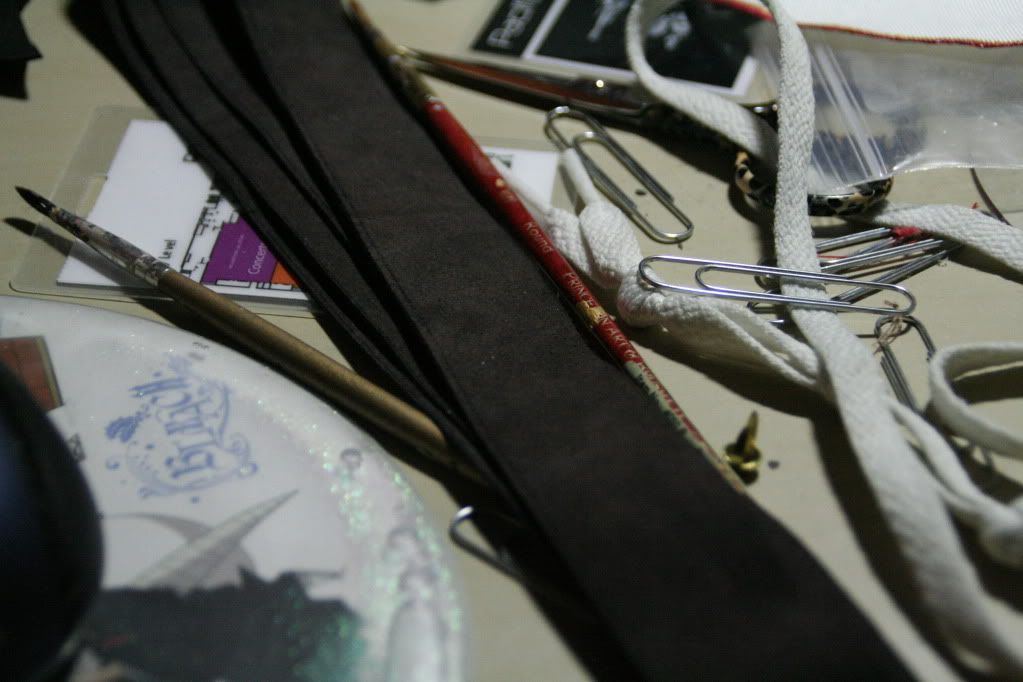

To clean up the edges of the shoes I cut out 1" leather strips to glue along the edges. (You could also see the details of a brown trim on the rendered artwork which I was referencing)

I threw in some studs to make it look like I put some effort into the shoes. And voila. Meh.
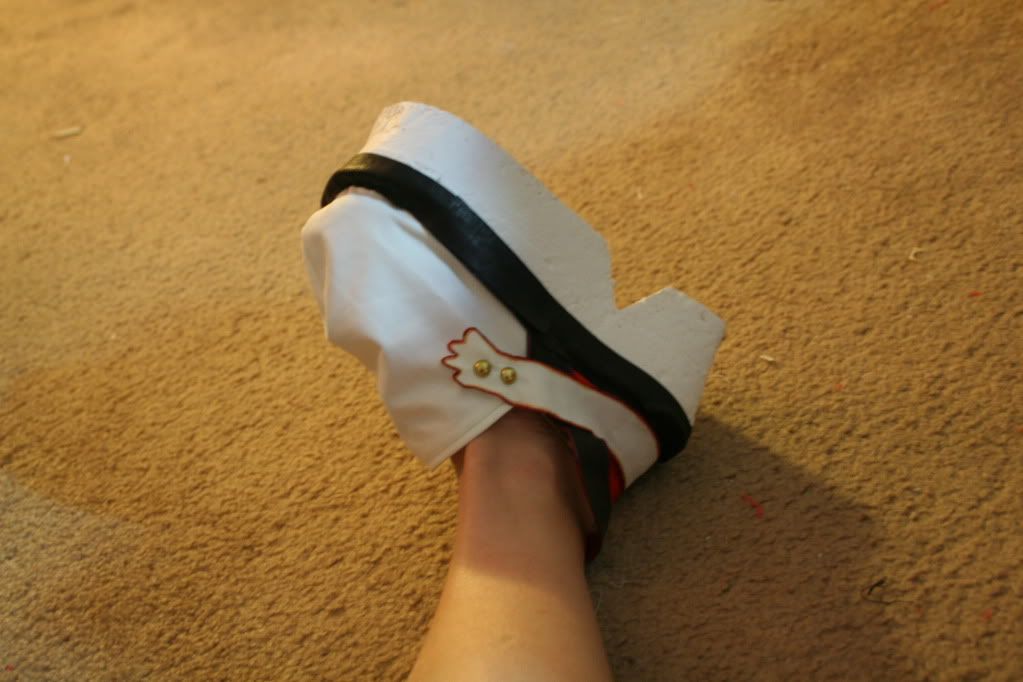
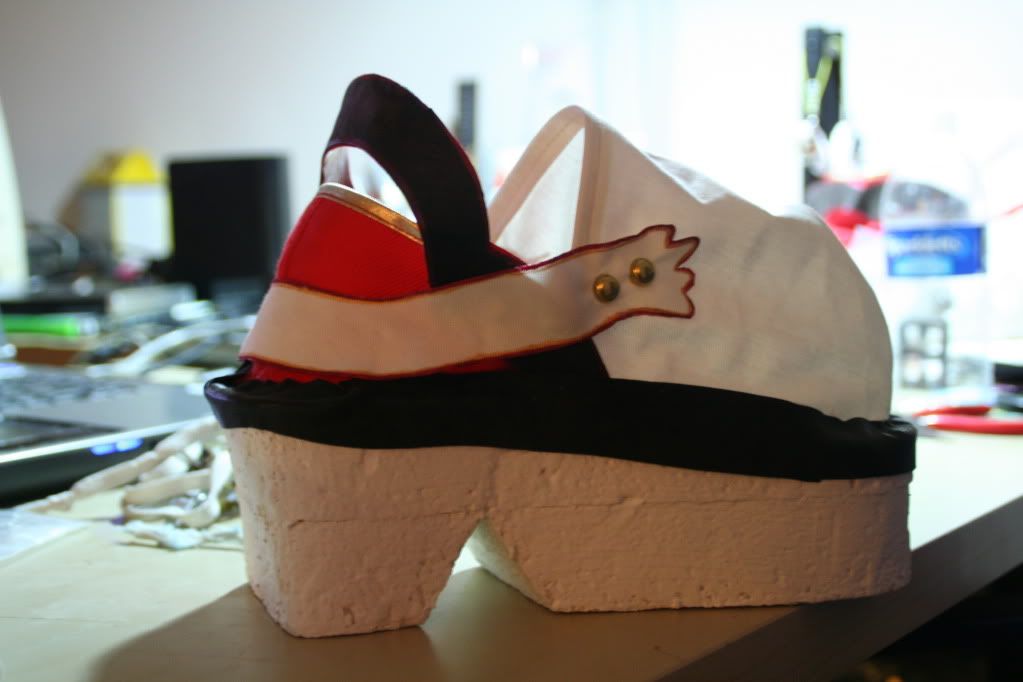


(I should have painted over the foam more because you can still see that I used 2 layers of foam, sigh)











1 comment:
Denise! It's so great to see you posting and blogging again, I've really missed the insight into your construction. Footwear tends to be one of those things that I always leave to the last minute because I don't have absolute confidence with modifying shoes, so I'm giving you major kudos for making your own from scratch!
I'm also super jealous that you can have a cosplay meet-up for Magna Carta in the states! When I first wore my Maya costume, I was completely blown away that there was a Calintz at the same con as me! I'm sure you'll have a blast at Anime Expo, I'd love to go one day.
Post a Comment