
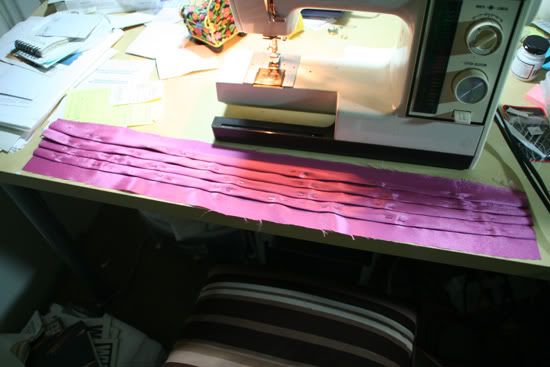
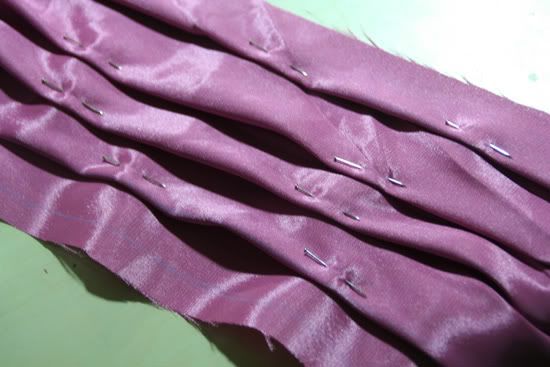
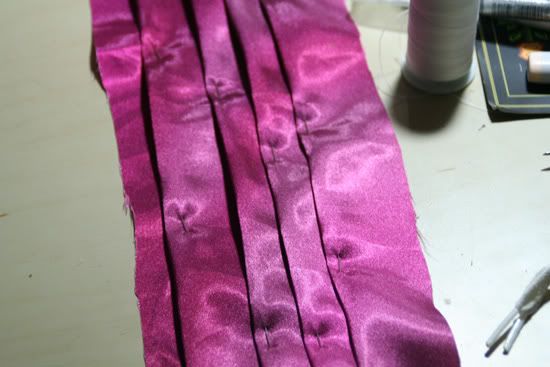
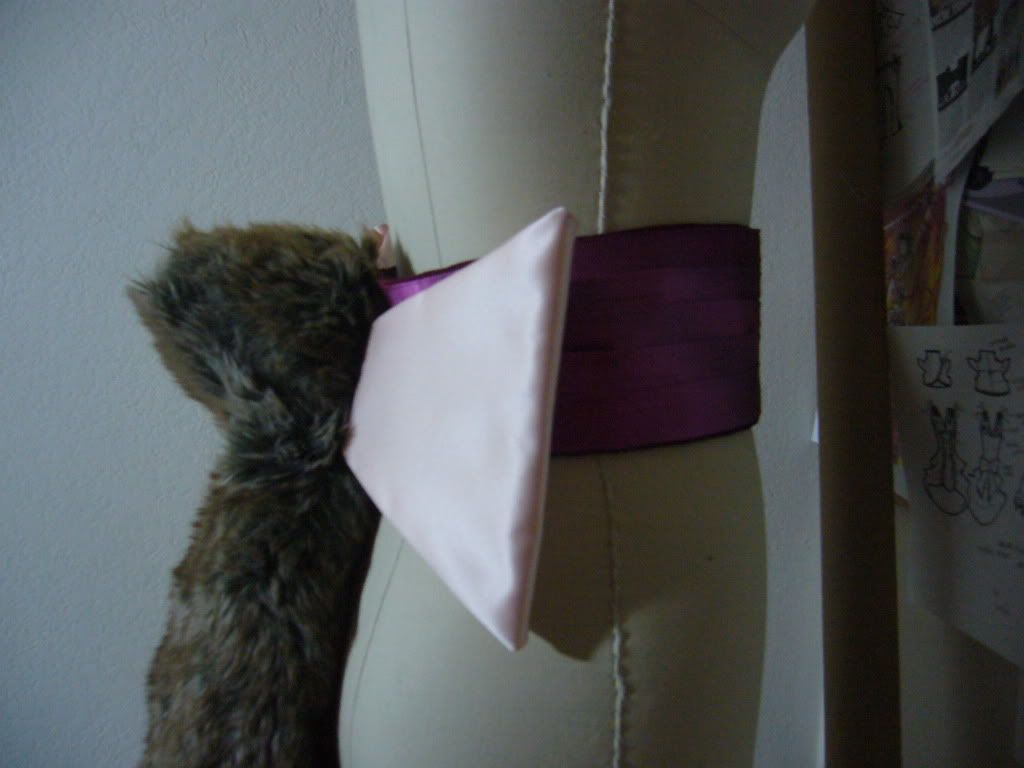
I was lucky again to find the color I was looking for--tons of obscure colors on this costume. I used a poly charmeuse (poly?! BLASPHEMY, RIGHT? Well, I need to use polyester in order for the pleats on the sash to retain their shape) and drafted a simple rectangle pattern with 1/2" pleats. Then I pinned the shit out of it like below.
I don't have a photo of this but I cut a piece of interfacing that was attached to the pleated sash. I backed the sash with the corduroy from the jacket and skirt cape otherwise the sash just by itself would be too flimsy.
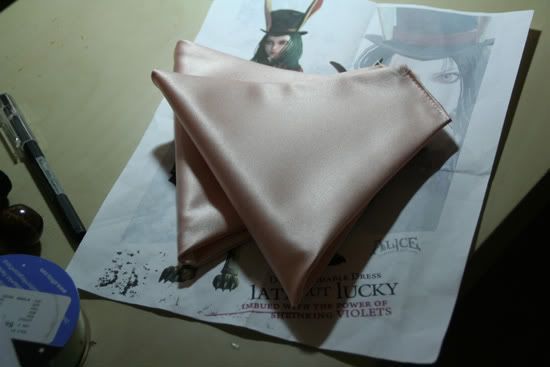
I bought bridal satin in a baby pink color and cut the pieces for the bow. I also put some interfacing in these pieces to make them more stiff.
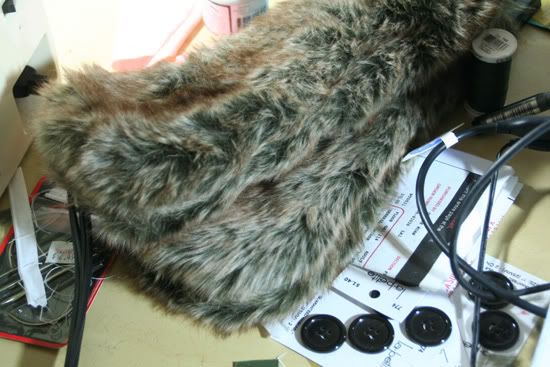
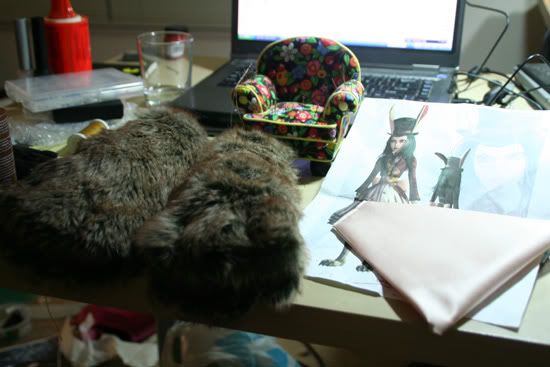
I was blessed again to find faux fur in the exact texture and color I wanted, at some random fabric shop in the fashion district. I bought a yard at 60" width.
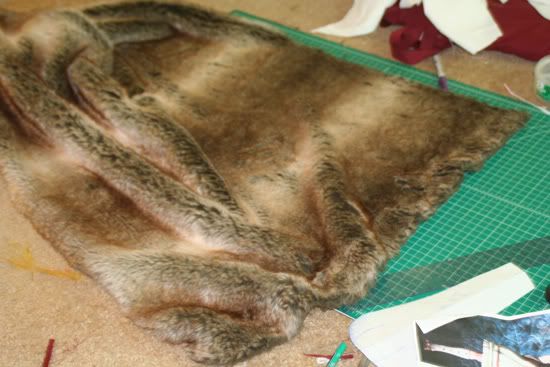
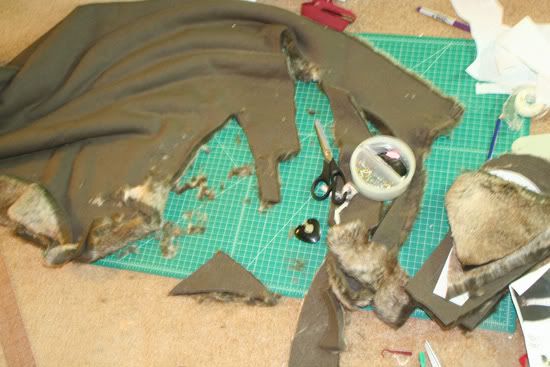
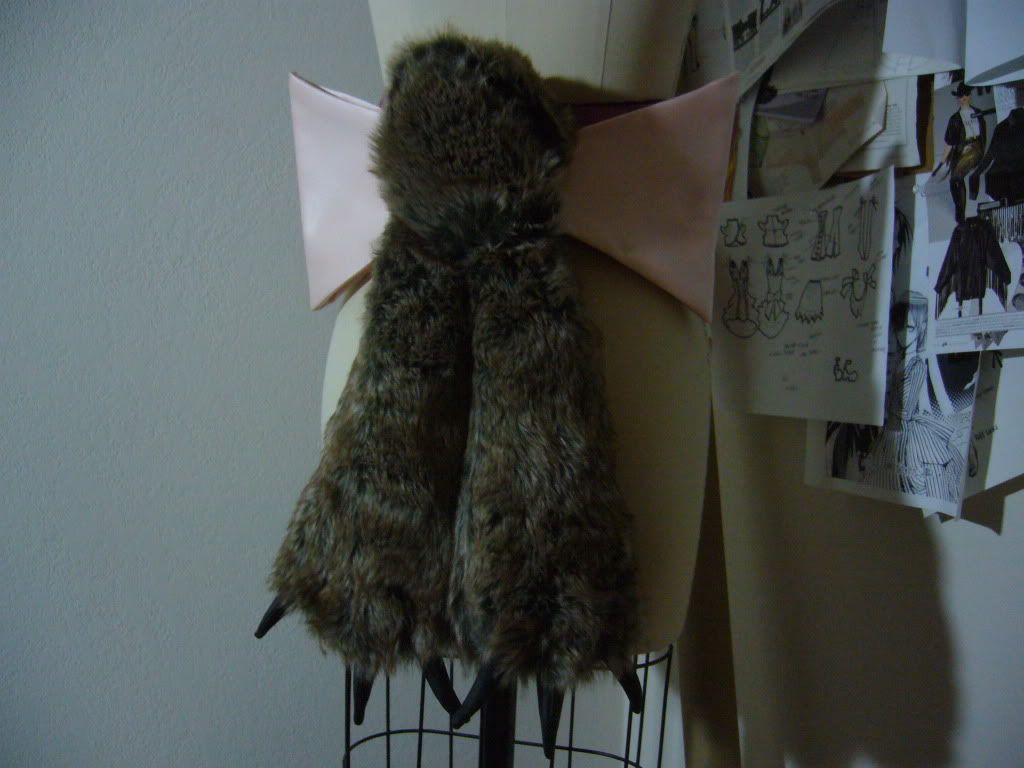
The thing with faux fur is that it GETS EVERYWHERE. So cut all your regular fabric first, cut the faux fur last, otherwise you're going to be wasting a ton of time doing clean up in between fabric cutting sessions. Technically you can tape the underside while you're cutting the faux fur to prevent the piles from exploding everywhere but as you can see I was too lazy to do that and now have to have a vacuum party. I cut the bunny tail and paws from the faux fur, making sure I cut these pieces out in the correct direction (nap). I used a 1/2" seam allowance on all these pieces.
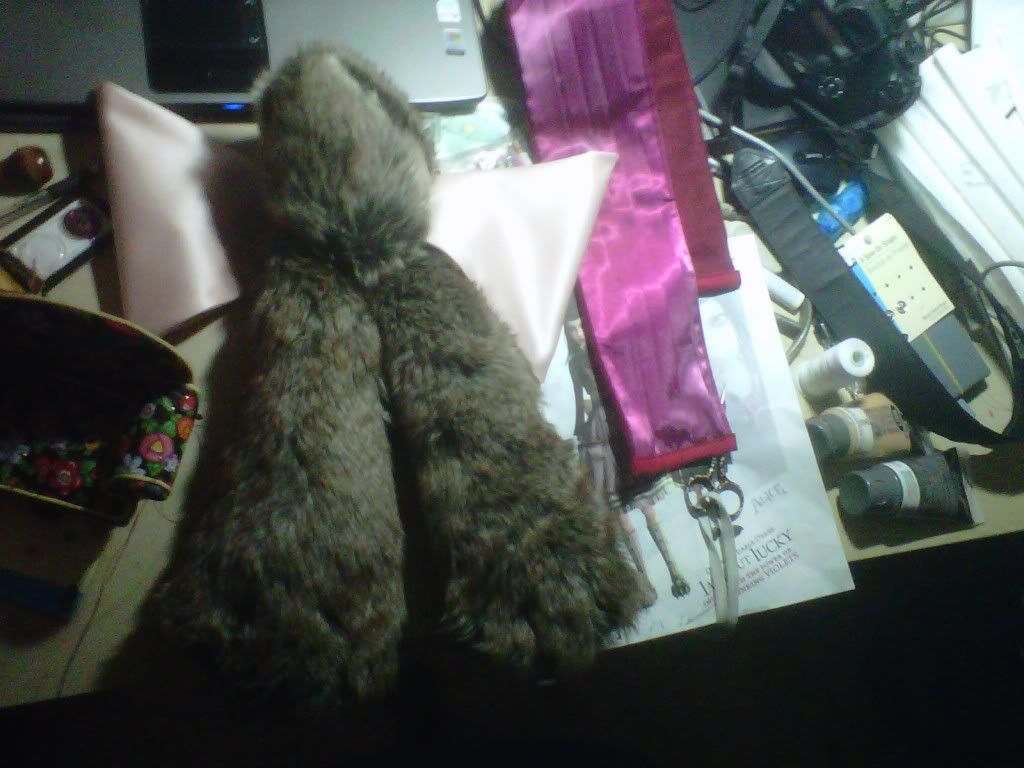
I stuffed the sewn pieces with polyester batting, which is always pretty helpful to keep around for cosplay projects. You can get a pretty big bag for under $10, worth it.
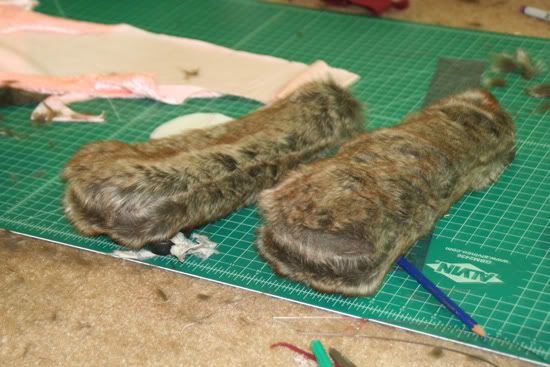
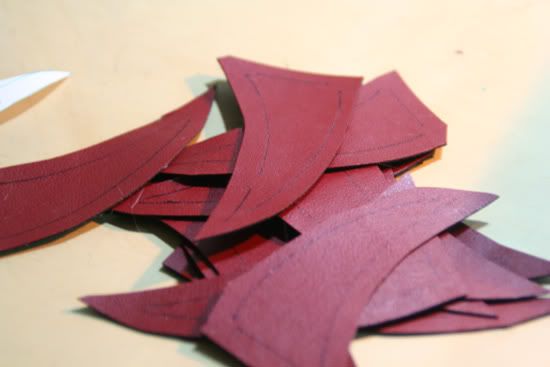
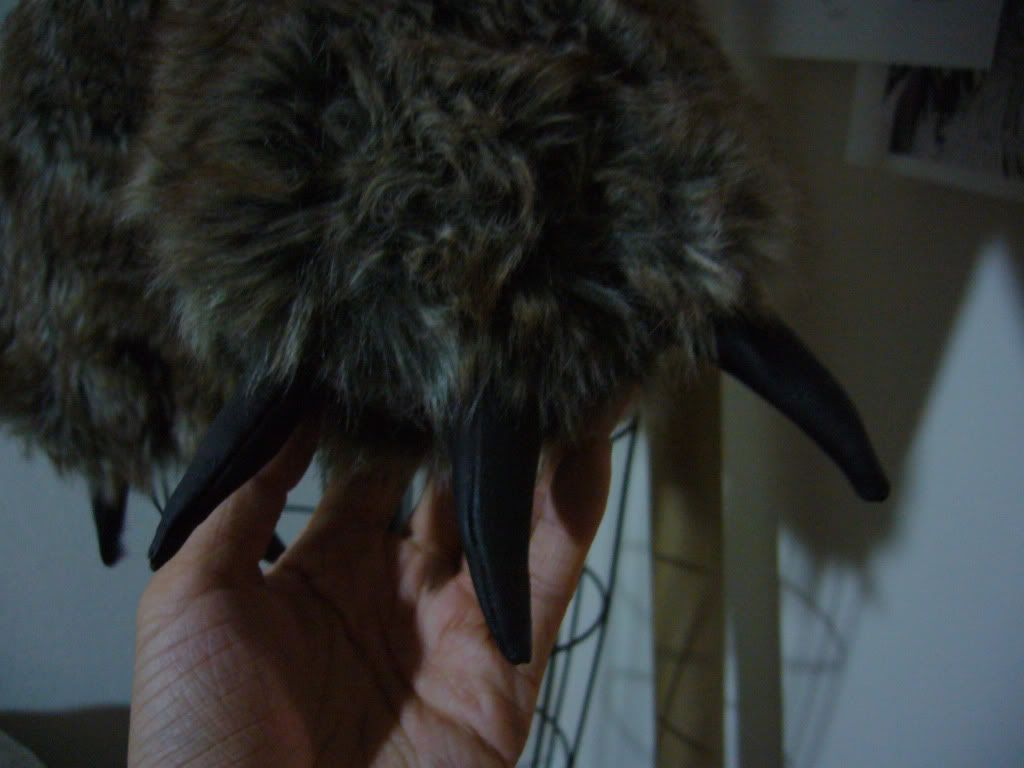
For the "claws" I used leftover vinyl from my Zephie project and cut pieces to stuff with batting. I painted the sewn claws with matte black nail polish, and once these pieces were dry, I hand sewed the claws to the paws. To create the separation in the paws I simply used huge stitches with black thread similar to how paws are made on plushies.

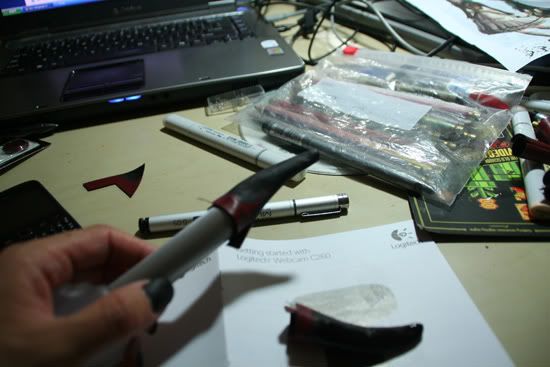
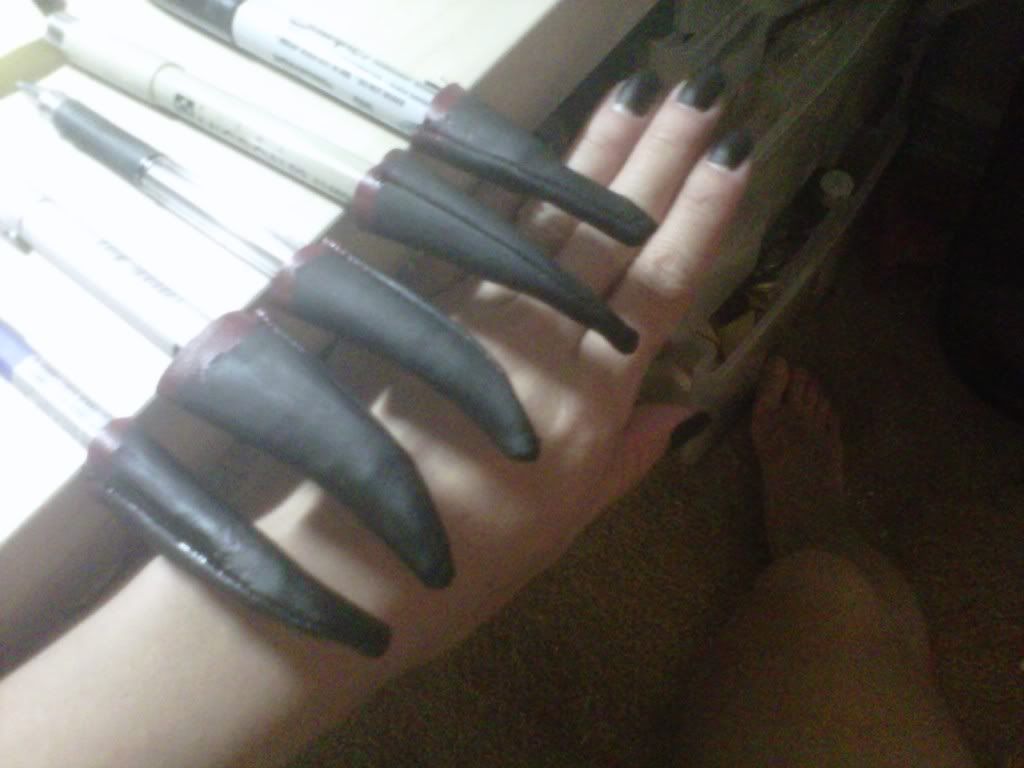
Might as well paint my nails while I wait...
Once I finished the fur pieces I simply hand sewed everything to the pleated sash, and used large snaps for the closure.


No comments:
Post a Comment