
I did some research on how to make hats, and stumbled upon Fosshape. There's a pretty good fosshape tutorial on cosplaysupplies.com, but I think you're really going to need to just experiment via trial and error, which I expect to do more of when I make the Clockwork Bunny.
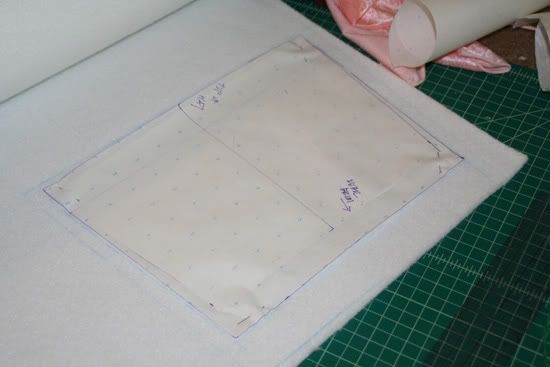
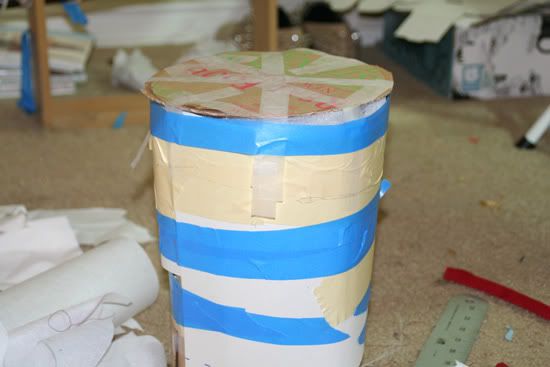
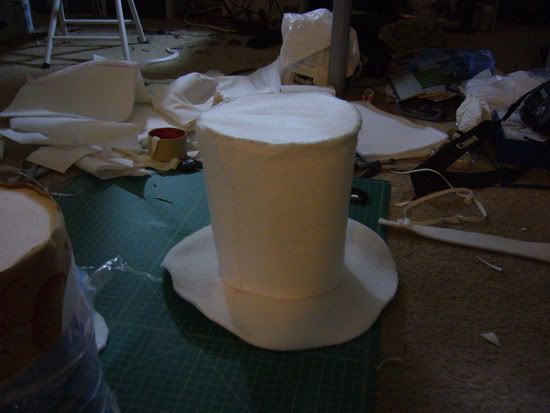
I made a hat base in the most last-minute (aka "ghetto") way possible--I used a roll of paper towels and wrapped it in layers of paper and cardboard. This was the exact shape of my top hat, wider at the top. My sewn fosshape piece fit perfectly over it. I cut out a circle for the top part of the hat. In hindsight I should have hand sewn the top of the hat to the sides, not done this after I steamed everything because all the edges shrank about 1/4"-3/8".
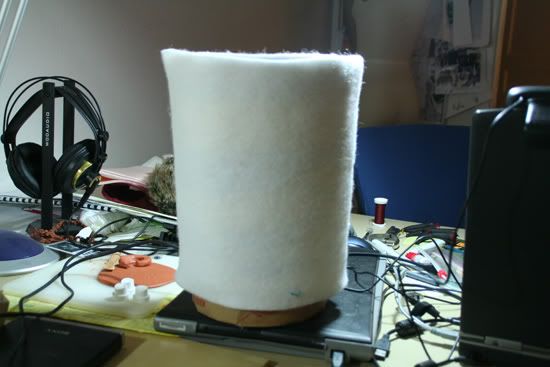
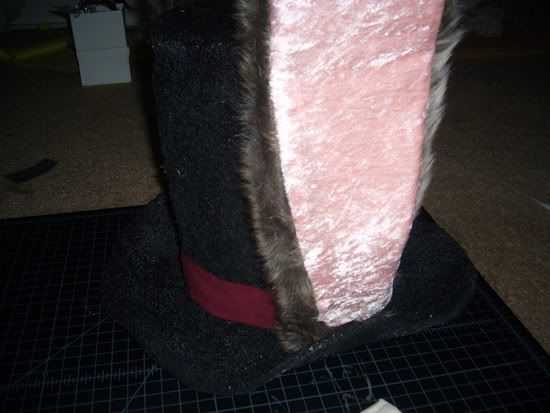
This is where the magic began--because making cosplay is magic?! Yes, it is. After you steam the fosshape (you NEED to use a steamer, do not even use an iron to steam it), it becomes stiff! Very very cool. I steamed the brim along a curved edge to get the sides to flip up.
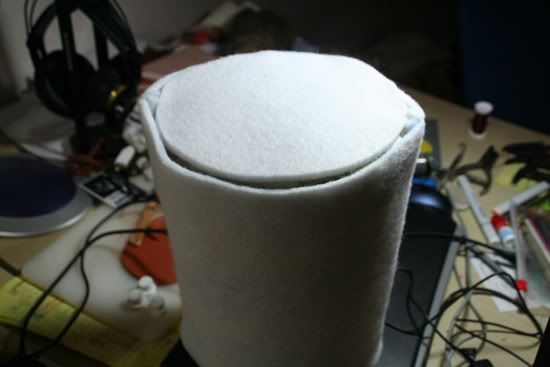
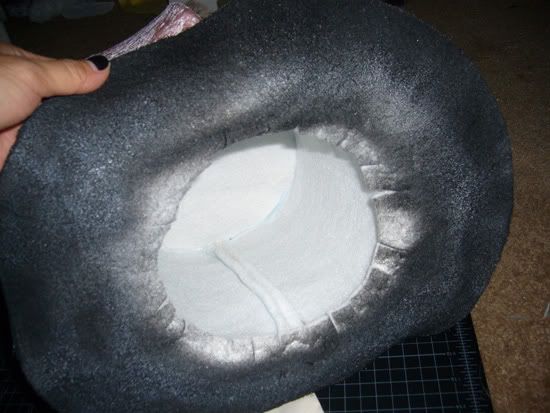
I then sewed the steamed pieces together by hand as you can see in this photo below. Always remember to clip your edges when sewing round surfaces.
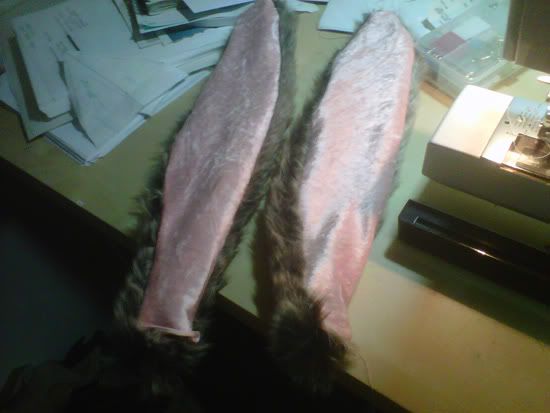
I also cut fosshape pieces for the ears to give them structure. I forgot to take a picture but I used the same pattern as I did for the ears.
For the ears I used the faux fur from the paws, and I bought a chenille fabric for the insides of the ears. Stuck the fosshape inside. Done.
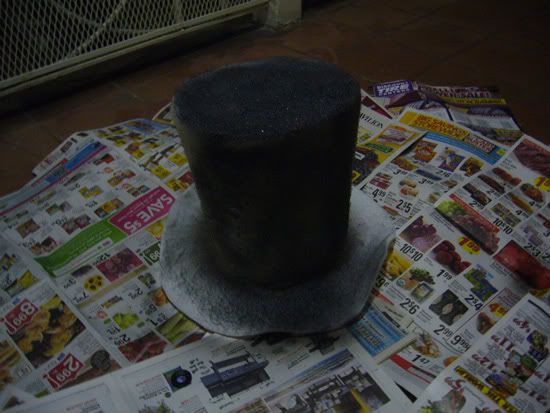
How I "colored" my hat is a big no-no. Do not do it this way. It will smell and look fug on the surface. I didn't have time to dye the hat so I spray-painted it. I used primer, and this caused the "hairs" of the fosshape to raise a little, so my surface was no longer "flat". Anyway, I sprayed about 2 coats of primer and then sprayed the entire hat black.
This was a decent amount of work and I should have started earlier so I could make a more beautiful hat :[


No comments:
Post a Comment