
My technique is based on Katie Bair's excellent tutorial on parting wigs. She has tutorials for everything in case you are a wig n00b like me. I did not have those uber long extensions she uses though. I also do not have a heat sealer. I eventually ordered one through her website but I didn't get it on time =_=
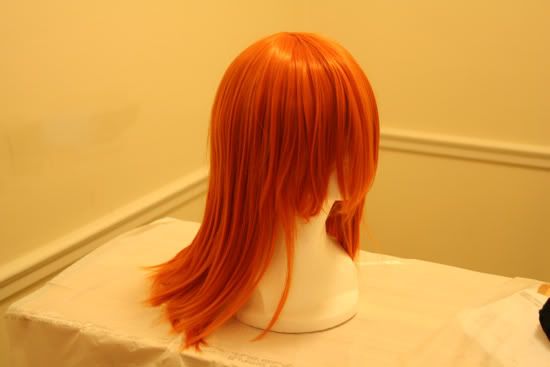
For this cosplay I used a medium-length wig from Epic Cosplay. All my wigs prior were purchased from Hollywood Wigs in Hollywood on Hollywood Blvd. Their synthetic hair is amazing for the price. About $30-$50. I also like to try my wigs on before buying them because I had a terrible experience with buying wigs on eBay -- scarred for life. But I heard good things about Epic Cosplay, and my wig shop didn't carry the shade of orange I wanted for Kagura (yeah, I know, cosplay problems...) so I took a risk on the internet again. Let me just say that this is one of the best quality wigs I own, it's also heat-safe so you can do whatever the fuck you want with it and the fibers probably won't melt unless you stick the wig into an oven or something. Luckily I didn't have to do anything crazy with this wig so no heat was required.
This is what the wig looks like:
If you're going to be doing any kind of wig styling you NEED to buy a wig head. I buy mine from the wig shop in Hollywood. These styrofoam ones are $6 and great because I can pin them, toss them on the floor, and not care about breaking them because they were $6. Needless to say I have quite a few of them in my apartment which might be kind of creepy.
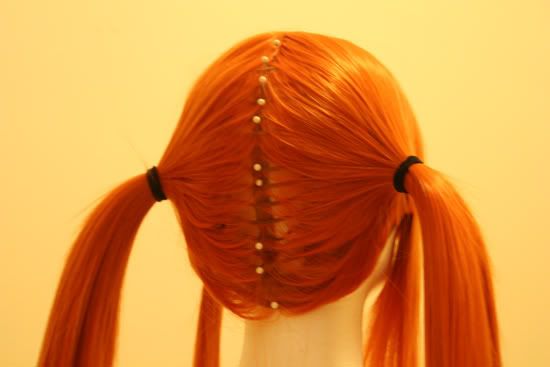
Kagura has her hair pinned up on both sides in a pigtails manner--I pinned the entire center as below so I could create a perfect center divide once I tied the pigtails.

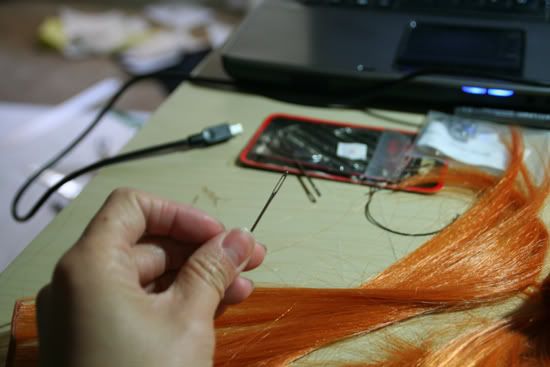
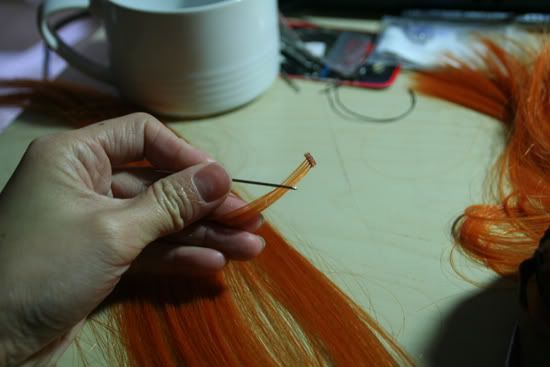
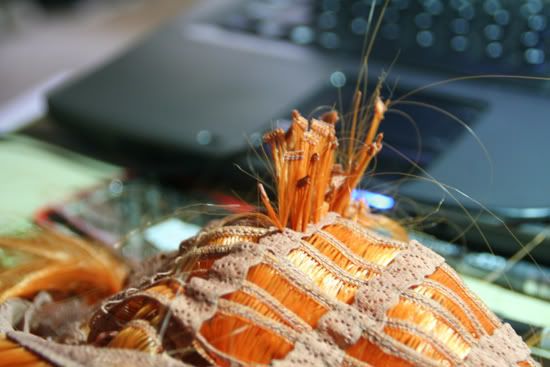
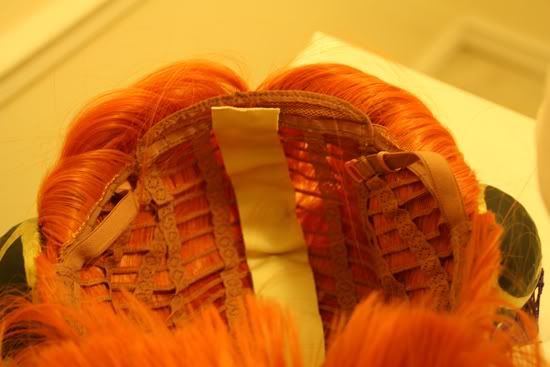
I didn't have a LOT of time to work on this wig, so I will tell you now that you really need to sew extensions through each hole in the lace trimming and the sides need to be perfectly symmetrical. I did not do this in each row so it looks a little funky, you'll see below. TAKE YOUR SWEET TIME. This took me 4 hours. This is what it will look like when you're done (inside). I patted these "ends" down and gently pulled the extensions to make sure I only had 1/4-1/2" sticking out from the top. I checked my extensions occasionally on the right side to make sure they looked "even"-- one side doesn't have more hair than the other. I put the wig back on the wig head and pinned it down at the top. I had leftover nude stretch fabric from one of my costumes so I cut a 1" strip wide enough to cover all the extensions just like Katie explains. I did not use caulk though because I actually don't have caulk. I squeezed out some tacky glue on the extensions ONLY (MAKE SURE YOU DO NOT GET ANY GLUE ON THE ACTUAL WIG because having glue on the rest of your wig unintentionally will be bad when you need to style) I made sure I only had glue on the lace trim and extensions. I gently pat down the fabric piece and let this dry for a day. I tried on the wig the next day and it was comfortable along the inside.
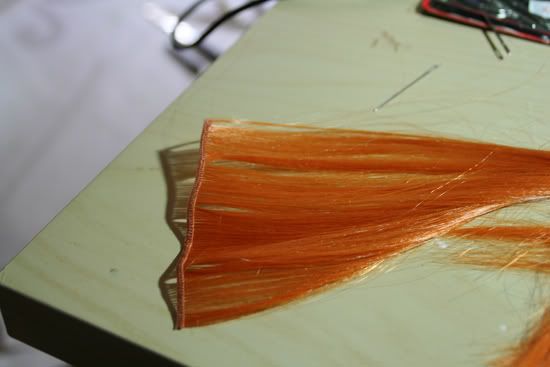
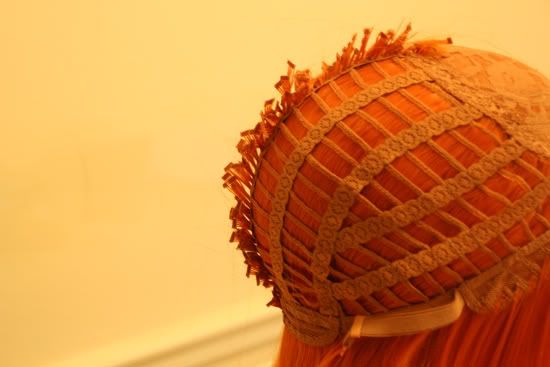
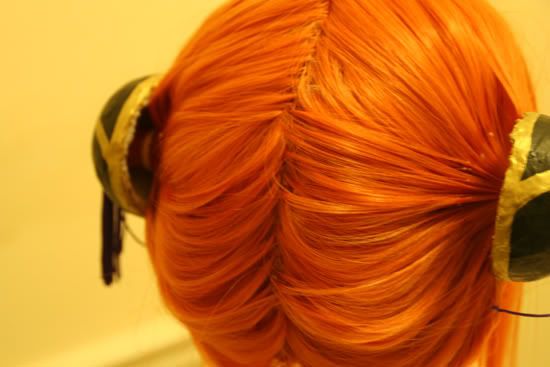
Next you have to part your wig. Place your wig on the wig head again and make sure you have a lot of pins ready, just like before. I actually worked on the wig with it in my lap so it wouldn't move while I made the back parting. Now you can see why the extension HAVE to be sewn in a symmetrical manner, and all need to be about the same width. You can see some of the inconsistencies in how I sewed in the extensions.
I'm not going to go into stubbing because Katie Bair's tutorial on stubbing is excellent.
I do want to point out something else I did on this wig that is helpful for wigs that require high ponytails or hair being pulled away from the face/head. Obviously when you pull a wig up you're going to see the elastic band. This is very simple to fix. I referenced this tutorial for styling high ponytails (Kenshin hair). After I tied my pigtails and cut the rest of the hair, I pinned the wig down along the sides, all around. This way I could see where the elastic band was exposed. I cut the extensions the appropriate length to "cover" the elastic and sewed the extensions onto the band from the inside.


1 comment:
your image for unsymmetrical extensions is broken :(
Post a Comment