

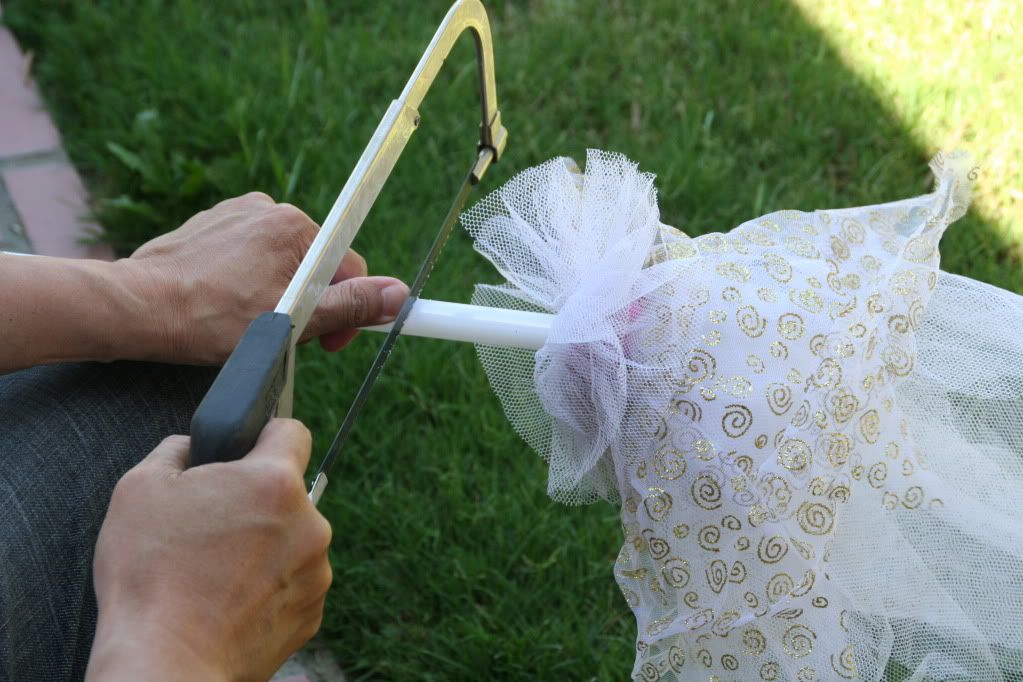
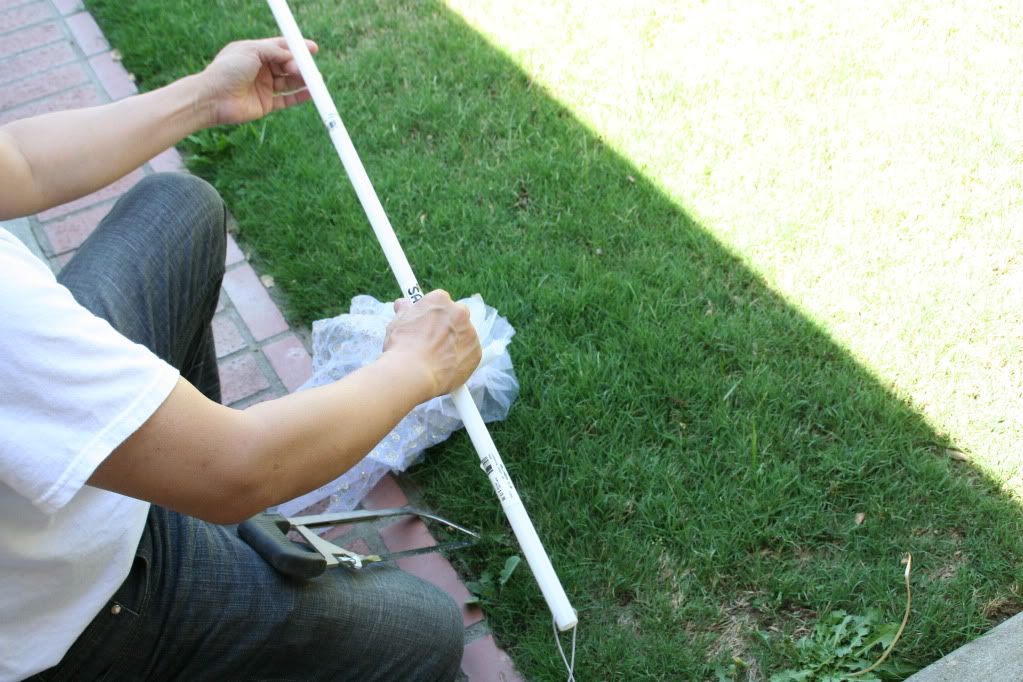
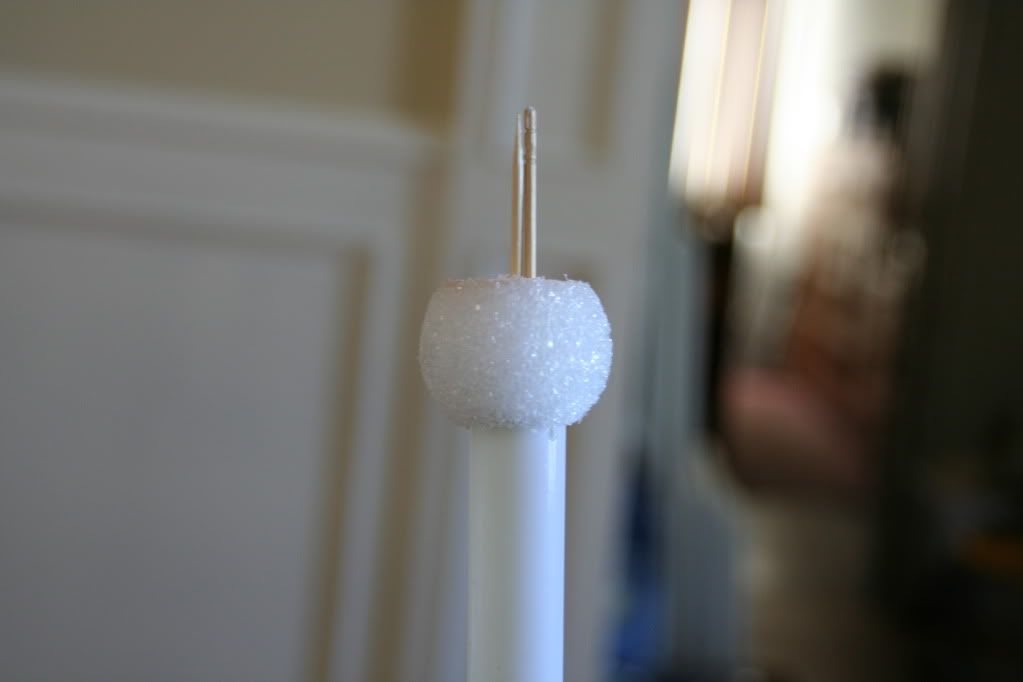
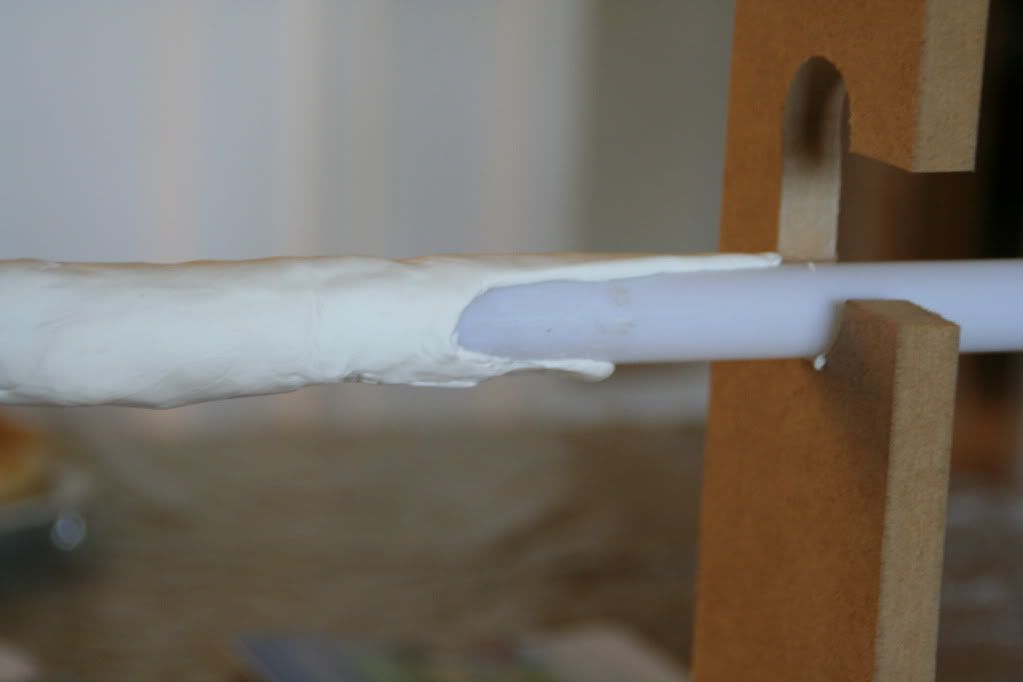
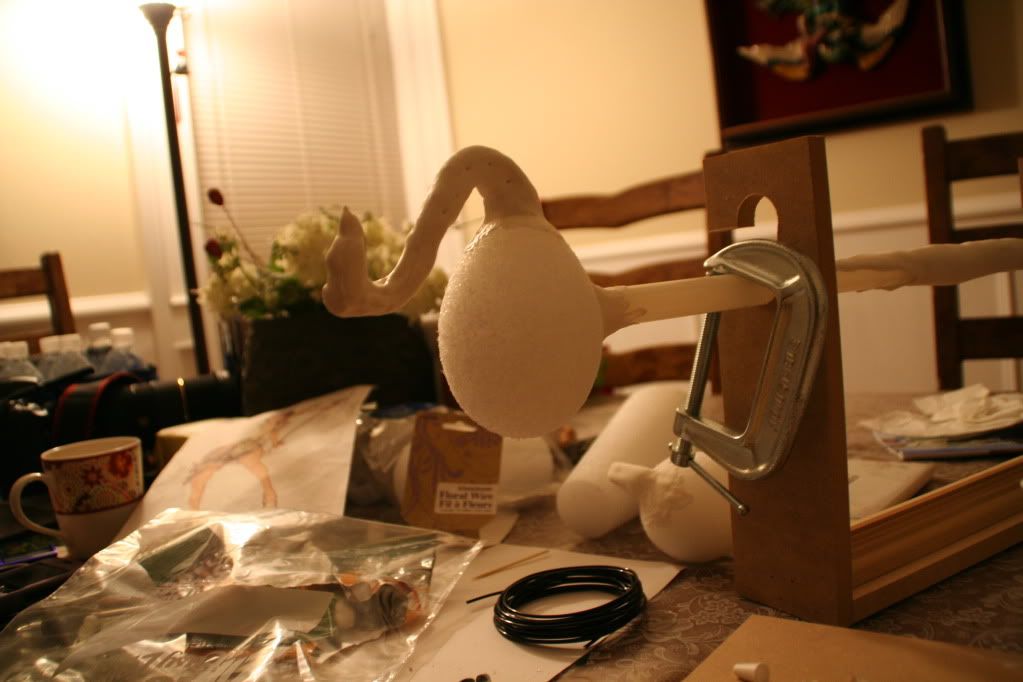
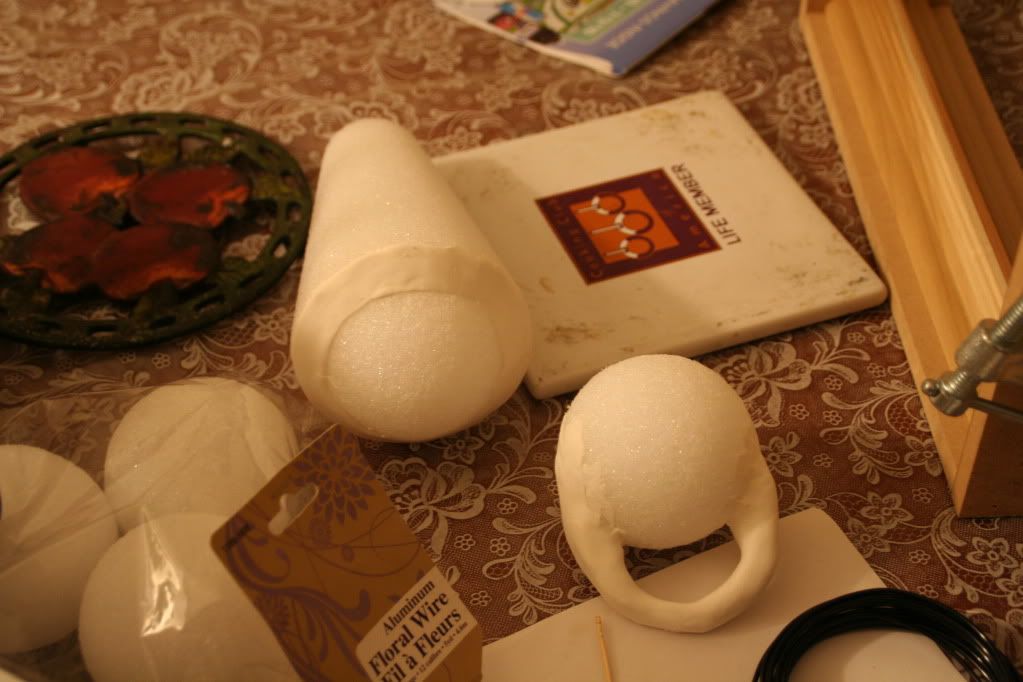
My dad and I went to Halloween Club again to look for pre-made weapon bases (last time we used a Zorro sword, disassembled and reassembled the entire thing). I thought of using PVC tubing for the wand base, but that would be way too heavy. We found a weird fairy wand or broom? on sale and started with that. My dad sawed off the extra length, and we headed to Michael's next. I needed the wand to be very lightweight since I'd probably be carrying it around all day, so I already had in mind to use Crayola's Model Magic (very light type of clay, I guess it isn't really even clay since it's more like a marshmallow-consistency) and styrofoam. I bought styrofoam in a few different shapes--an egg for the swan base, some small circles for the end of the wand, a cone for a belt accessory, and some larger balls for another belt accessory. Styrofoam is extremely difficult and nasty to paint on, so these will be papier-mached over. Using these materials will make the wand 10000x lighter than using a huge hunk of clay to mold over the wand.
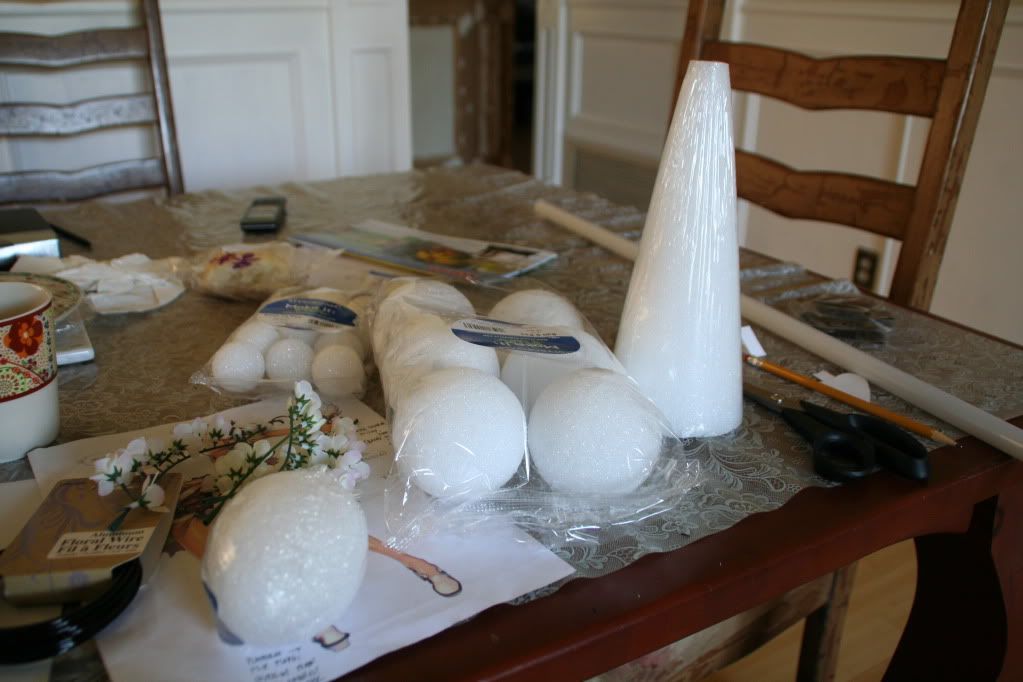
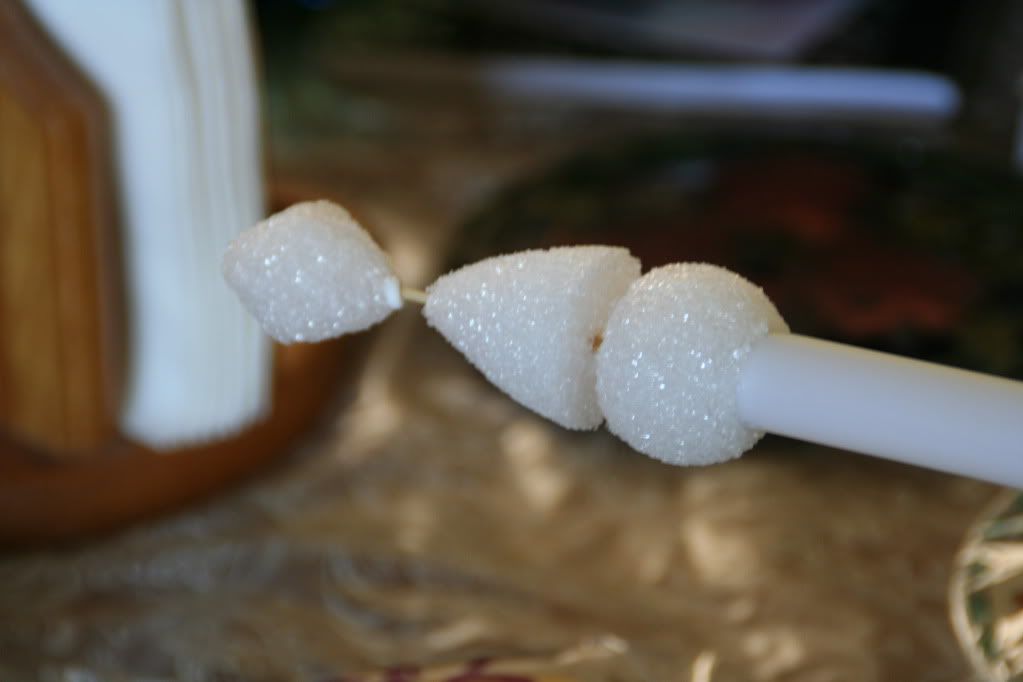
Styrofoam
I simply used some toothpicks and a lot of tacky glue to secure everything.
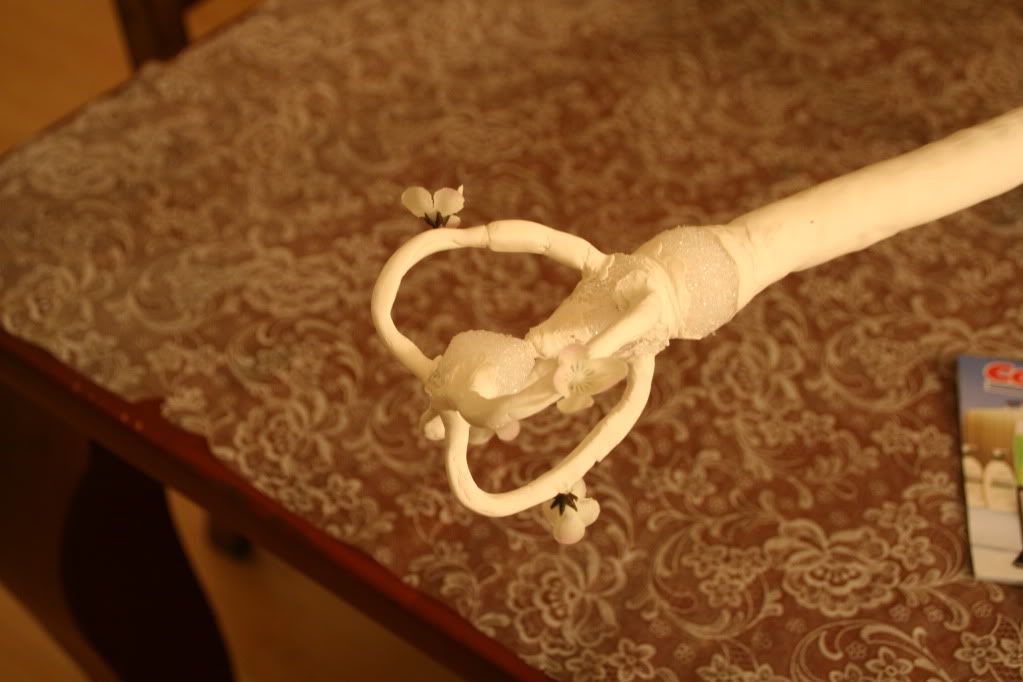
I also used some floral wire. This is not very pliable, so I had to use pliers to get the shapes I wanted.
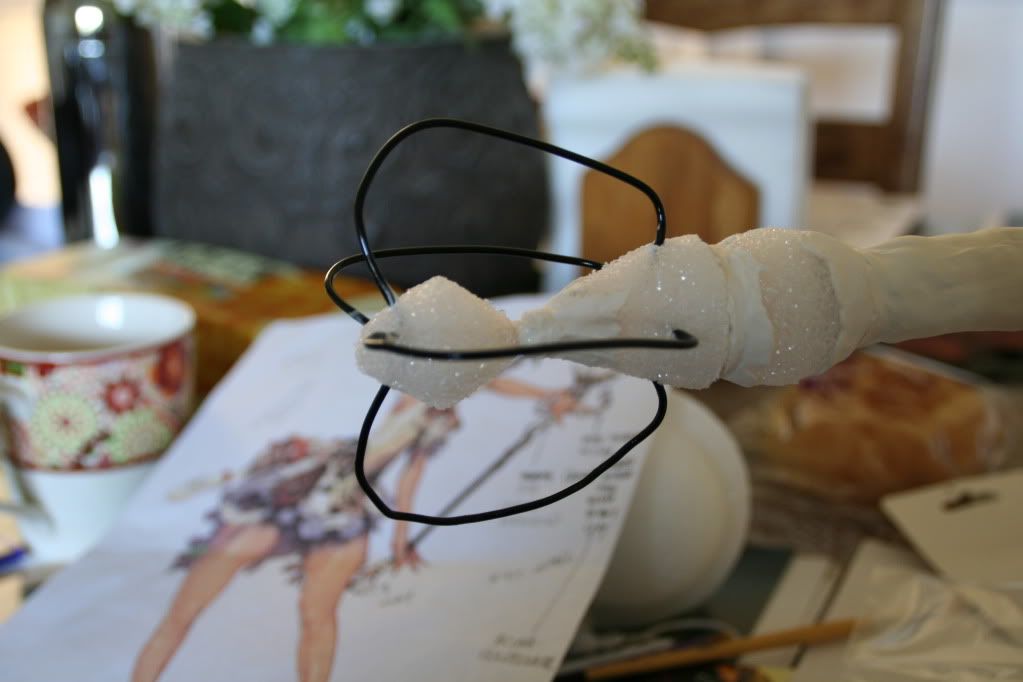
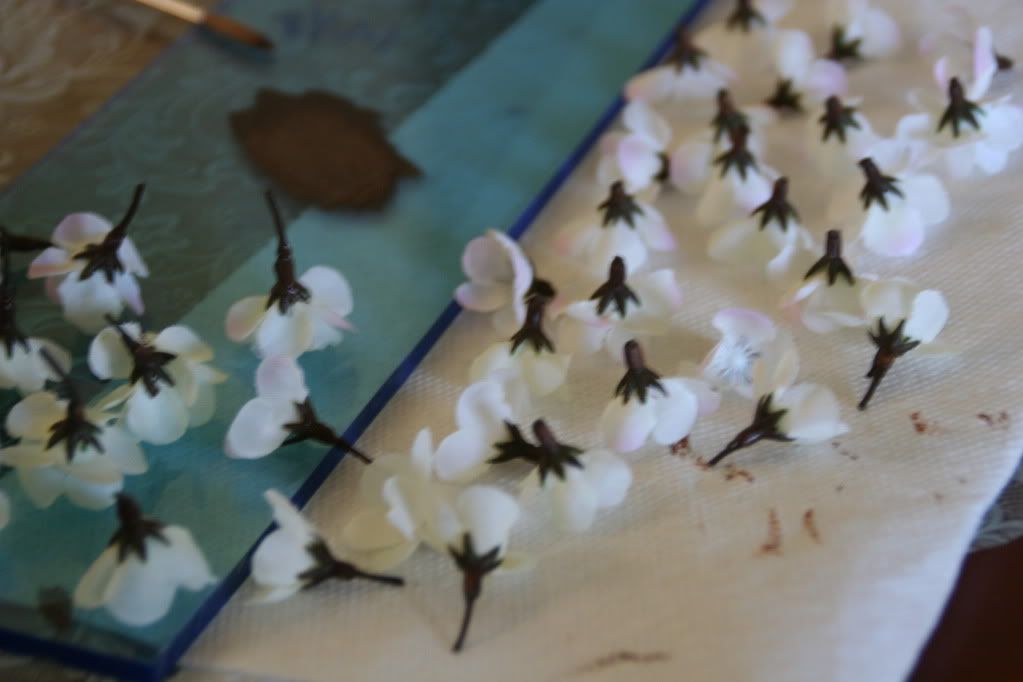
There are tiny cherry blossom-type flowers everywhere on this wand, so I bought a bunch of cheap fake flowers, cut the stems off and painted the tips a dark brown.
I used an entire package of Crayola's Model Magic for creating the base shapes on the wand and my belt accessories!

(belt accessories)
The downside to using this clay is it takes 72 hours to fully dry, whereas the DAS clay took only 20-24 hours. I will be sanding the surfaces smooth, so I am not worried that some of the clay looked bumpy in areas.....


1 comment:
Very crafty. Did you sense the time pass by or was it just something that was akin to an addiction to get your vision in place?
Post a Comment