
I have 3 costumes to complete by July for Anime Expo and Comic-con, as I mentioned before, and with my vacation coming up the last week of February, I already don't have that much time.
I got a headstart this week by completing the patterns for my first look, Xianghua from Soul Calibur IV. We happen to be about the same height and weight (er, same proportions) and she was my favorite character when I played the game incessantly during high school.
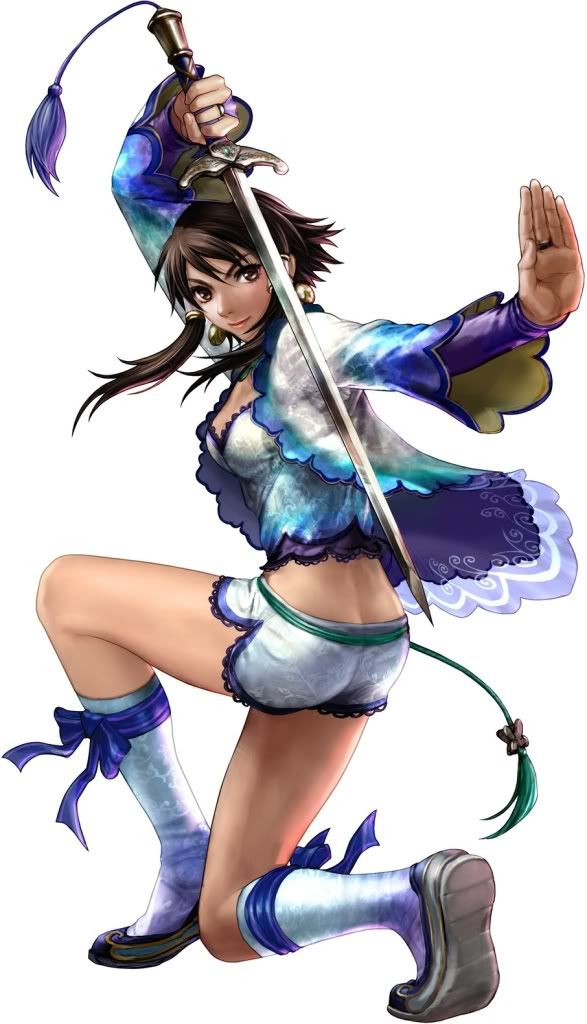
Her outfit consists of 3 major components:
1) a scalloped-edge jacket
2) scallop-edged bustier
3) uber short-shorts.
I had to play the game a couple times to see the details a little more clearly, and noticed that the armpiece is separate from the jacket. The jacket has also 2 lining colors--the sleeves are a dull gold and the body is purple.
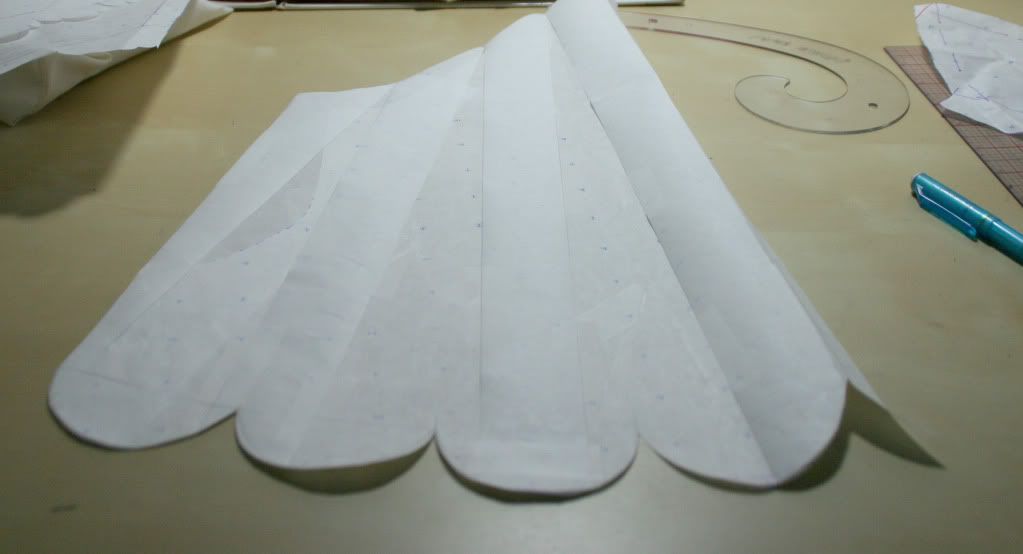
Luckily I was able to use the bustier pattern I made for the Lady GaGa costume, which saved me a lot of time. My only issue was the scalloped edges. This was something I had never done before, but such an integral detail to Xianghua's outfit. I used a little bit of math and tried to shape the scallops as evenly as possible. I left the edges raw so I could use bias binding on the final product.
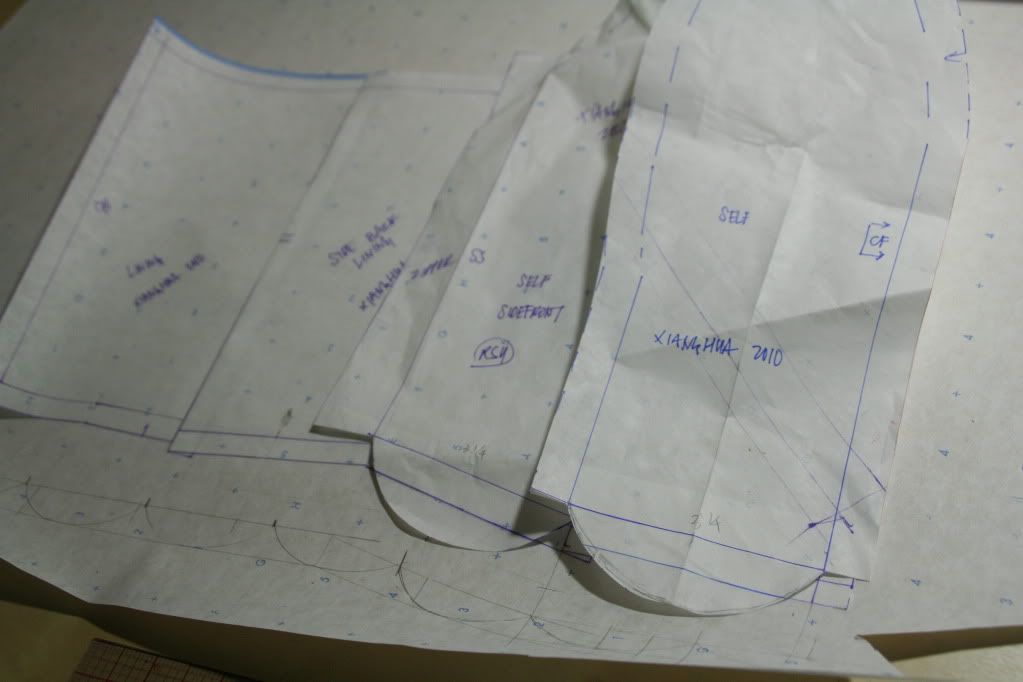
Drafting the pattern with scalloped edges
I had previously drafted a pattern for a pajama short, and I used that pattern for Xianghua's shorts. Although I wanted to avoid using elastic of any sort for these, there was not enough length in the short for me to add a zipper and ensure a good fit. Even if I had decided to use a knit fabric, the center front (which is a dangerously deep V) would not have enough body to stay upright unless I used a ton of interfacing, which would interfere with the stretch of the jersey. In any case, I decided to use a thin elastic, 5/8" width, thin enough so it would not be as clear as day but thick enough to keep my ass covered. Only the two sides have elastic bands, to keep a clean look.
For the jacket, I used my contour blocks. There are no darts or special seams for a fitted look, so drafting the pattern for this was a no-brainer. I only had to make sure the length was ok.

First sample of the jacket
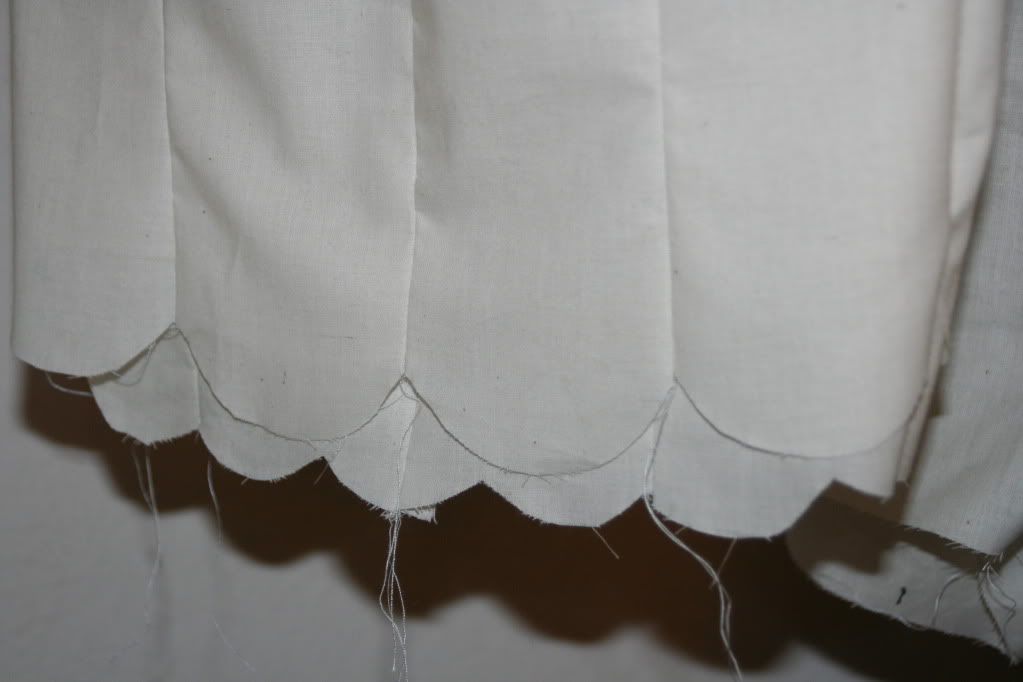
Scalloped edges (raw and rough)
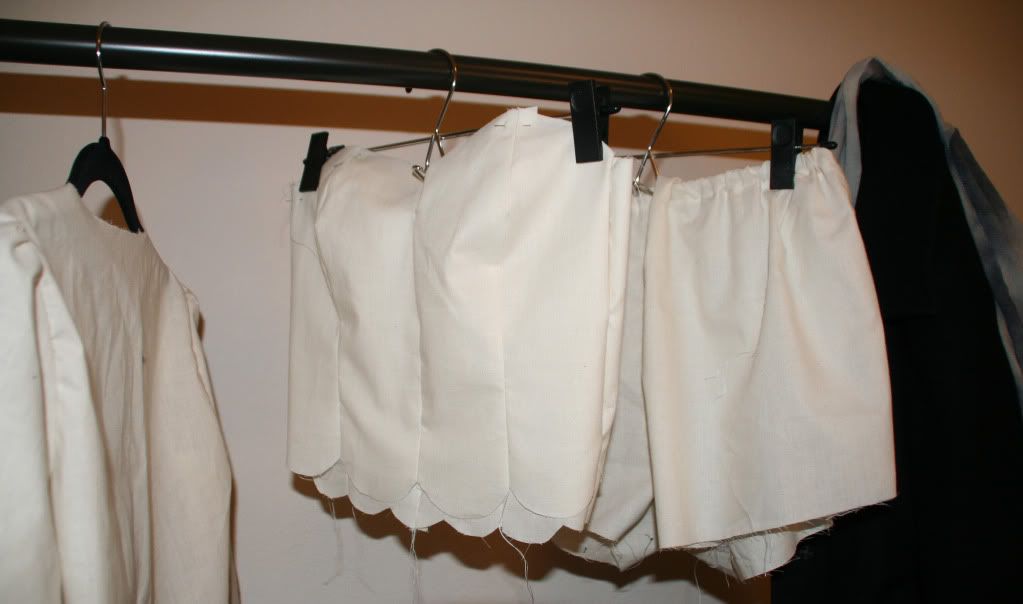
First sample of the bustier and short
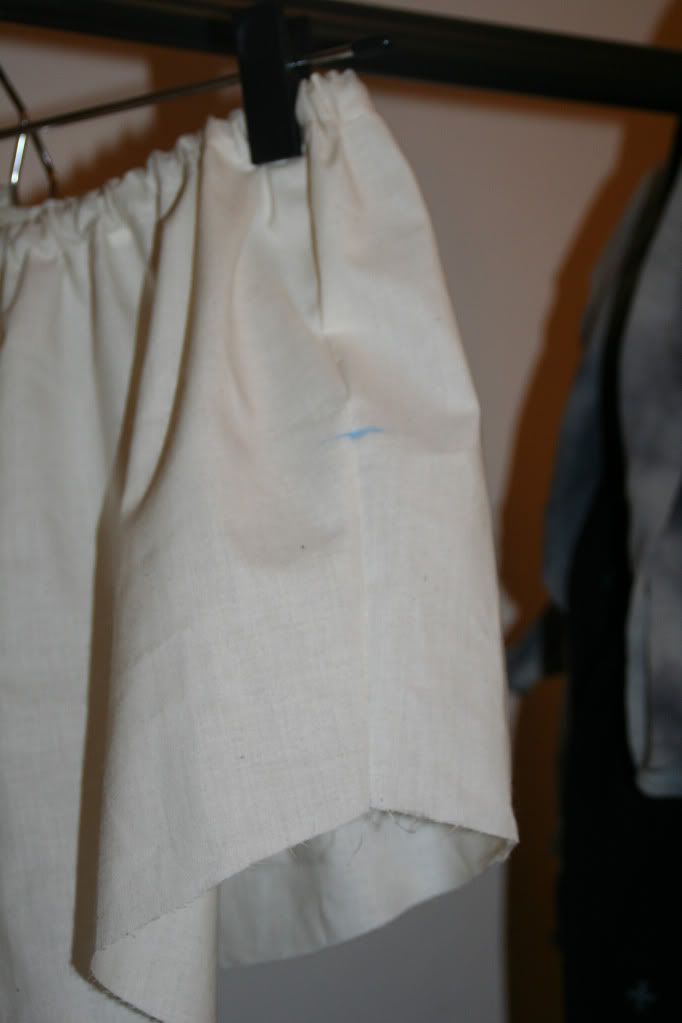
The blue mark is where the slit would end on the side
My basic sleeve fit perfectly, which allowed me to draft the bell sleeve pattern from there. I originally wanted only the hem to have flare, but I did not want to add any seams to the sleeve, otherwise my design would be compromised. The only seam on the sleeve is the underarm seam.
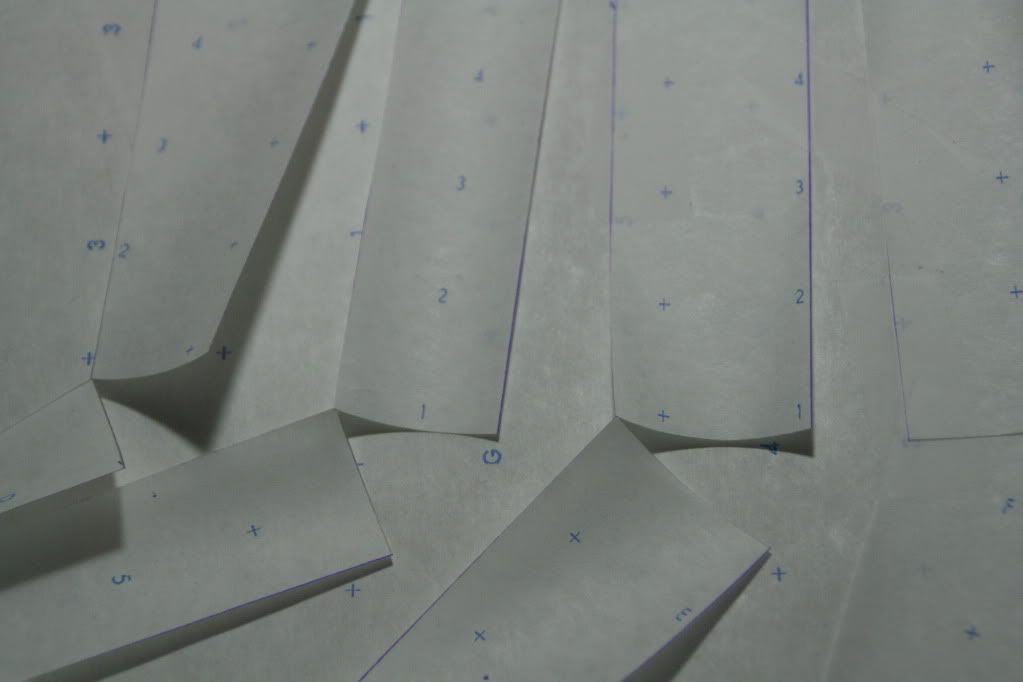
Slashing and spreading the sleeve, I didn't use this pattern after all.
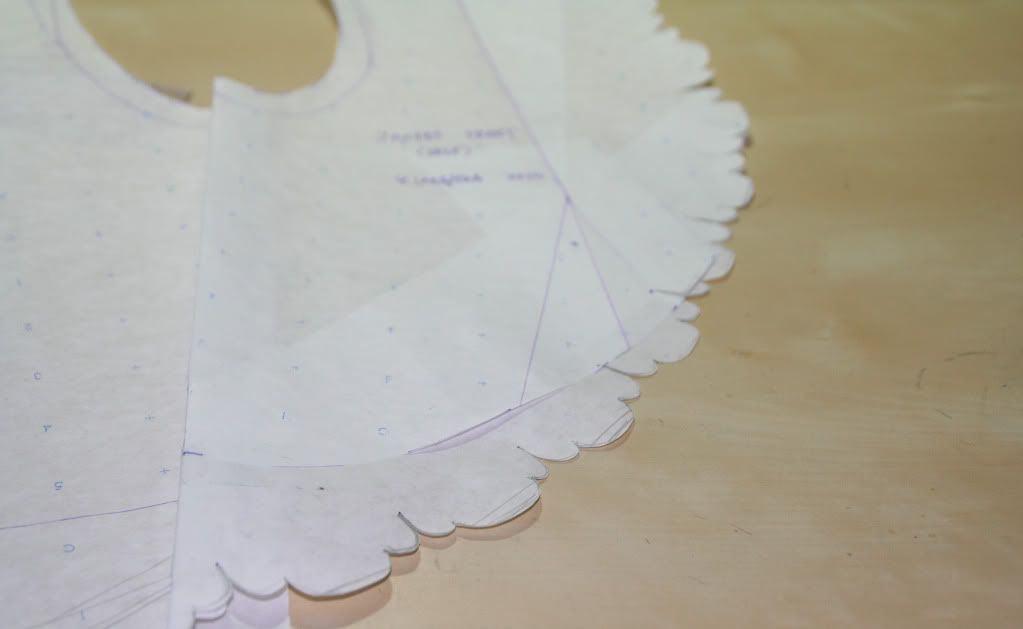
After checking all the patterns again, I went ahead and did all the scalloping for the jacket edge and the sleeve hem. (it took quite a while)
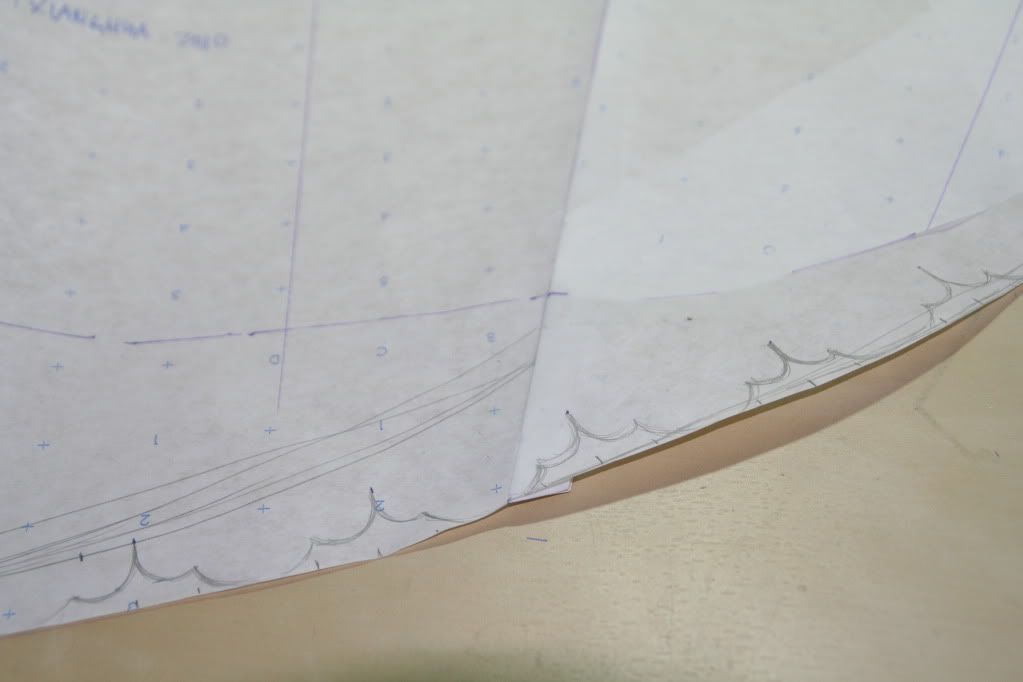
Drawing in the scallops first.
I cut out the scallops for the jacket with a regular scissor. Special rotary cutters that can cut a scalloped edge are available at art stores, but this scallop design is a bit different and
I wanted to be able to control the depth, distance and size... so I just had to cut very carefully.
Scalloping on the sleeve
Now the main patterns are complete!
You will have to excuse my next couple of DIY posts, as they will probably be all about pattern drafting and fixing my samples.... but I have to finish all the patterns by the end of February!


2 comments:
wow that looks so cool!
the colors are going to be stunning
behind cleavage.
the airplane food in your previous post looks heavenly.
i'll be listening to the music later. speakers are scarce here...=(
Post a Comment