
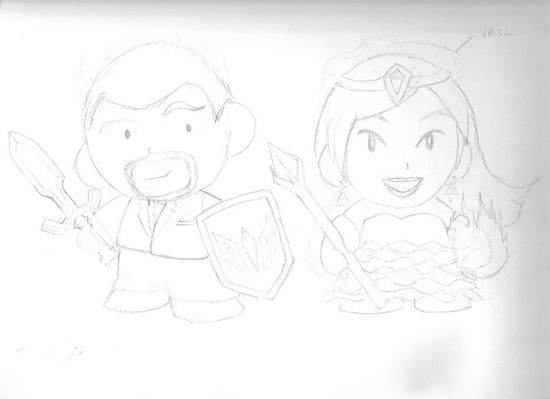
I was in charge of making the bride-to-be's mini-Munny, and my talented friend Angela would be working on the groom's custom Munny. I worked closely with the couple for the idea, and for the dress/jewelry details I worked closely with the bride-to-be a few weeks prior to their actual wedding date. The dress as per the couples' original sketch below was not her actual dress--the bride-to-be sent me sketches and photos of the dress she would actually be wearing. Here was the original idea (sketched by the bride and groom)
I found this Munny to be a challenge because the previous 2 mini-Munnies I customized had some form of armor, which I had a lot of fun weathering, and didn't have to worry so much about making the surfaces smooth. For this project, I wanted to make sure the dress looked delicate--meaning lots of details created during the sculpt instead of being applied later with paint.
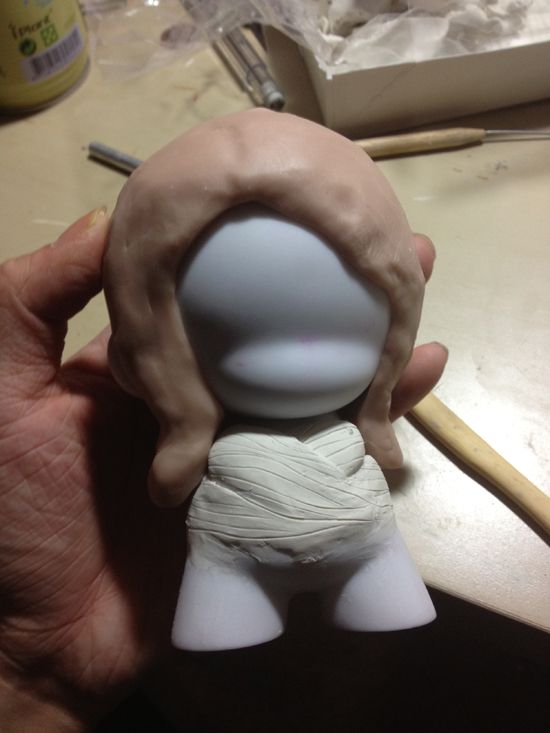
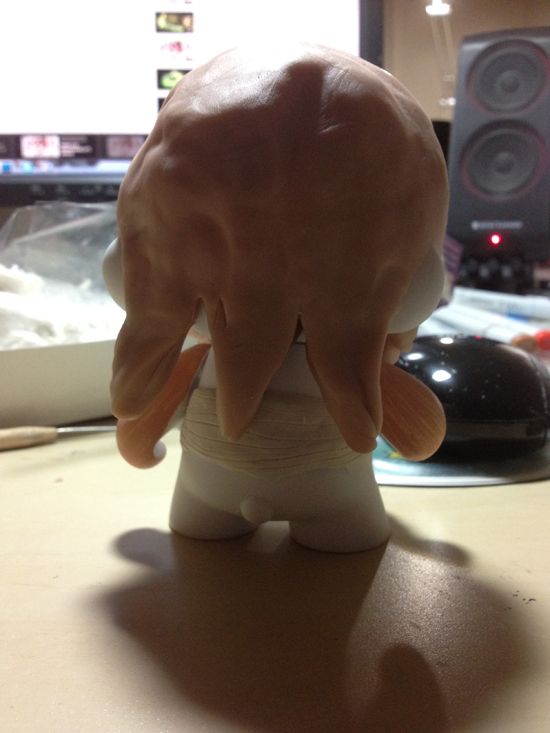
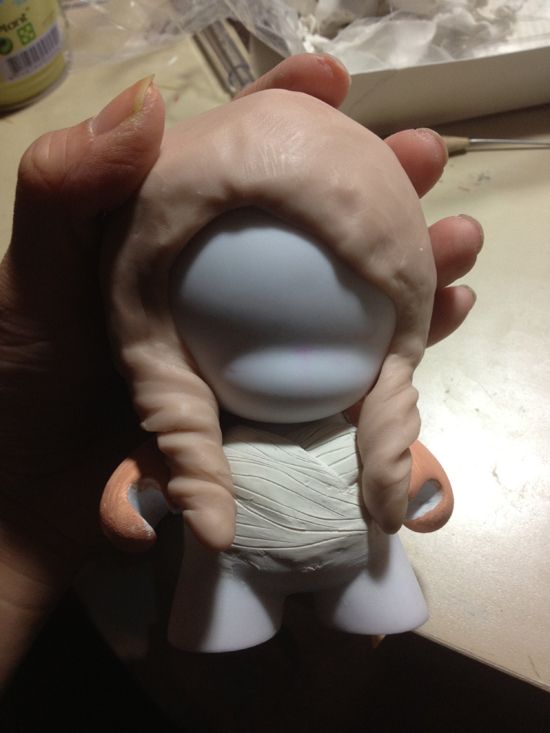
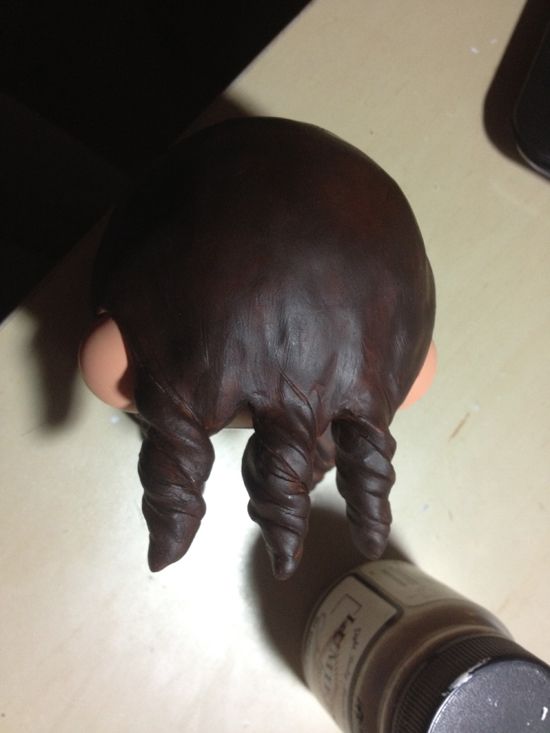
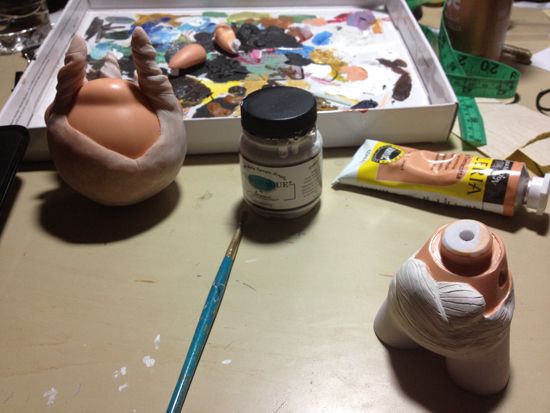
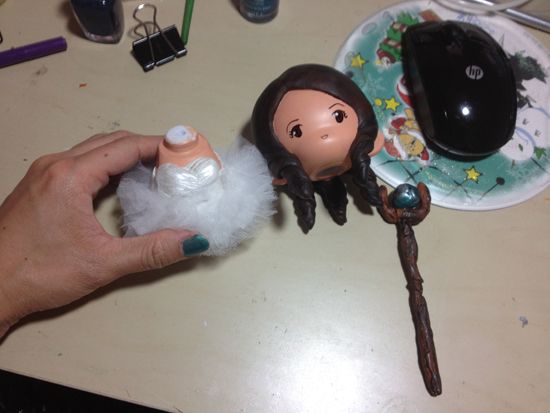
A mistake I made on both my previous Munnies was taking apart the ENTIRE Munny, sculpting all these details onto it, and then struggling to put it back together or messing up my sculpt because the arms were too close to the body or the details I added along the neck prevented the head from sitting properly onto the body. This time I put the arms onto the Munny as I sculpted the dress to make sure I wouldn't have this problem again. When the dress sculpt was done I put the head back on and sculpted the hair.
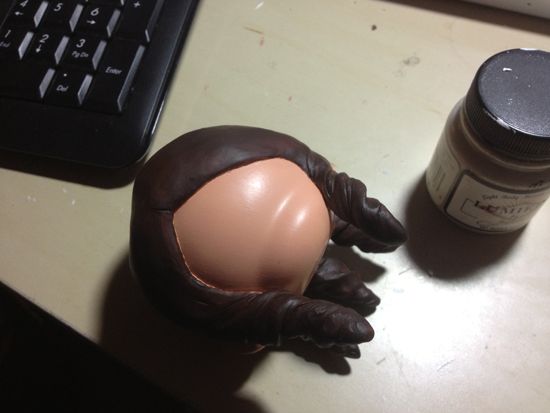
I carefully removed the head and cured the Sculpey.
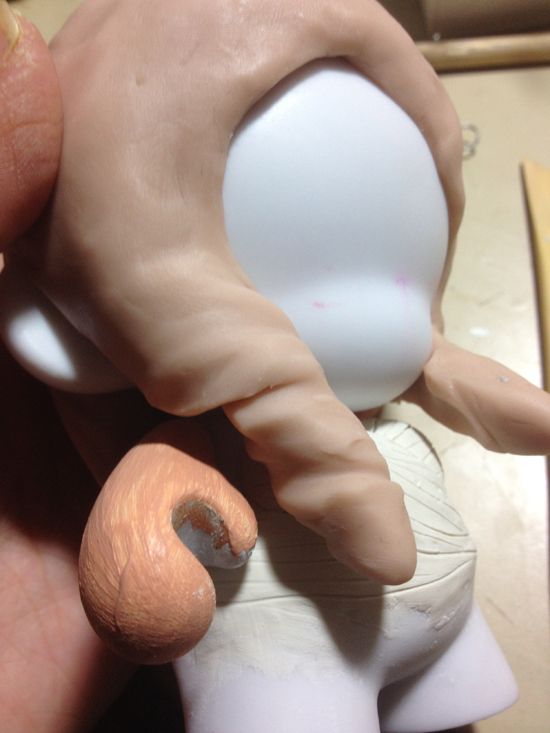
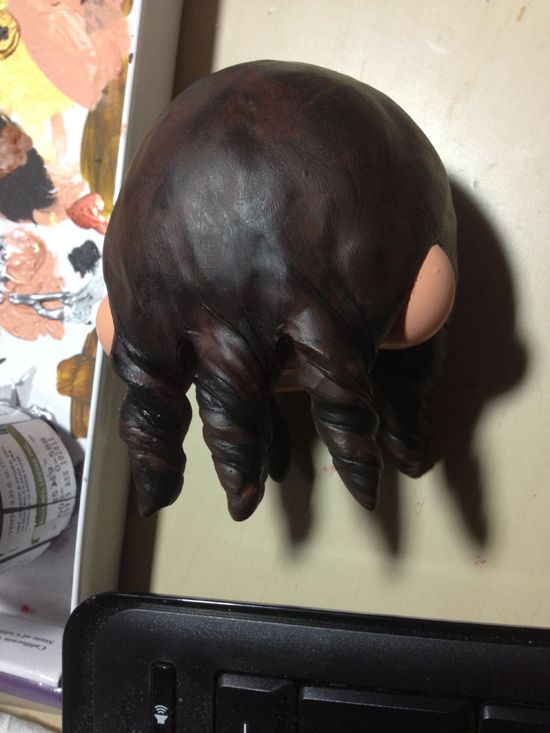
Next came the painting--I watered down my acrylic paints for the skin to keep the surface completely smooth and free from brush strokes. I used acrylic paint in a tube and it was too thick :( But watering the paint down saved me some money. Her hair consists of 3 different shades of brown.
As you can see I only sculpted the bustier of her dress--I had initially sculpted the ruffles--4 times, in fact, but I was not pleased with how they looked, so opted to cut little strands of tulle instead! These were hot-glued after I painted the body.
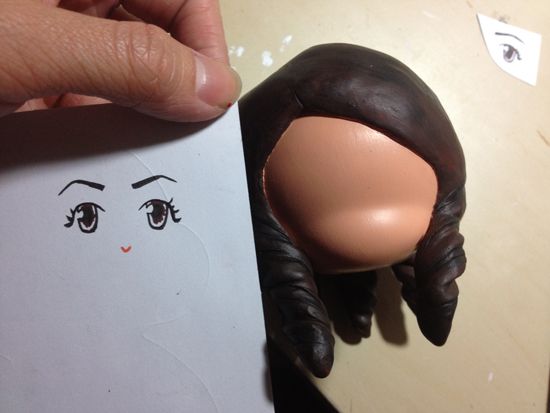
I drew the face w/ Copic markers because I tend to destroy all my very fine brushes.
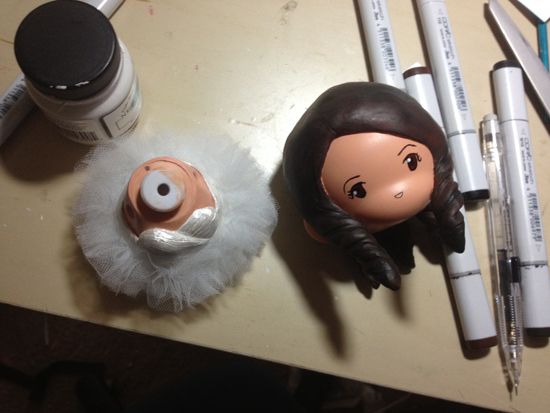
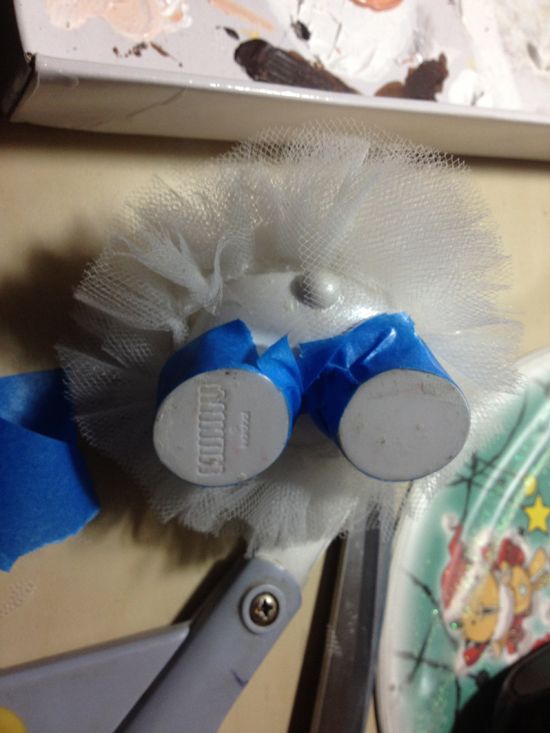
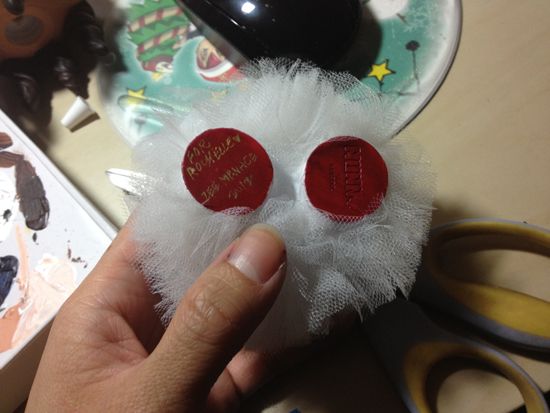
I used a metallic paint for the bustier for pop, I thought white would look too flat. For the veil, I cut a piece of tulle, gathered it, and glued it to the top of the head. Instead of making a tiny tiara, I opted for acrylic jewels to adorn the front of the veil.
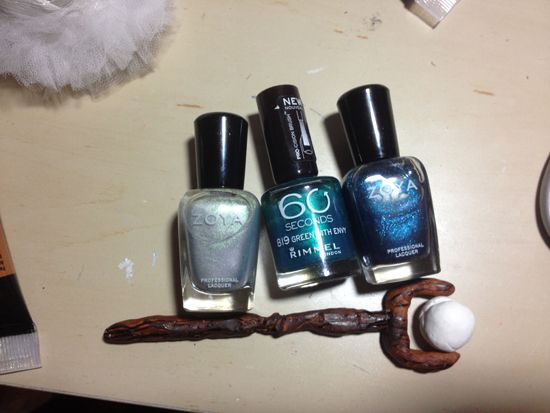
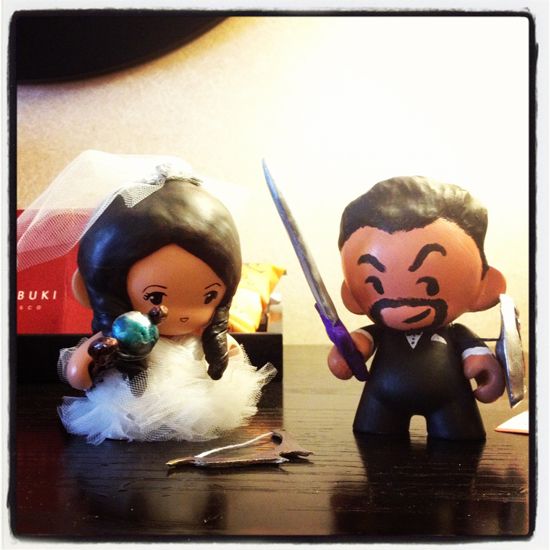
I sculpted a wooden staff from lightweight stone clay, painted it with acrylics and used clear nail polish as my gloss finish. For the orb I also used a combination of nail polish as shown below.

Now came my big problem with the alternate "weapon". The dress was so fluffy I could not incorporate a "magic element" as originally requested--this was my own fault as I didn't think about the Munny's actual proportions prior to sculpting the entire Munny :( Last minute change was to create a bow! I cut this from leftover Wonderflex and wound up some thread.
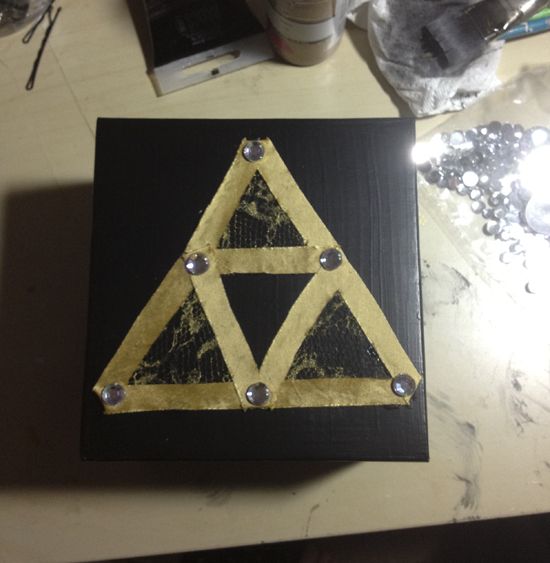
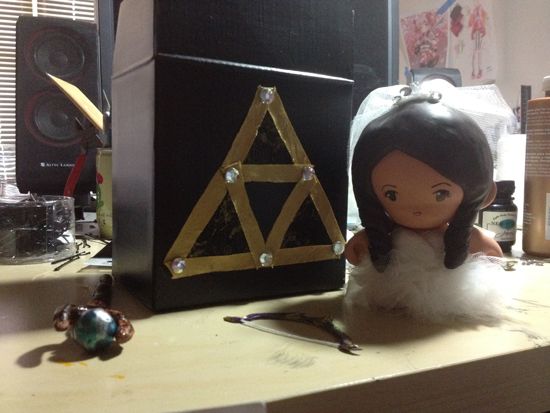
Angela and I stuck to the Zelda / magic theme and while I don't have a photo of her box, I created a triforce with gold lace and gold silk trim for the front.
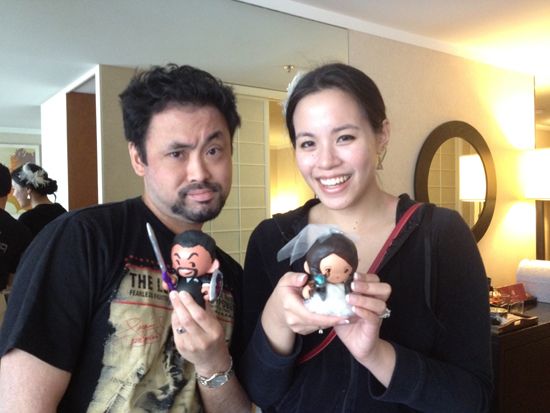
Congrats to the happy couple :)


No comments:
Post a Comment