
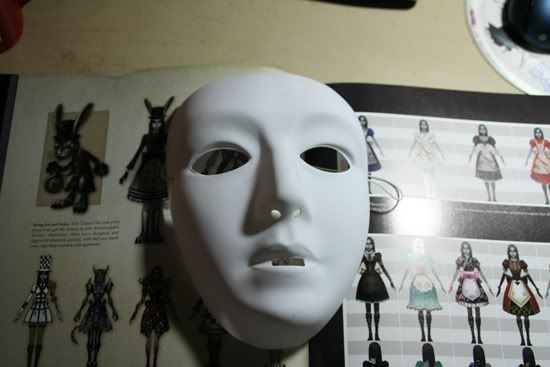
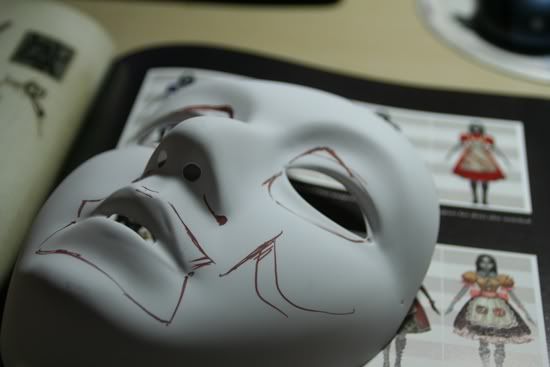
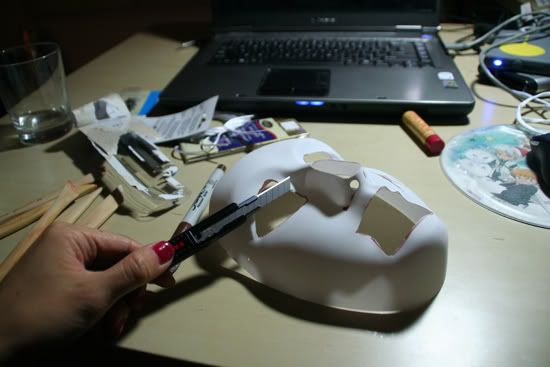
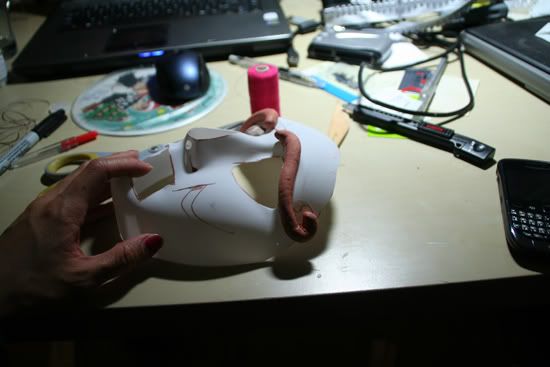
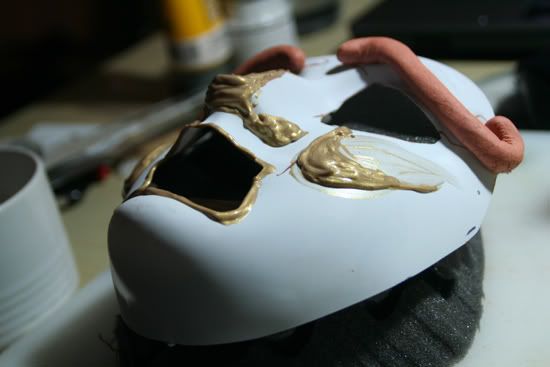
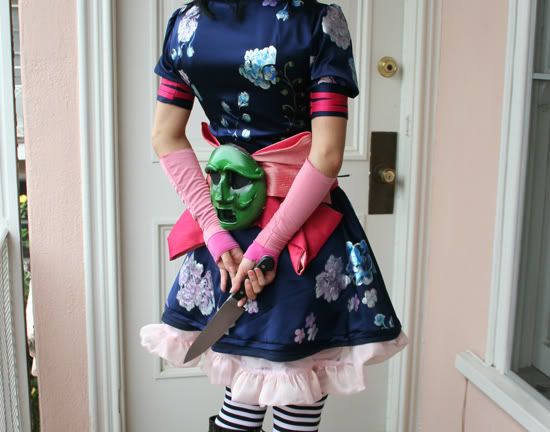
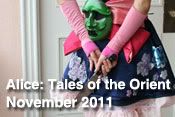
Hopefully you can get a basic idea of how I tweaked an existing mask that I bought for $4 at a Halloween store. I didn't have time to take TOO many pictures but you can see I have cut out the eyes and mouth based on the reference images I gathered (yes that is the official Alice:Madness Returns artbook!!)
I used clay for the eyebrows but knew I needed something very light to create the saggy cheeks and fat nose. I should have used foam but I was really running low on time, so I ended up using puffy fabric paint to create the raised areas--I smoothed the unevenness of the fabric paint out w/ some sculpting tools.
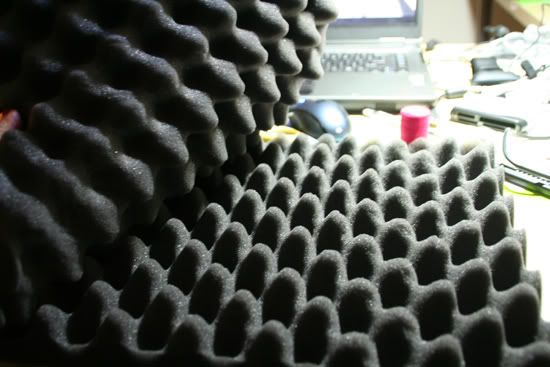
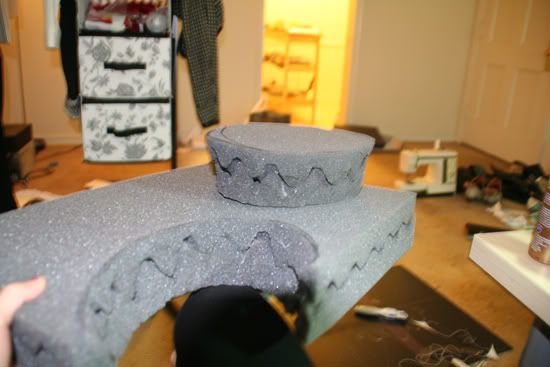
To make sure I could attach the mask to the bow itself, I needed to fill in the back somehow. Luckily I grabbed some packaging foam from work to glue into the mask. I then glued a piece of felt w/ some snaps sewn onto it--I used snaps again to attach the mask to the bow. I used tacky glue and a hot glue gun, which worked extremely well and this costume lasted 3 entire days.
Yeah yeah my apartment is messy but I'm always working on stuff :< !!!
I spray painted the mask with primer first, then with Montana Gold spray paint. The BLACK areas are actually a very dark grey I applied with an airbrush.


1 comment:
You really work hard to do the costumes very well. We appreciate your effort. The finish costume is really admirable and beautiful.
Post a Comment