
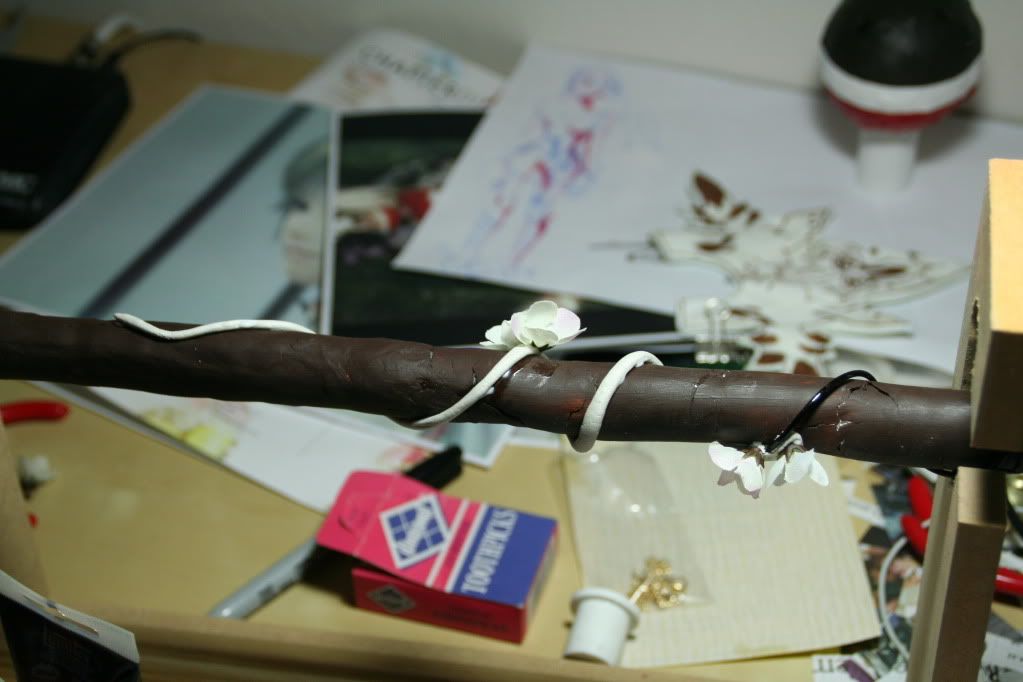
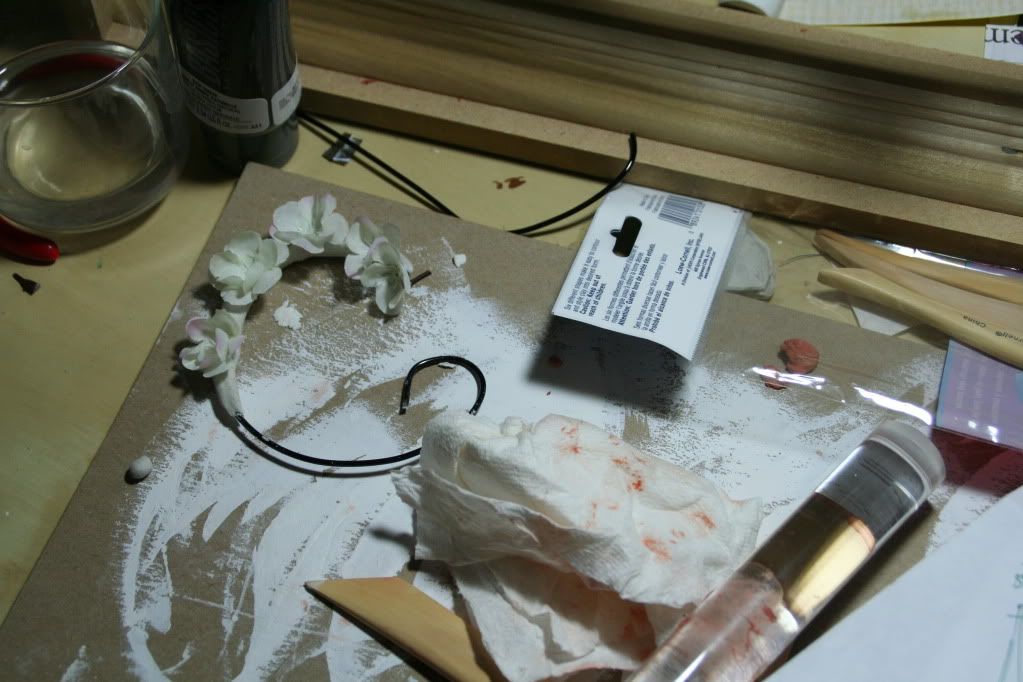
At the very bottom, you can see the color of the wand--I used Liquitex's BASICS acrylic paint (I highly suggest this paint if you're on a budget but still want a smooth, good-quality paint. I get it at Blick's for about $3? I linked it for you guys). It dried about 20% darker than when I applied it, which was a good thing because I thought the color was a tad too light for me.
I put about 3 coats of paint. Luckily acrylic paint DRIES REALLY FAST. I covered the swan in paper mache. Short, thin strips to make it easy to wrap around the round surface. I applied 2 layers of paper mache.

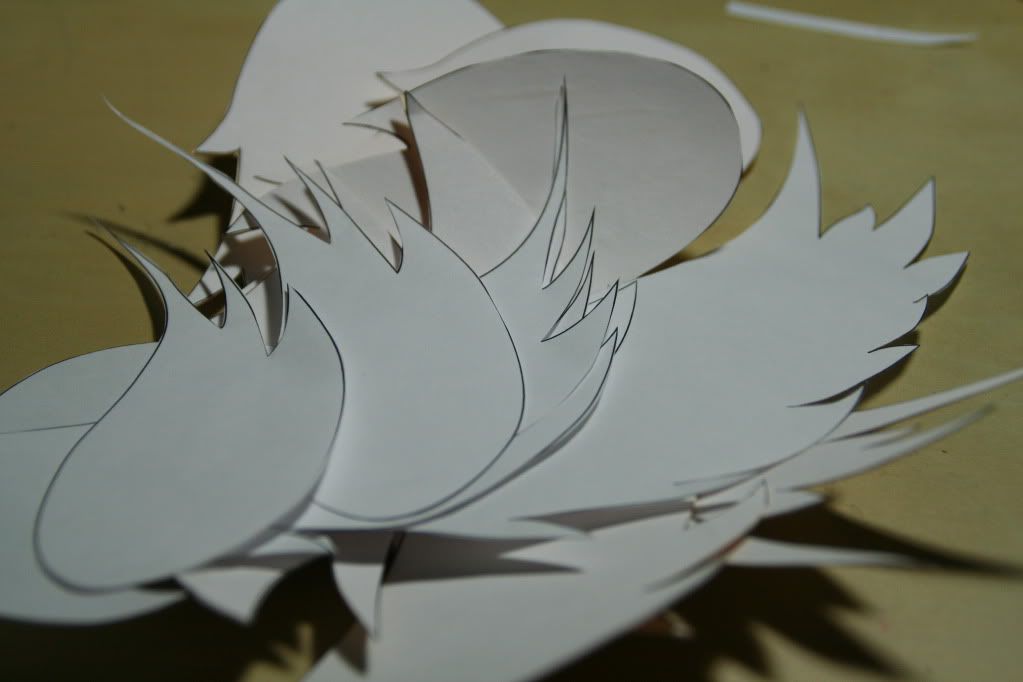
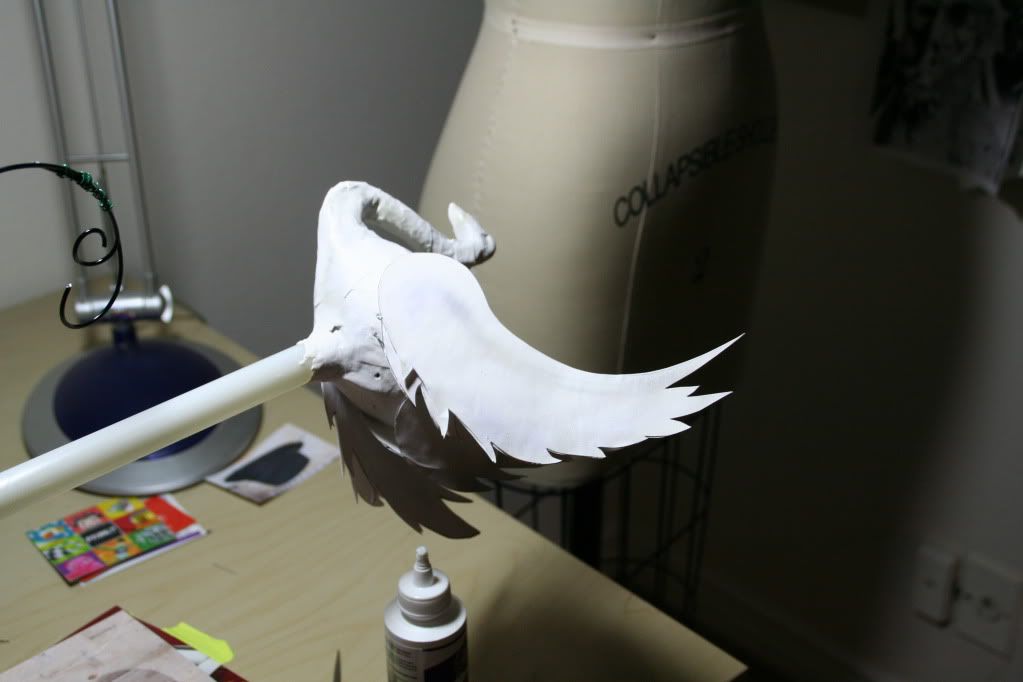
I debated using feathers for the swan... it could look very gimmicky and too soft with all the hard elements on the wand, so I ended up using manila paper (didn't have card stock on hand...) and regular printer paper, with wire sandwiched in between. The wire would make it easy for me to apply to the swan's body, and after the paint and gloss, will get rid of the "paper look".
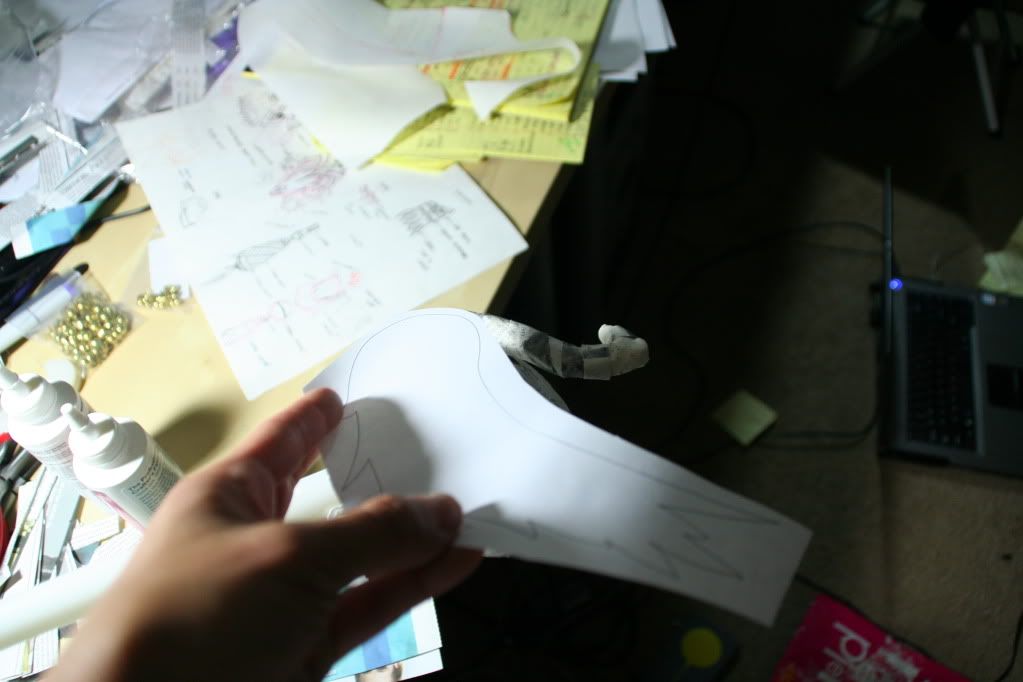
Checking to see if the proportion is correct.

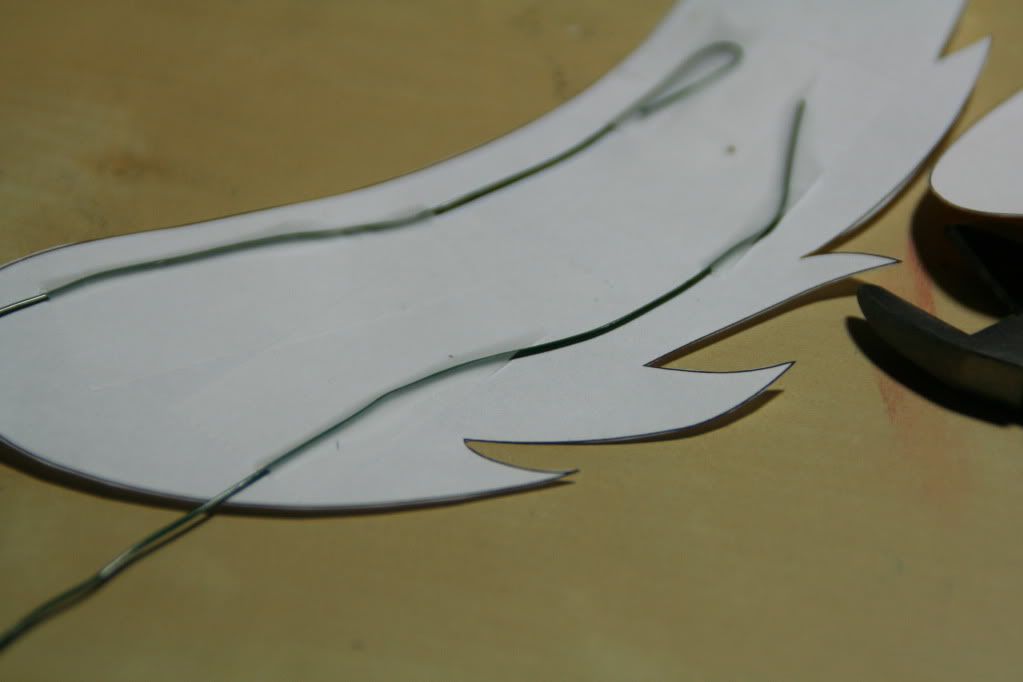
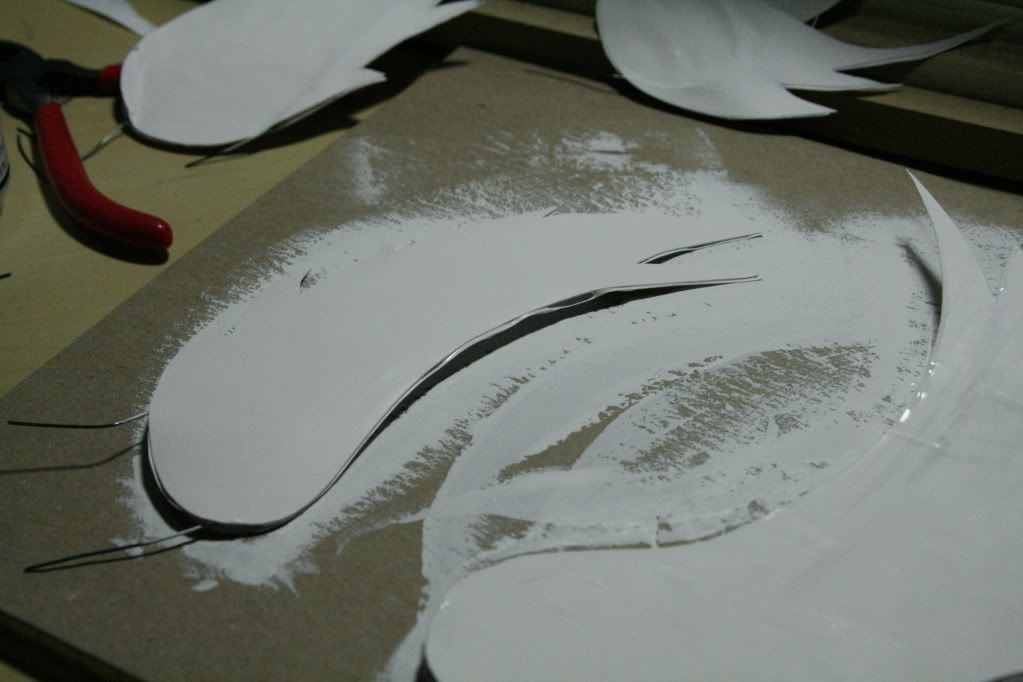
Taping wire to the "feathers"
I airbrushed the swan and "wings" a little with a warm grey and light purple color to give it some more dimension. The "feathers" were inserted into the swan's styrofoam body, along with some tacky glue, and gently bent into place. I will probably be adding some more "feathers" onto the surface for more detail. This is still too simple-looking.
You can see some slight shadowing on the wings.
The swan had been painted with 3 thick coats of acrylic paint before the wings were inserted.
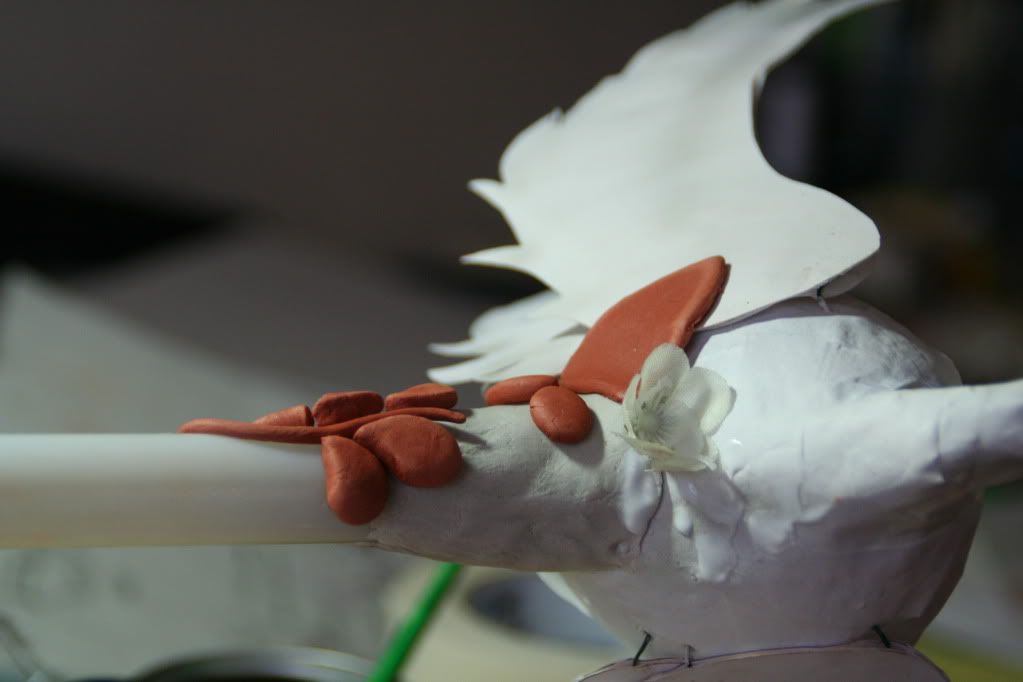
The vine of flowers was created by rolling the clay and wire together. I inserted small pieces of wire into the cut flower stems for more reinforcement. I had to work very quickly and keep dampening the clay to prevent cracks. I'm not looking forward to sanding this.

The white clay is also DAS clay.
Most of the details were done in clay, glued with Tacky glue while still wet.
I still have a bit of work left to do on the wand (mostly painting), but I'd say this is about 85% finished!
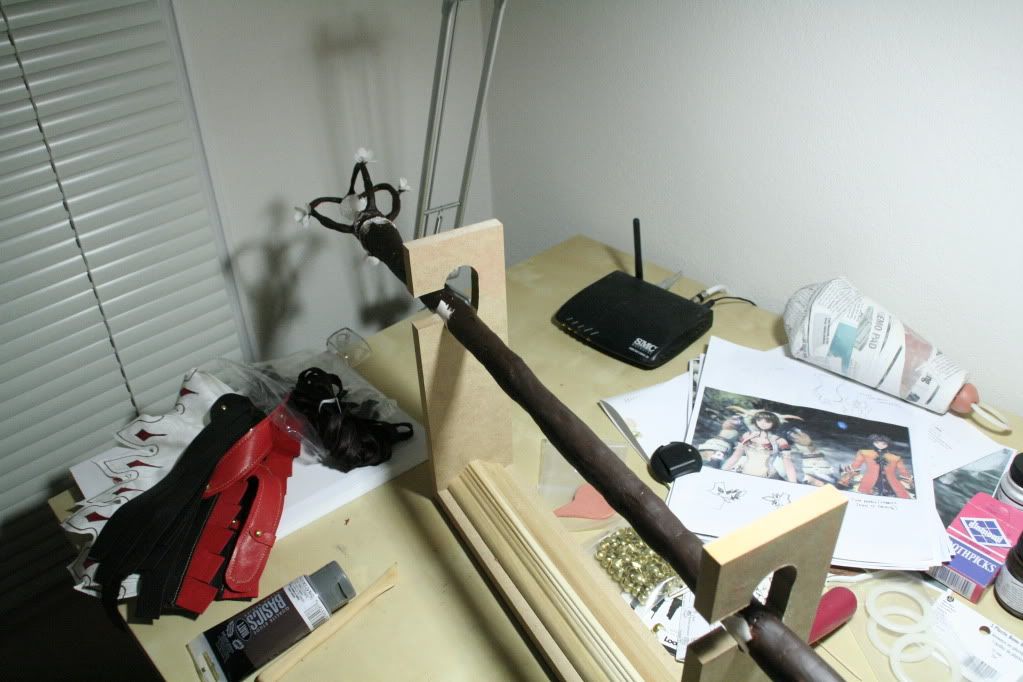
Also, don't you think this wand stand is great? My dad made it! I also have one for the sword that he made.... soon I'll need a closet just for "weapons"....


No comments:
Post a Comment