
This post took me a while to write up because there was a lot of time between waiting for the glue to dry, sanding the clay and finding the correct materials.
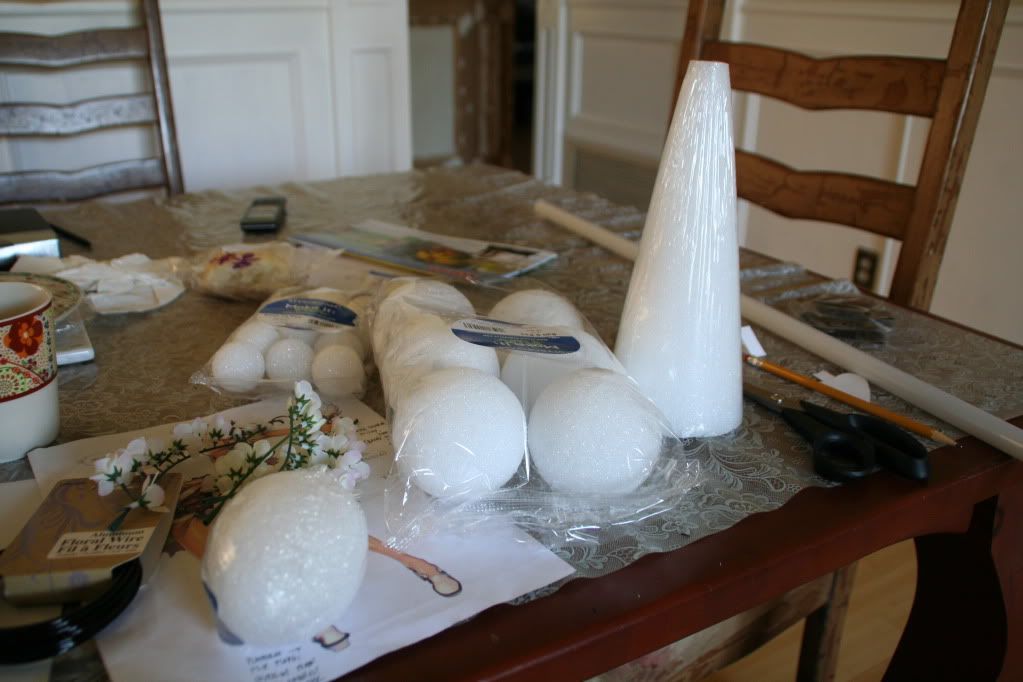
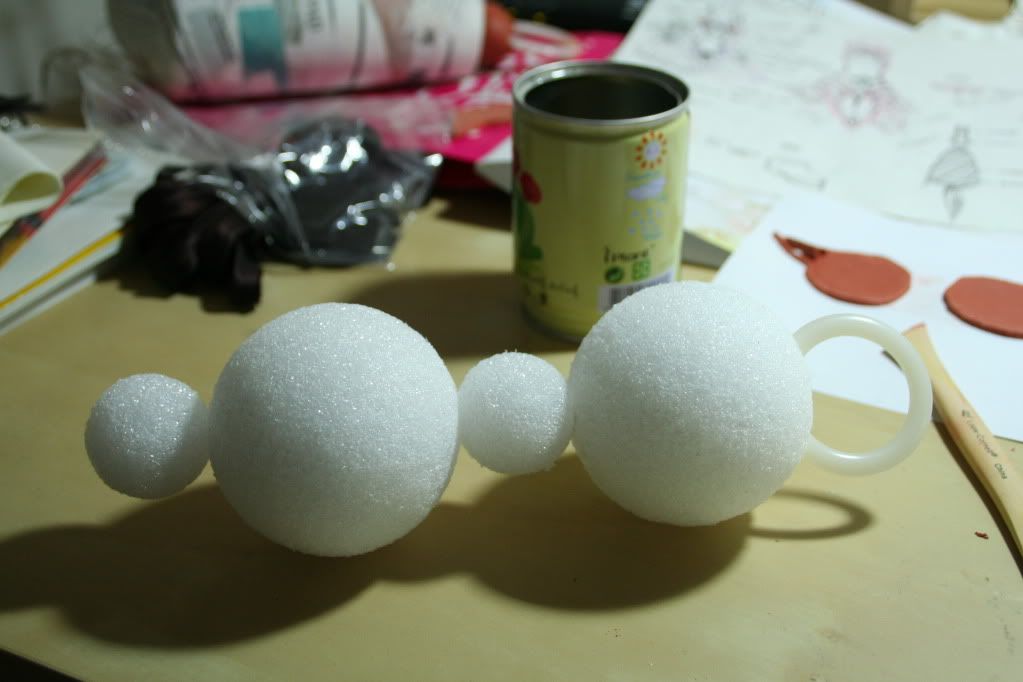
There are some weird belt accessories on Zephie's dress, and I was at first very confused as to how to recreate these objects. I figured they should be lightweight, and while walking around the crafts store, I found some styrofoam--I picked up some spheres and a cone, which I ended up sanding and gluing together to make the appropriate shapes. I even used a little bit of clay to help with the shaping.
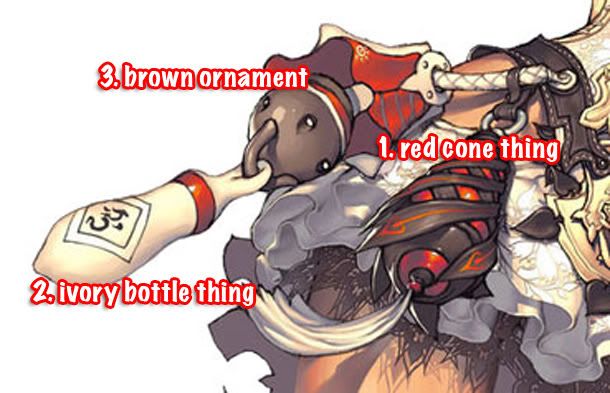
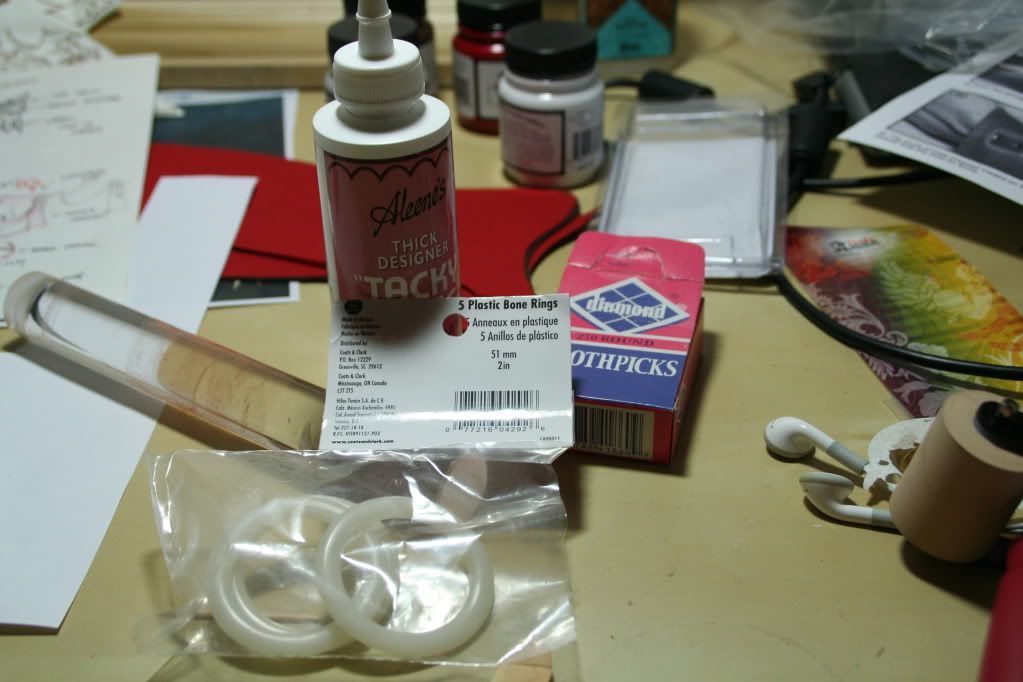
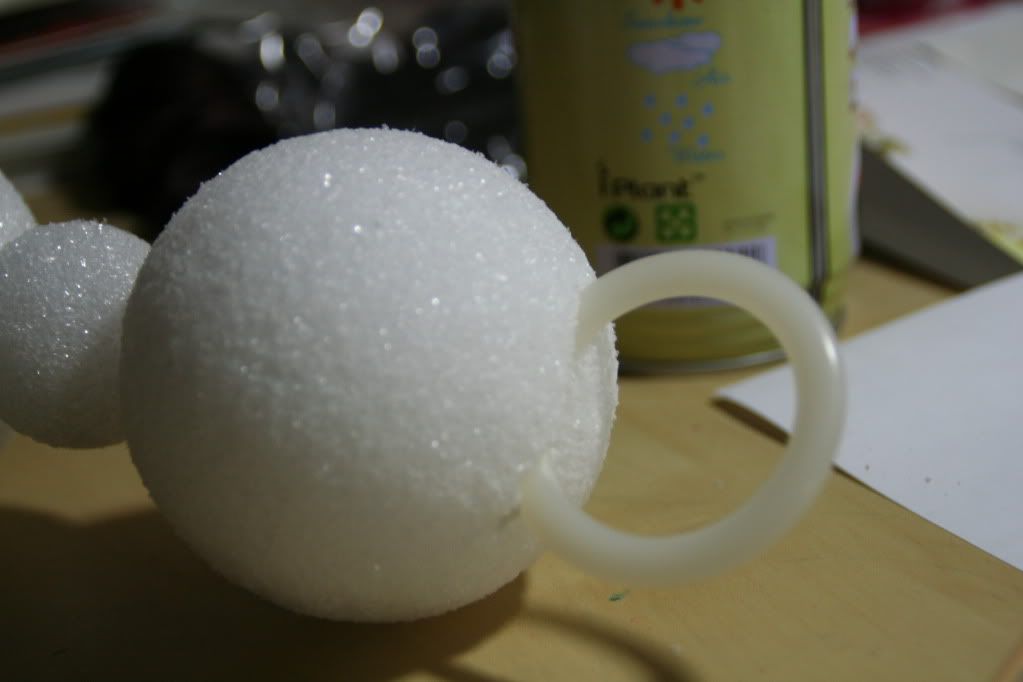
The first accessory here is ... what I will call a red cone. It has a rounded bottom, and ring attached to the top end. A tassel of sorts will need to be attached to the very end. For this I started w/ a cone-shaped styrofoam piece and a sphere. The sphere was cut in half, then glued to the bottom of the cone. The cone was cut at the top and bottom to keep the correct proportion. I was very fortunate to find bone rings at the fabric store. I bought 6 pieces for about $1.50. I shaped the ring attachment in clay, glued the ring into the clay, and attached the top using tacky glue and toothpicks. The shape was finalized using paper mache. The next steps for me are to spray paint the body and attach the leather strips.
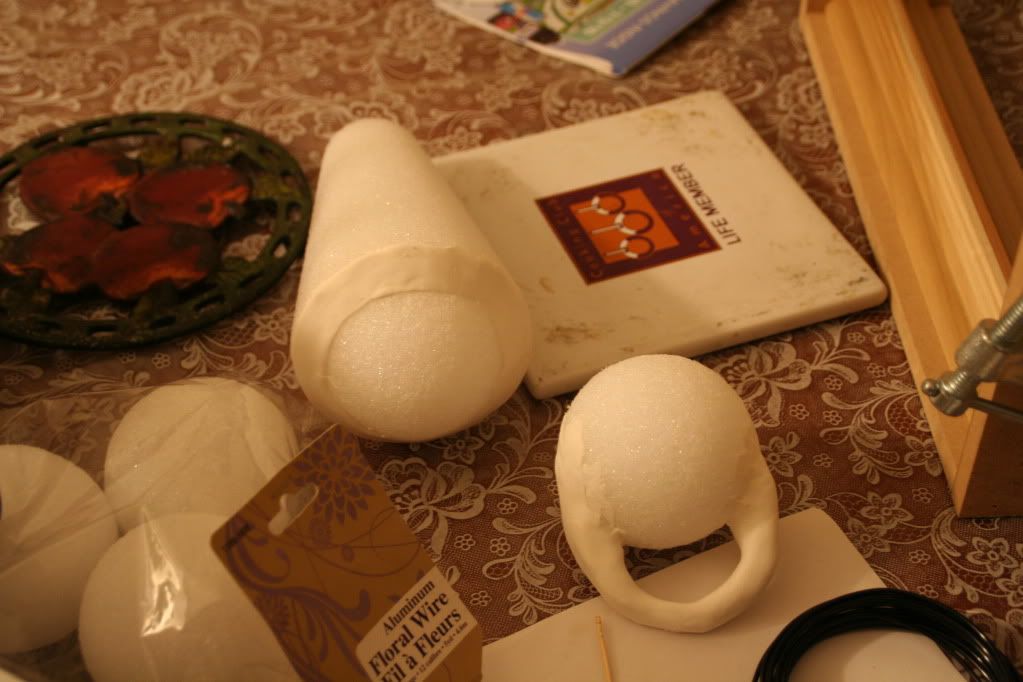
I used Crayola Model Magic for more shaping.
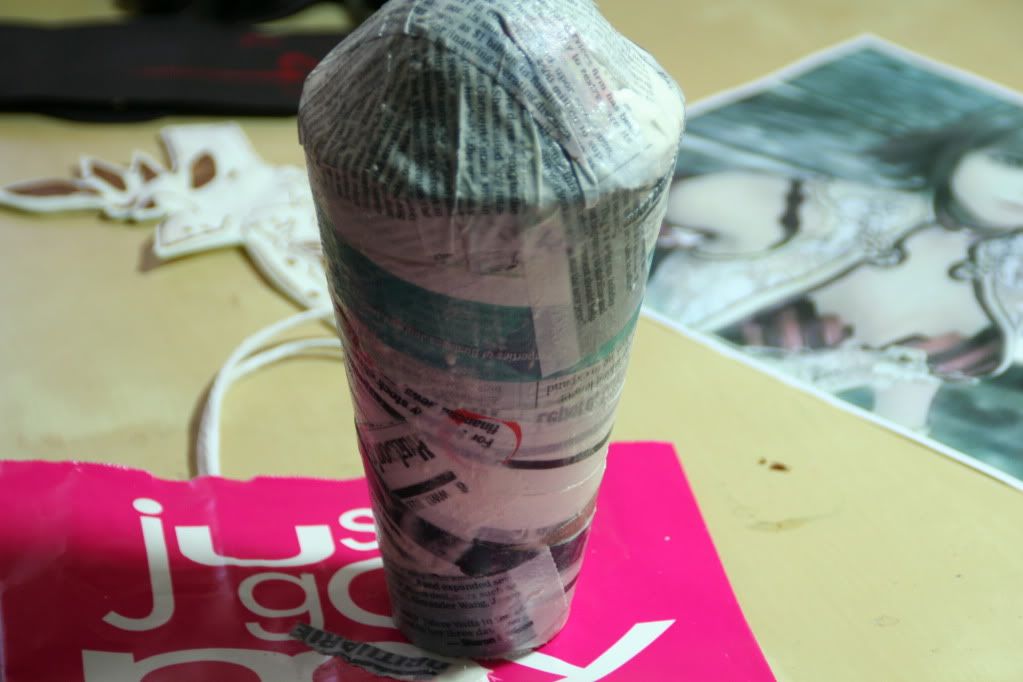
Paper mache
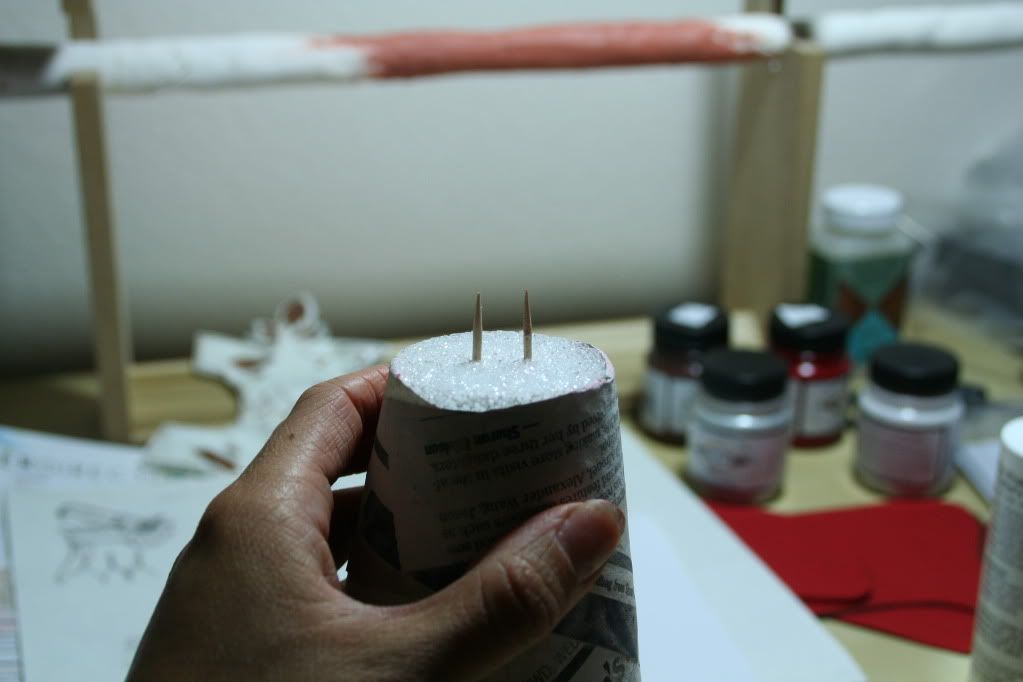
Toothpicks and tacky glue help keep things in place.
Letting the clay dry!
The second accessory here is ... what I will call the ivory bottle.
Attached w/ glue and toothpicks.
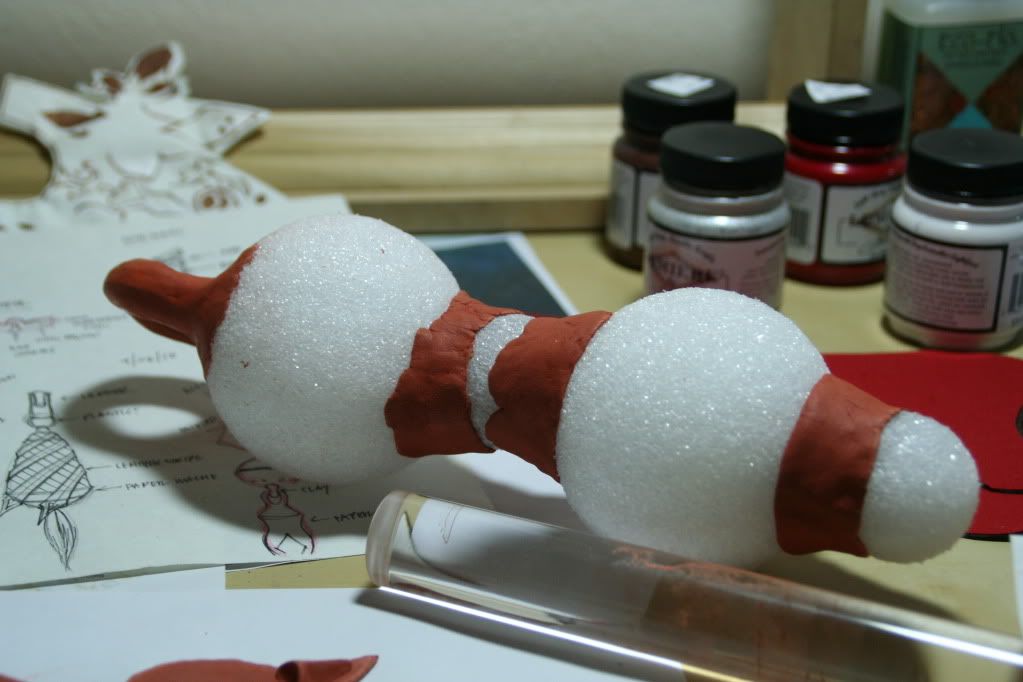
Shaped w/ some clay.
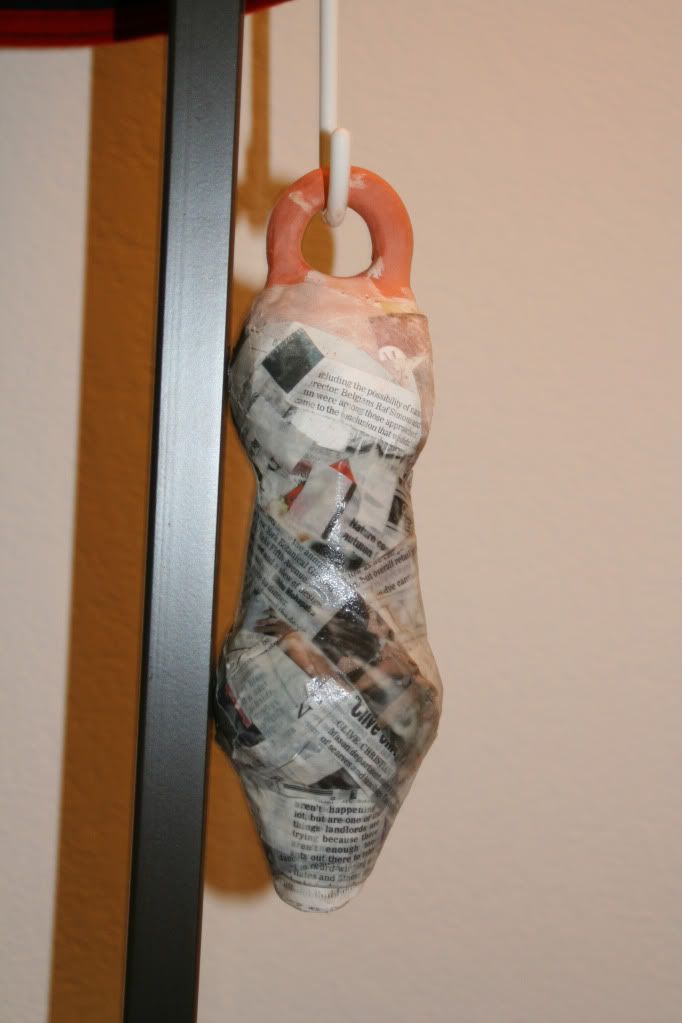
Drying the 5th layer of paper mache. I still have a few layers left to achieve my desired shape.
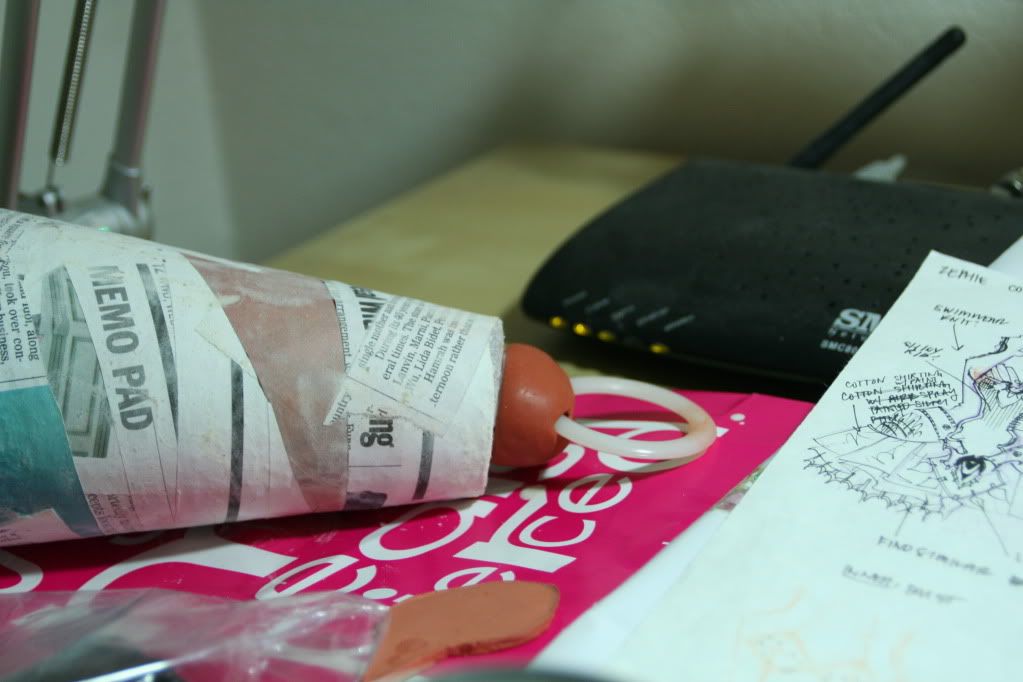
Here's the 3rd object, the brown ornament. I didn't really think about it before putting the "strap" on, so I had to remove the piece and start over. I hung the styrofoam ball from my lamp and used short, thin strips of newspaper to keep the circle shape--using large strips of newspaper makes it difficult to mold to the round surface. The loop/strap will be molded with clay around a piece of floral wire, then attached to the sphere after all the colors have been sprayed.
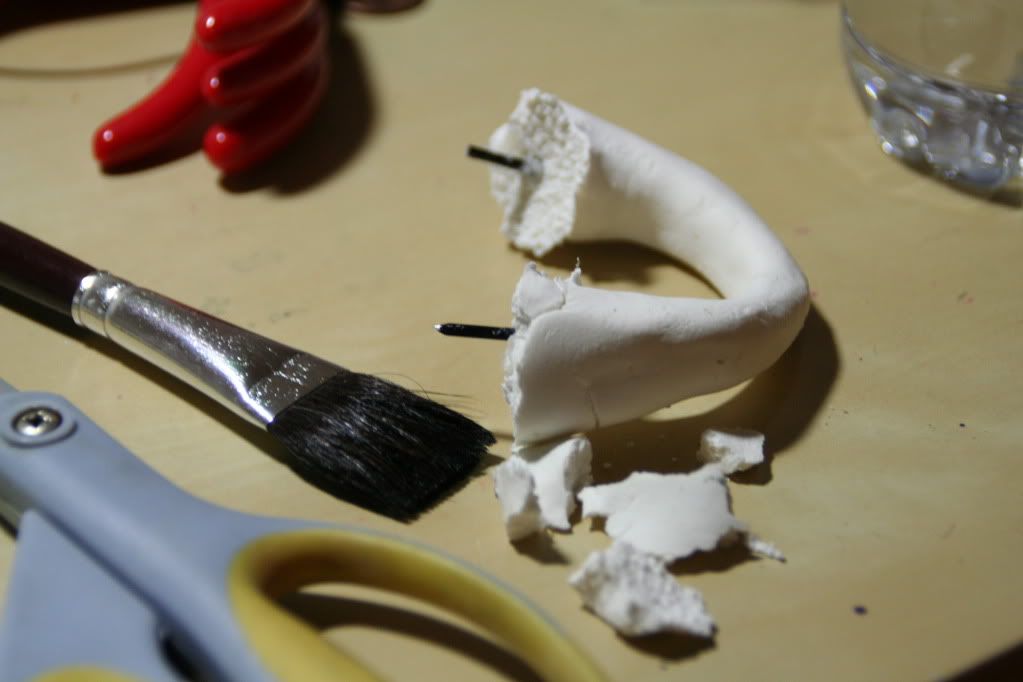
Put the strap on too early :(
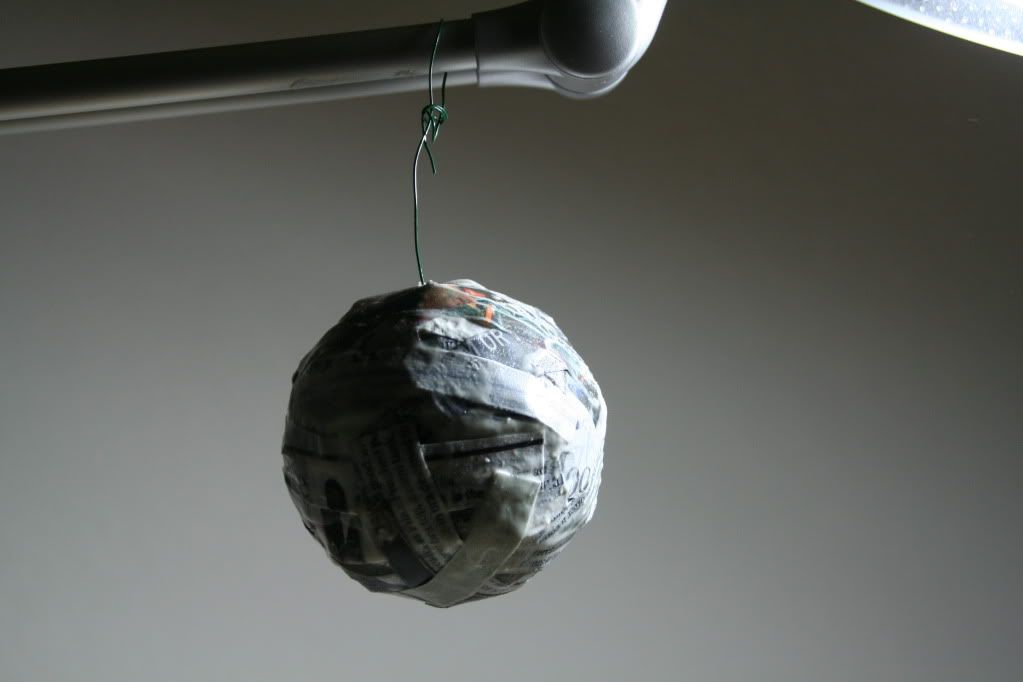
Put the strap on too early :(
At this point I realized I should have just bought a Christmas ornament.


3 comments:
i like how you ended the entry with that statement about the christmas ornament. xD
I never knew how people made all these specific shapes until now.
I always learn something new from your posts and I really admire your dedication towards your projects.
Just wanted to leave you a note saying that I think the way that you work and dedicate yourself to a project (especially whilst juggling a full time job D: ) is really admirable and amazes me.
I'm really looking forward to seeing the end product, and totally cheering for you from the other side of the world!
Post a Comment