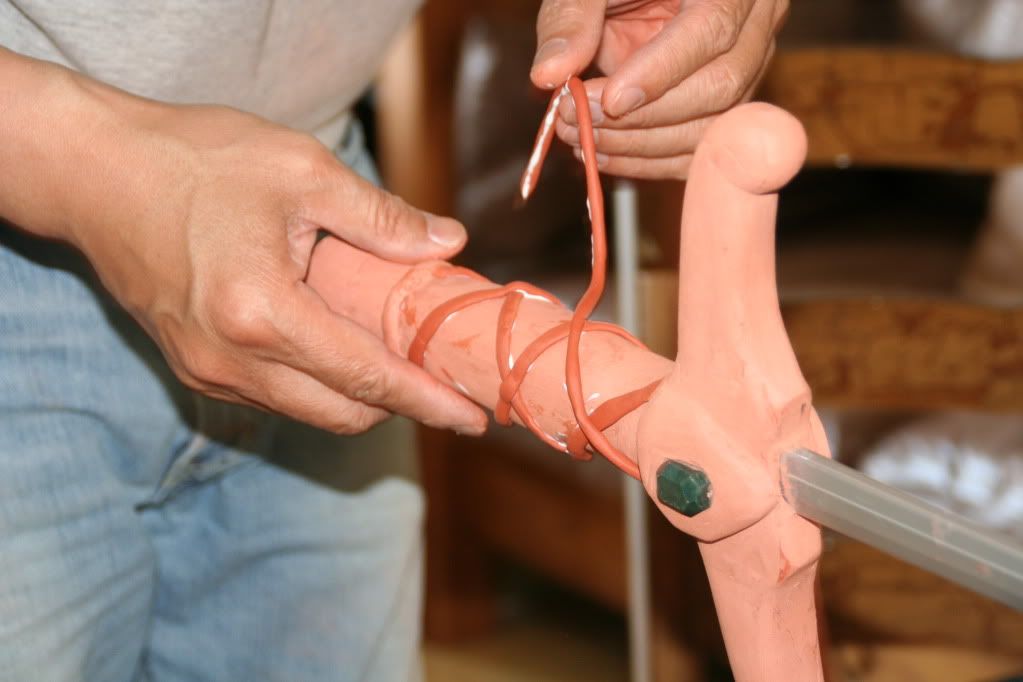
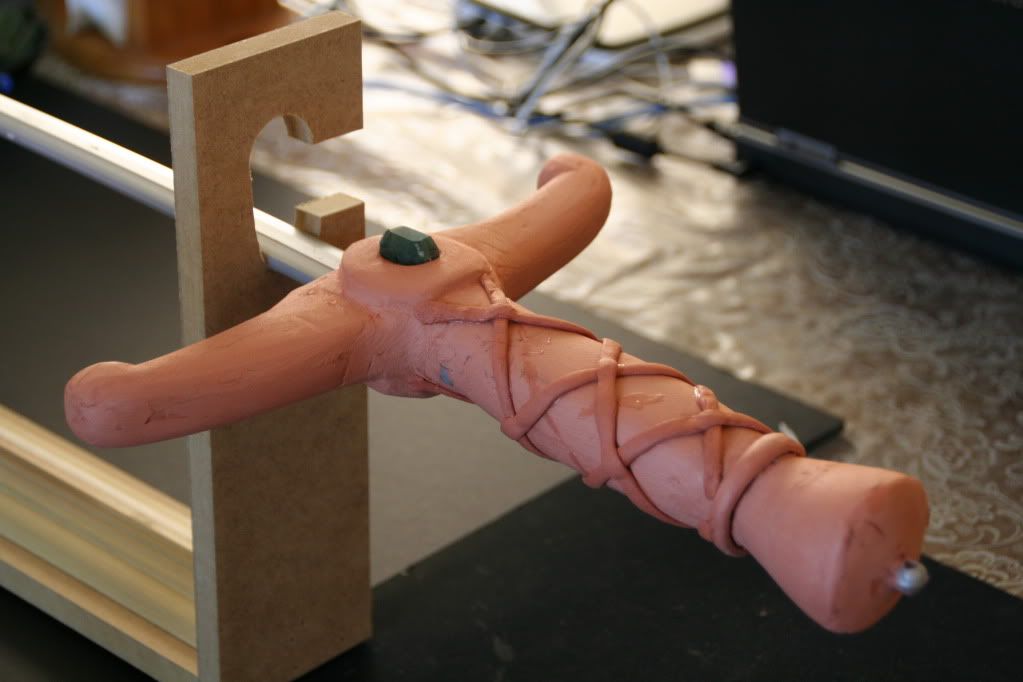
(my dad made this stand especially to hold the sword!)
The clay took about 24 hours to dry, and between that time, one of the parts fell off because we didn't properly secure it with glue....
After spending a little over an hour sanding down the rough edges and knobby shapes, my dad showed me that the hilt was ready to be painted...
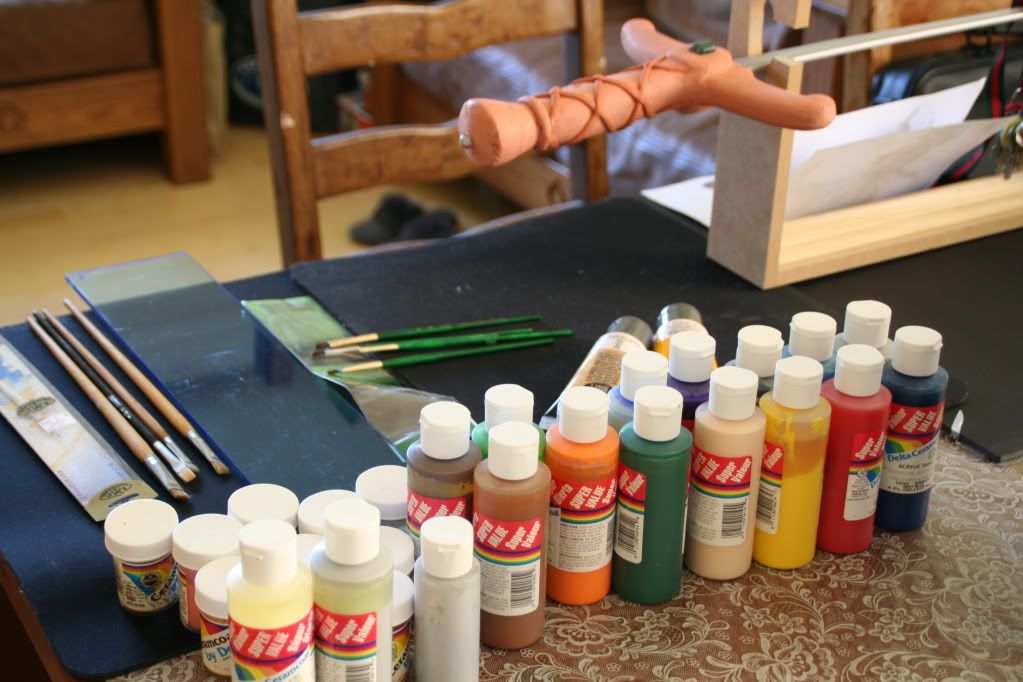
I didn't really use all this paint. My dad just thought it'd
be funny to display all these colors...
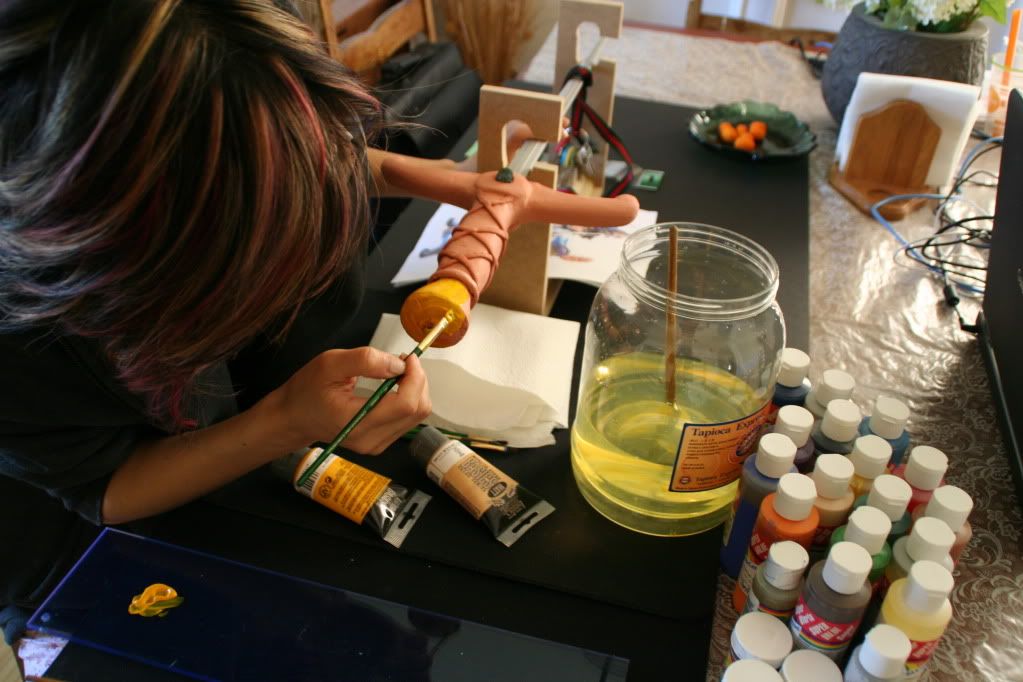
That's me, obviously, my dad's hair has light colors but no pink.
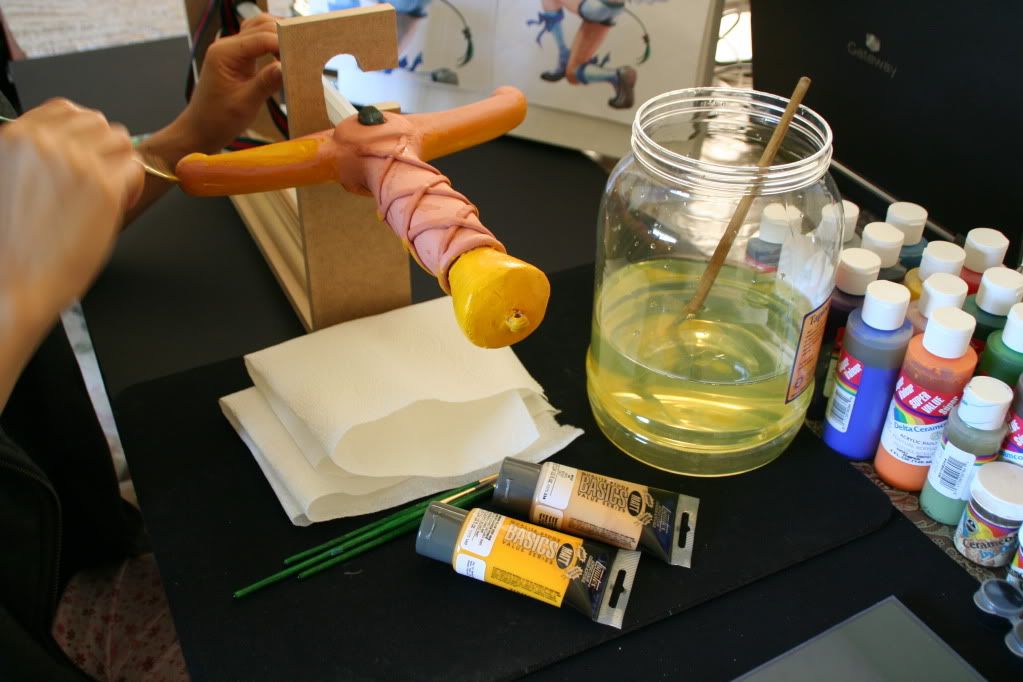
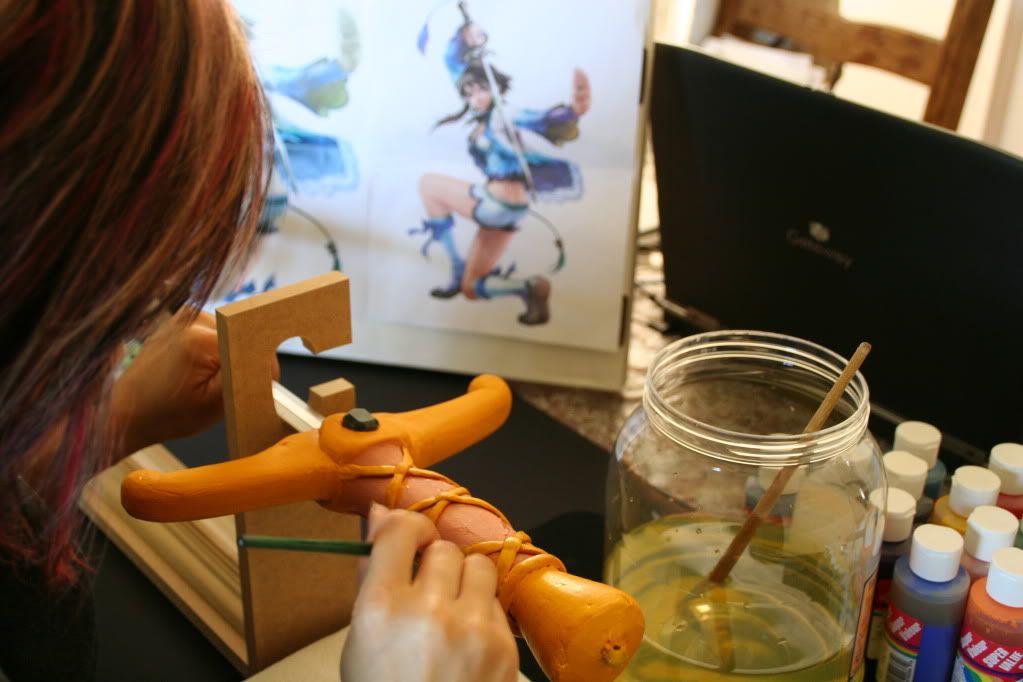
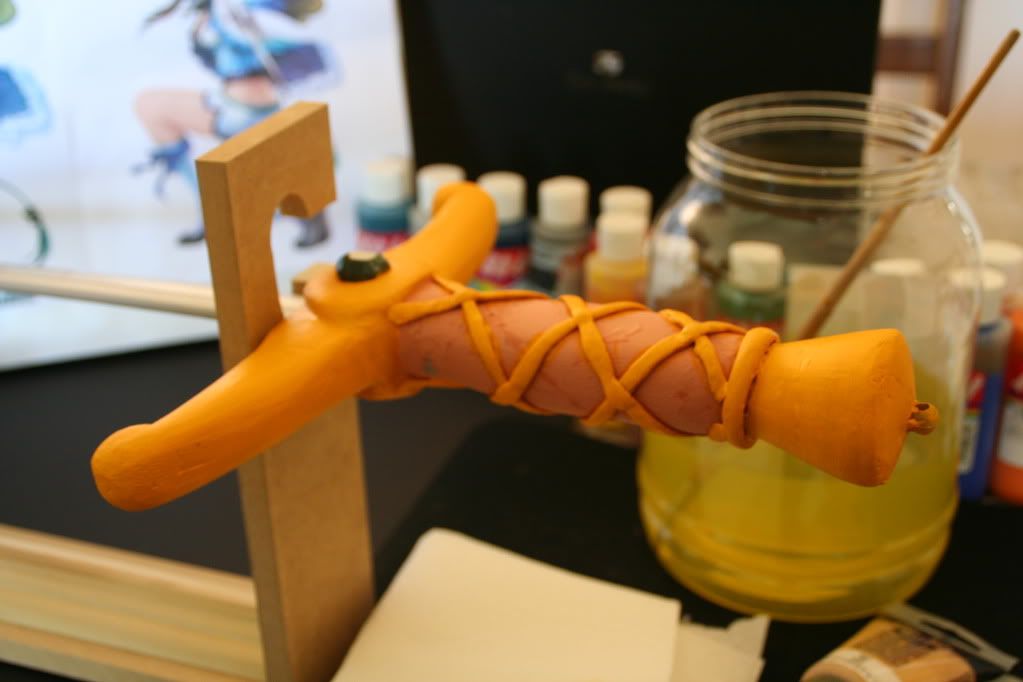
After 6 coats of the goldenrod.
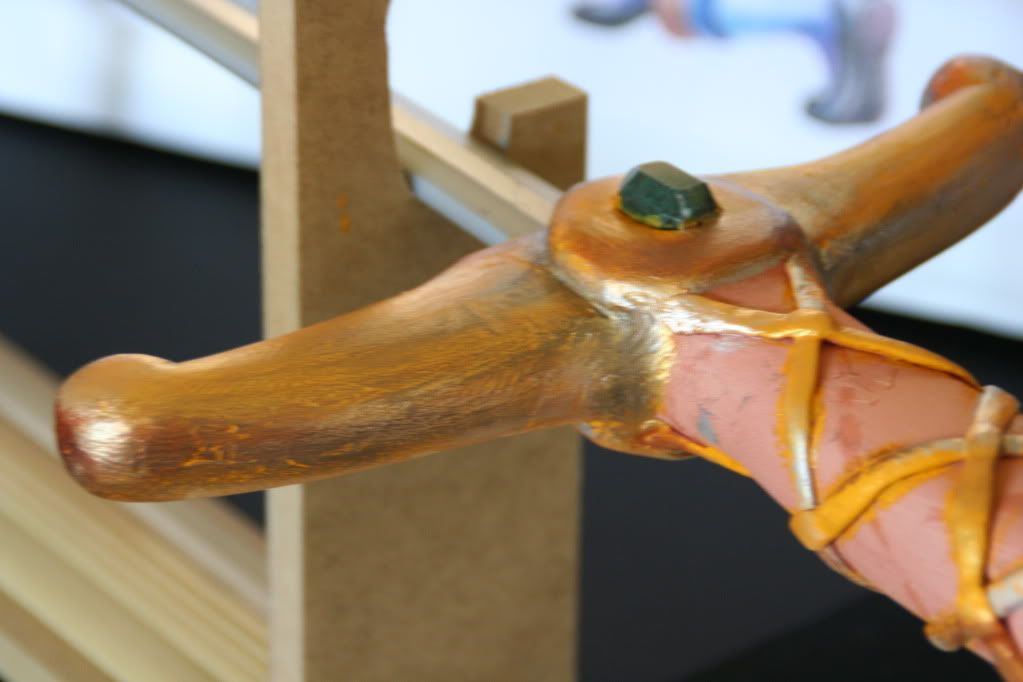
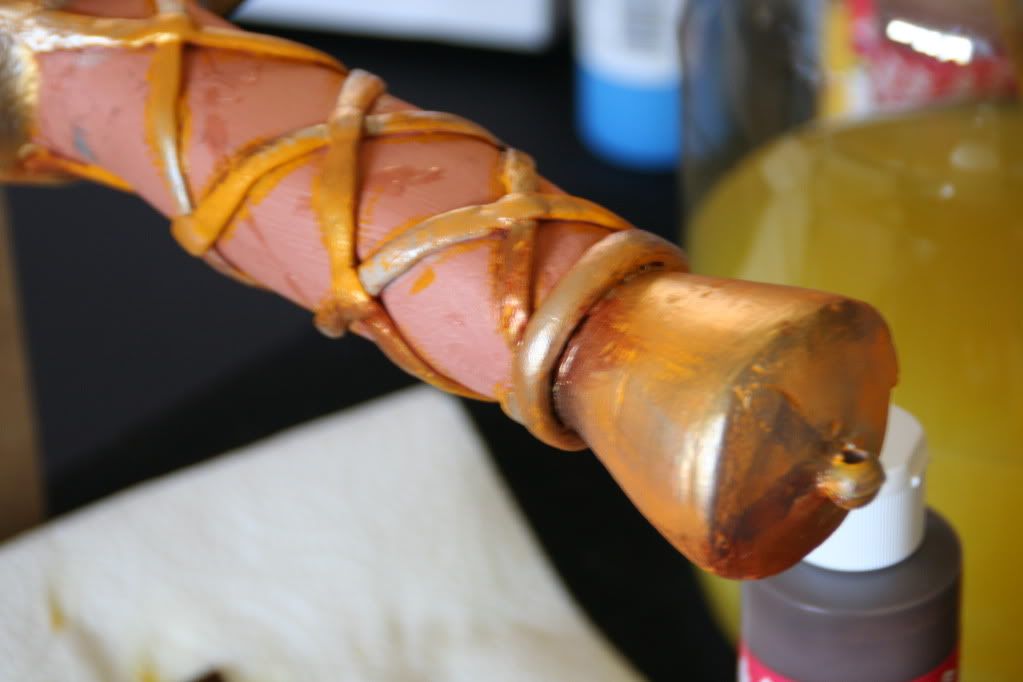
You can use any regular acrylic paint; don't thin it with water, otherwise you'll just be brushing all day.
I did something very, very wrong, that my dad did not point out to me until I was completely finished.
In my attempt to create a worn, rusty metal look of the sword, I started layering a goldenrod color (6 coats to completely cover the red tone of the clay), then proceeded with a dry brush to add gold accents. I then mixed the gold with brown to create a bronze tone, then mixed gold with orange to try a more "copper" tone. Then I added some silver highlights, all of which took me far too long. My dad said that in the future, I should paint the entire surface black, then use a dry brush to dab on a FEW strokes of gold or silver, which would do the trick. I thought my way was the best way to go about painting, as anyone who has painted, used markers, pastels, knows that the dark color is usually last. Anyway, I learned something very valuable this time and the next time I need to paint a sword hilt, I will heed his advice.
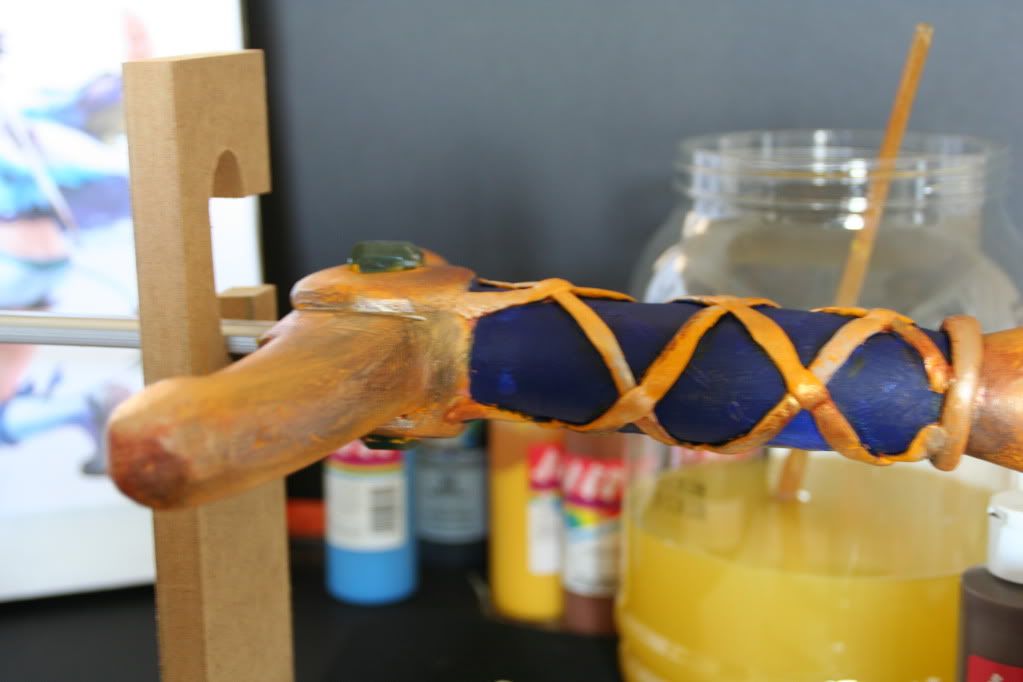
Only 1 coat of the ultra blue... many more coats are needed.
We're almost there...











3 comments:
are u going to apply a top coat for gloss?
yay for learning. =]
it looks good so far.
Sword making with Dad. NICE one. :) Can't wait to see the finished product.
Post a Comment