
Ashli posted a beautiful picture of some Madoka fan art on her tumblr, and next thing you know the both of us are oogling and trying to figure out how the hell to integrate these outfits into our schedules. Since I actually have pink hair now (and Ashli has blonde hair) we talked about doing a photoshoot with these outfits, inspired by this concept art and our love for Madoka. It worked out that she was in love w/ the Mami outfit and I love the colors from Madoka's image.
Anyways, I was excited to finally not worry about being accurate to reference images for once, so I set out to buy fabric right away. Once again this fabric DOES NOT EXIST IRL (-_-) so it was back to hours and hours of painting fabric again.
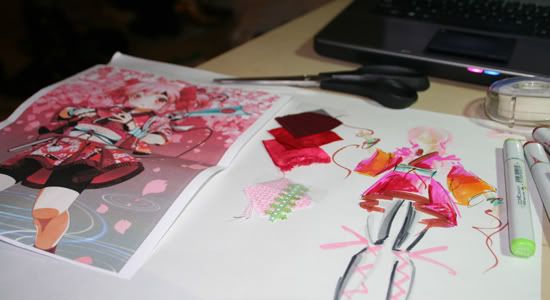
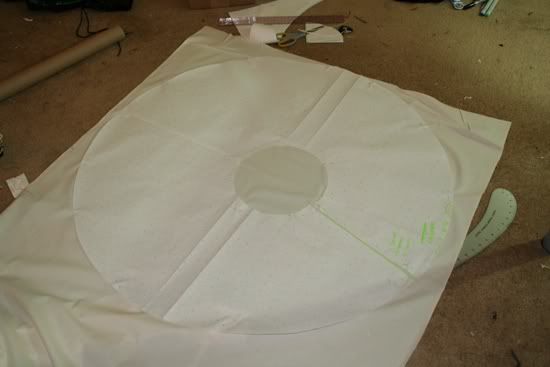
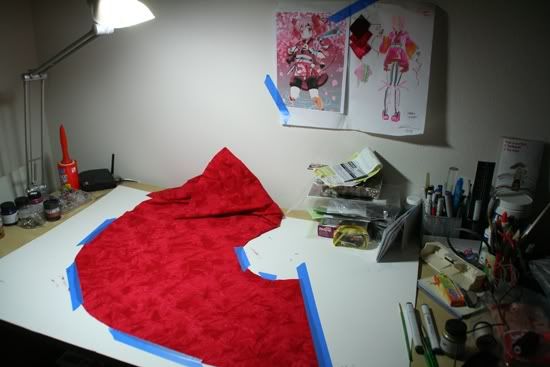
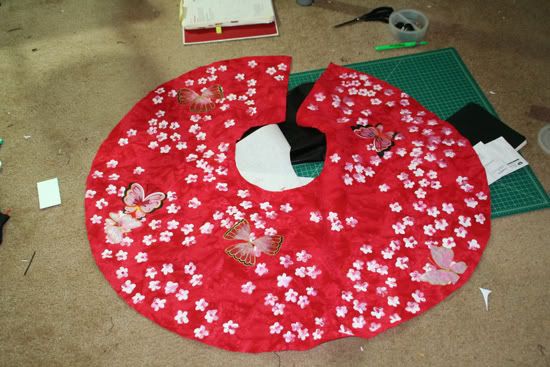
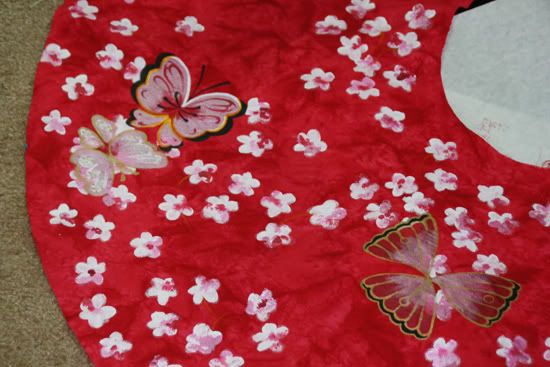
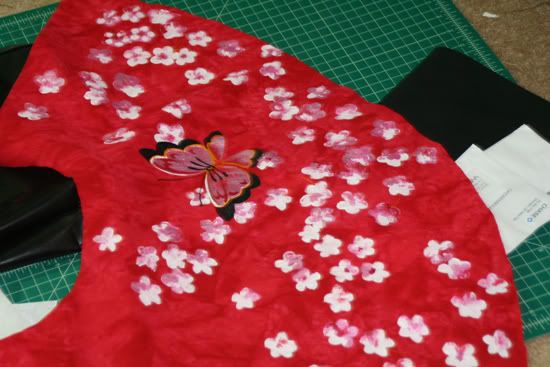
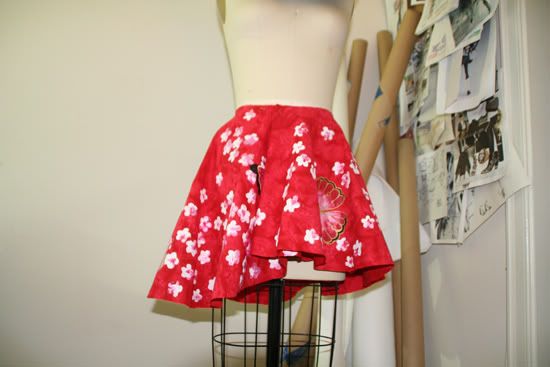
I bought this cool printed cotton fabric (printed on both sides) for the kimono dress. I have to bleach the sleeves (that's why I specifically looked for 100% cotton fabric) and dye the edges orange so the fabric can somewhat resemble this reference image. How this dress will fasten is with inside ties and outside ties--it's basically a wrap dress. I wanted a cascading circle skirt with a shorter front and longer back. You can see that the pattern looks like a lopsided donut. Cutting circle skirts is generally a waste of fabric but you'll see what a difference it makes instead of cutting a rectangle and gathering at the waist.
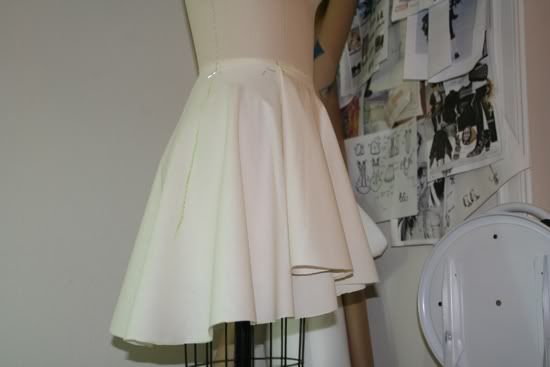

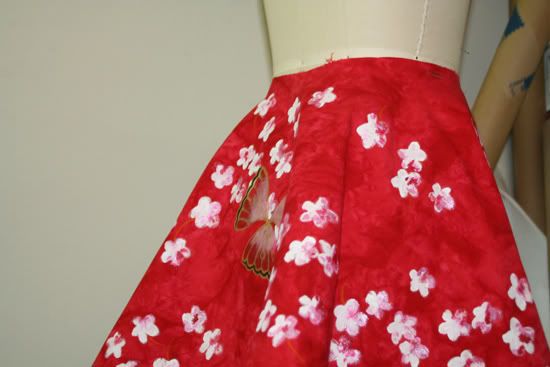
I actually draped my sample on my dressform to make sure the hemline was to my liking. You can see how I marked the side seams on my dressform in green so I could make sure the bodice would line up to the skirt portion.
I decided to line the skirt in charmeuse so it would look more luxurious along the inside.
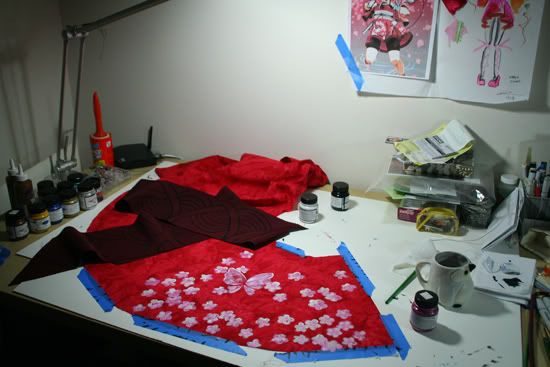
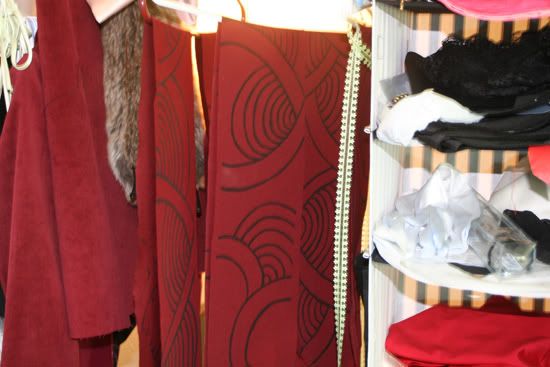
The skirt "trim" was 2-1/2" wide bias binding that I also painted the design on. The width I actually cut was 6" -- 5" folded to 2-1/2" finished, 1/2" seam allowance. I painted the designs before sewing to the skirt so it would actually look like a print. I used a poly/rayon blended gabardine--sturdy and heavy enough to weigh the dress down, but lightweight enough so it wouldn't be bulky when folded in half.
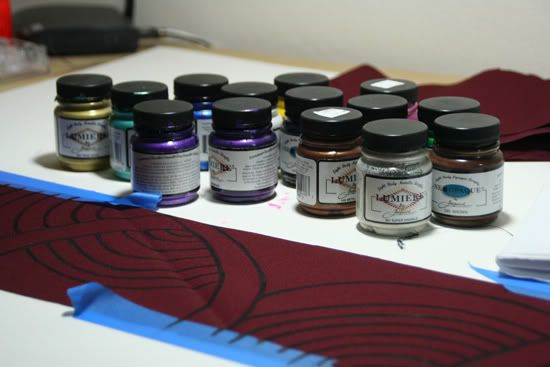
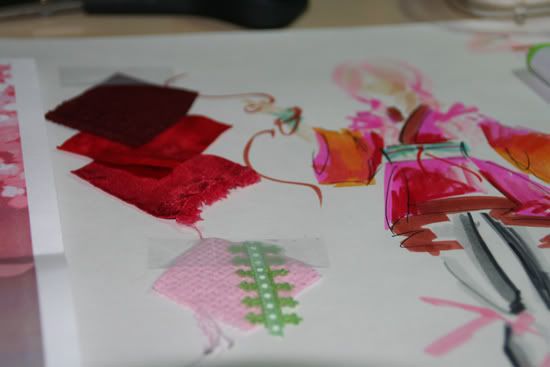
For the skirt patterns I used a mix of Jacquard Lumiere paints (I have every single color in existence now) and NeoOpaque paints - dull/shiny. I didn't like how metallic the colors looked on my Oriental Alice dress so I tried not to use as much as the Lumiere paints this time. I still wanted the designs to pop so I used the metallic paints as accents. I always freehand the patterns because I'm too lazy to mark anything. I do take my time though.


1 comment:
Cannot believe how awesome that skirt is turning out! Geez mad paint skills!
Post a Comment