
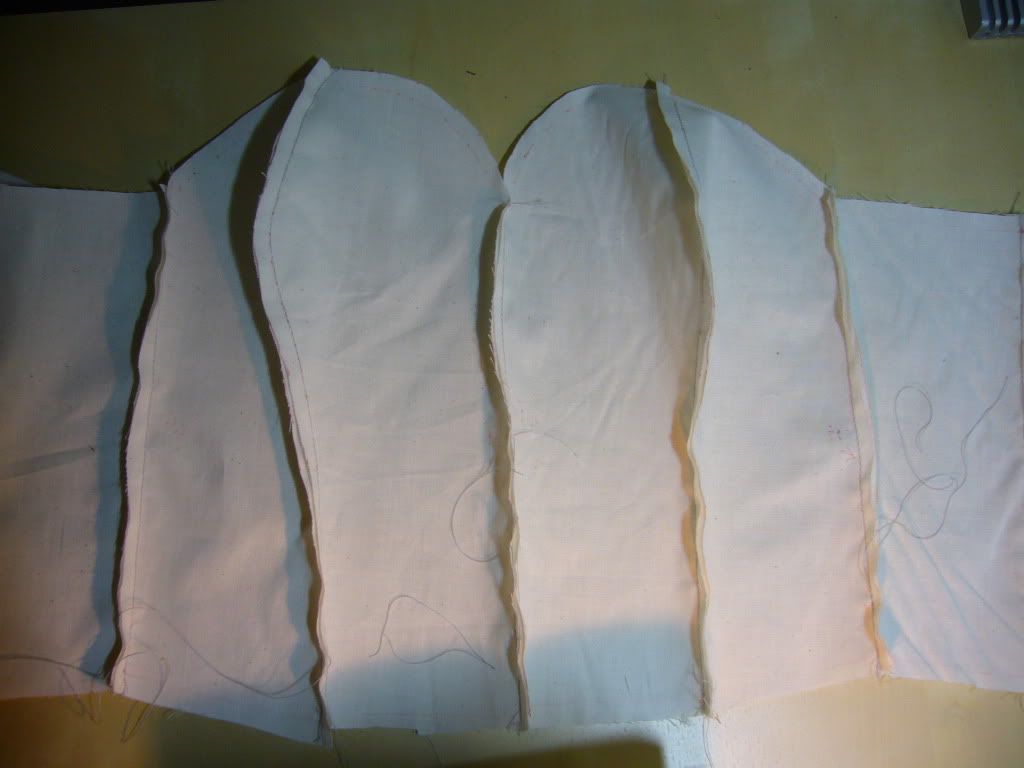
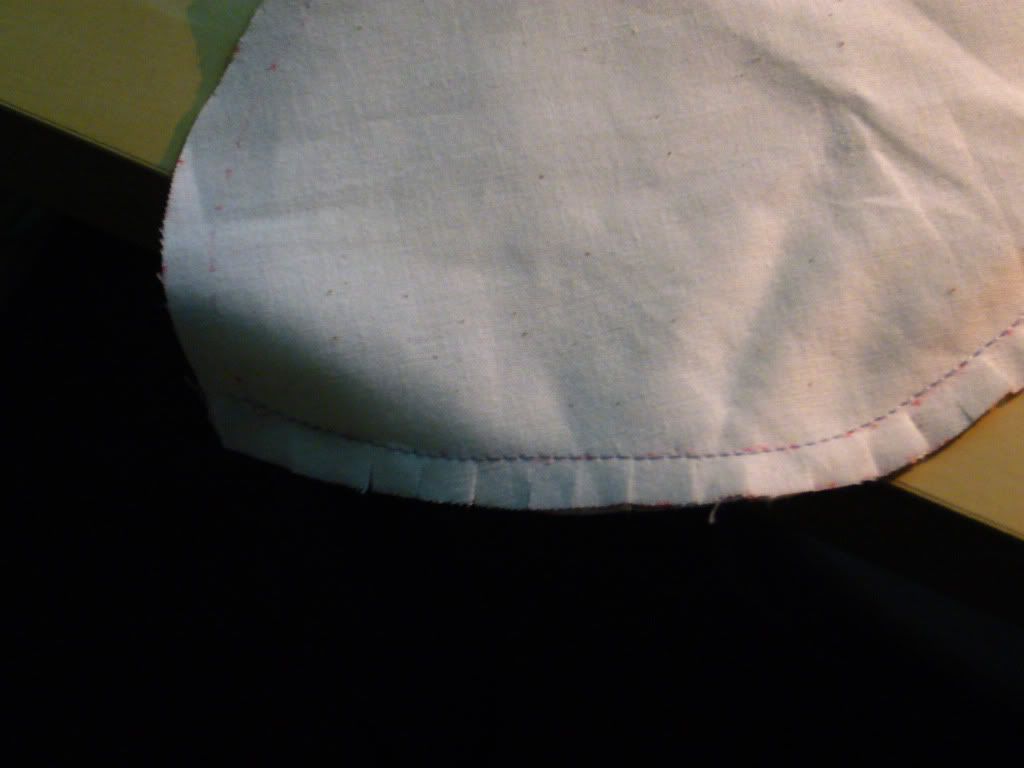
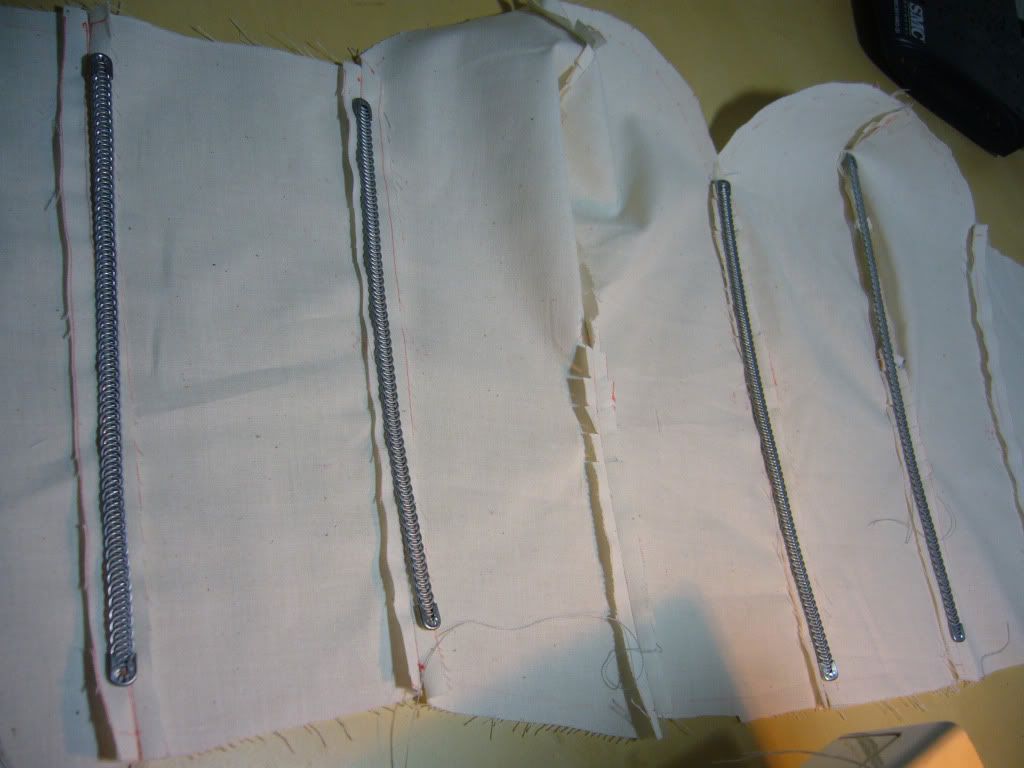
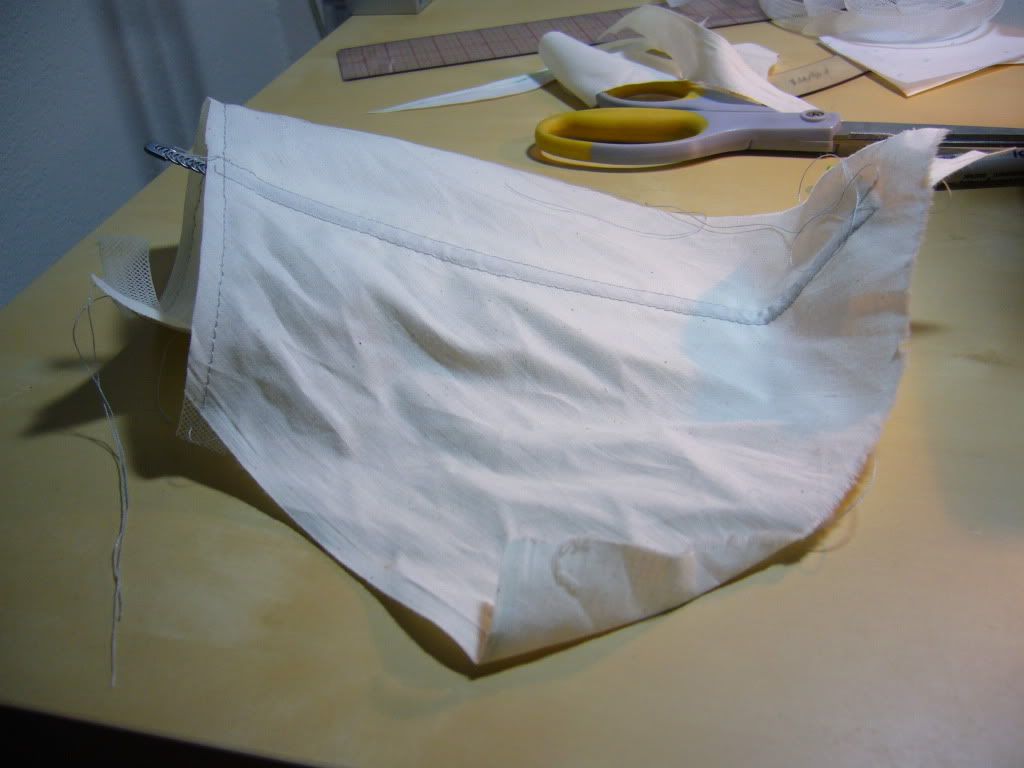
I sewed all the pieces together (you can see all my nasty, uncut threads... and my jagged edges....) and you can also see how the bust part pops up. I had to do a lot of clipping (below) to get the curves perfectly round... not that I have much of a chest anyways.
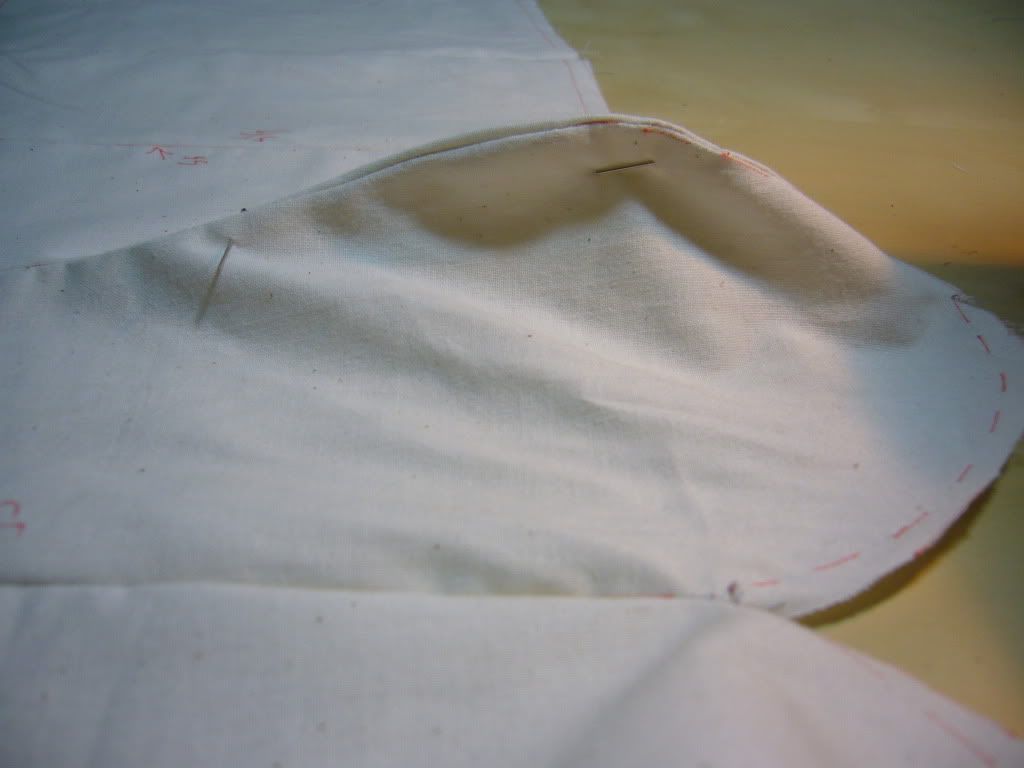
After fitting this chest piece on myself, I realized the bust was too big. I had to take off 1/2" from the fullest point. Basically it became a straight piece after that. :(
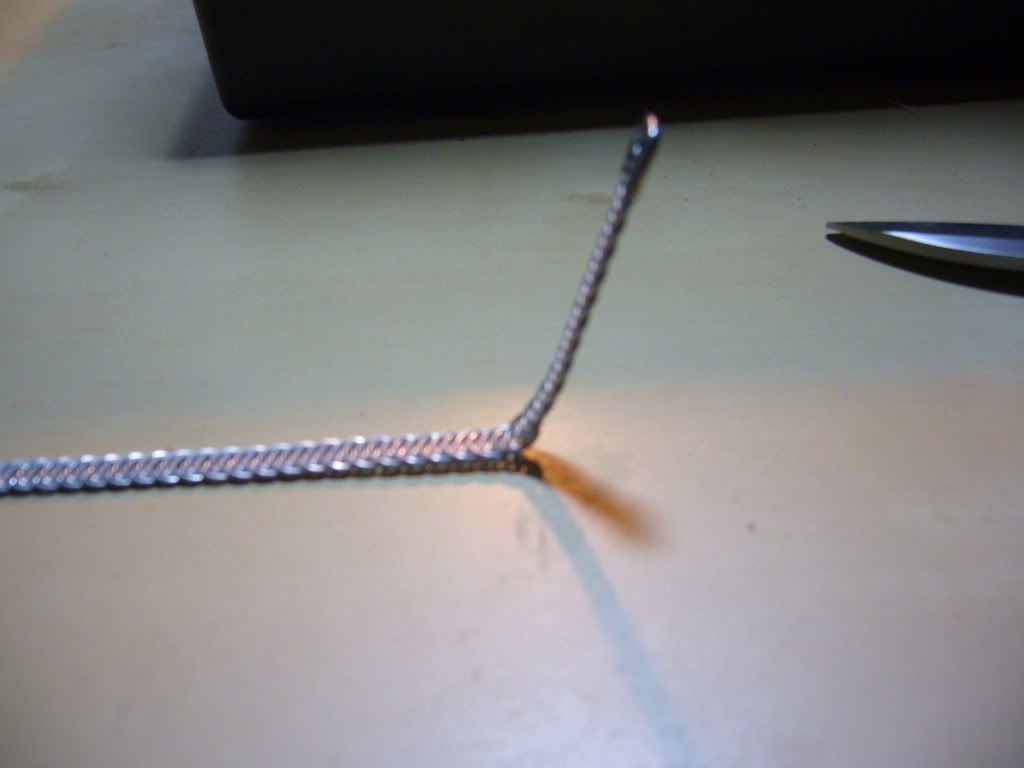
With all strapless foundations, the key is the boning. I remember my school gave us the cheap plastic boning that was wrapped in binding, which is the worst. Don't ever touch that. Never. Ever. Spend a couple more pretty pennies to buy this quality metal boning, which isn't even that much more expensive, and is so much more durable. If you're going to spend so much time on creating a bustier or a corset, why skimp out on the foundation?
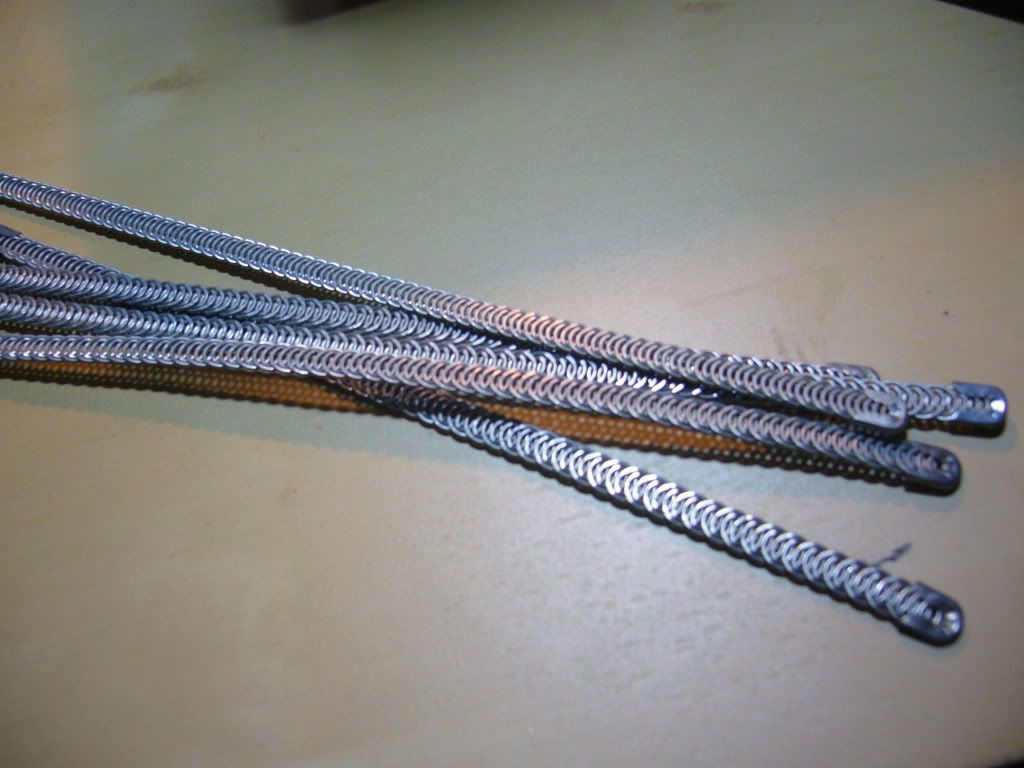
This is where I have to add boning. I'm missing some strips for the bust pieces.
I re-fitted the top after adjusting the bust, and it fit perfectly (silent triumph). Time to move onto figuring out the skirt.
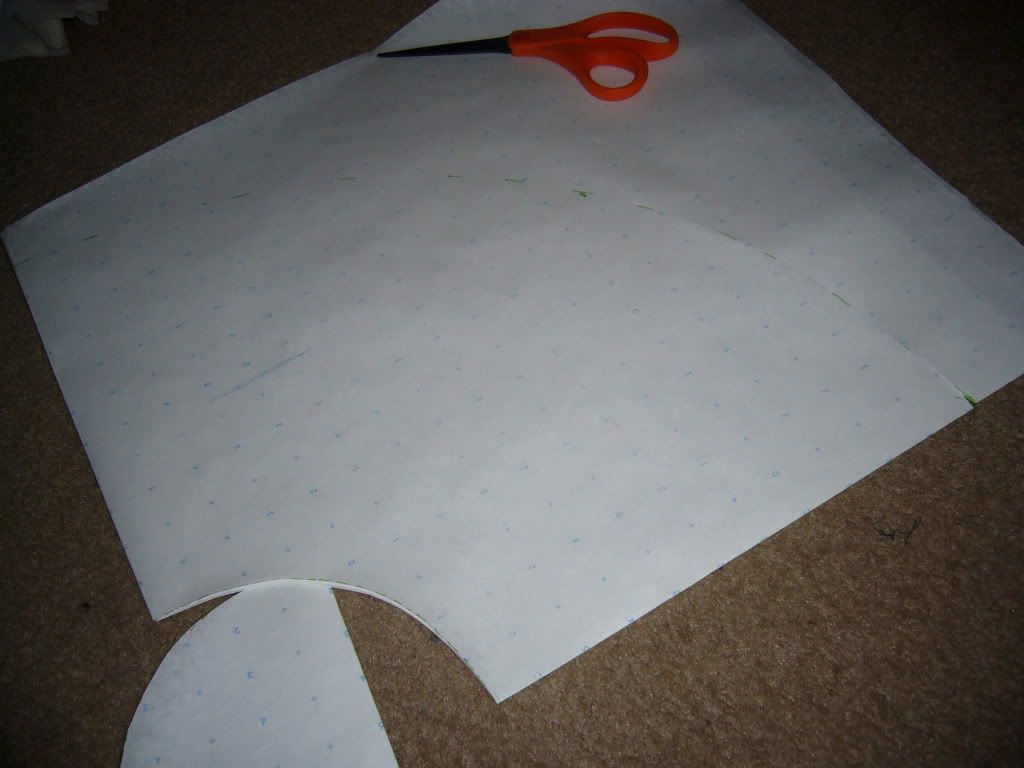
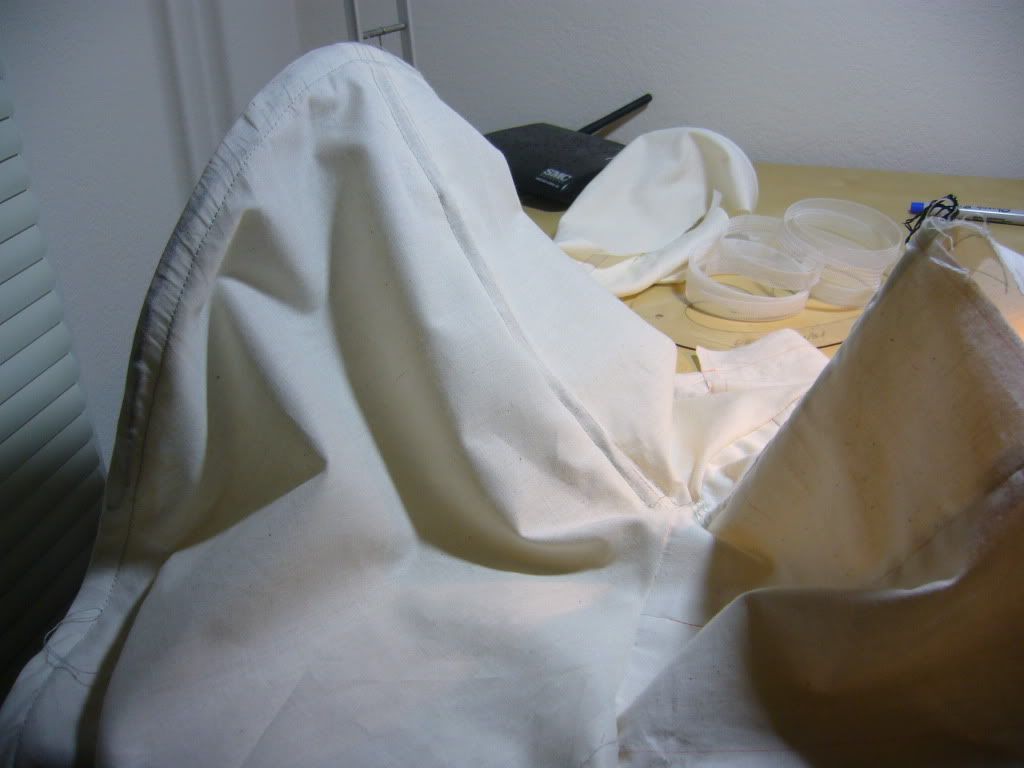
The skirt was mostly problem-solving, as I thought I could get away with making godets (triangles inserted into a skirt to make it fuller) but after about 20 minutes of staring at my dotted paper I realized the skirt was in fact a circle skirt, not a full circle skirt, but a 3/4 circle skirt. Meaning... it wouldn't have that much flounce as a full circle skirt.
The circle skirt pattern is the easiest to draft (just a little math involved) and most of the time I don't even draft a paper pattern if I'm just making the skirt. But since I had to match it to the bustier, I had to make sure my side seams would align...
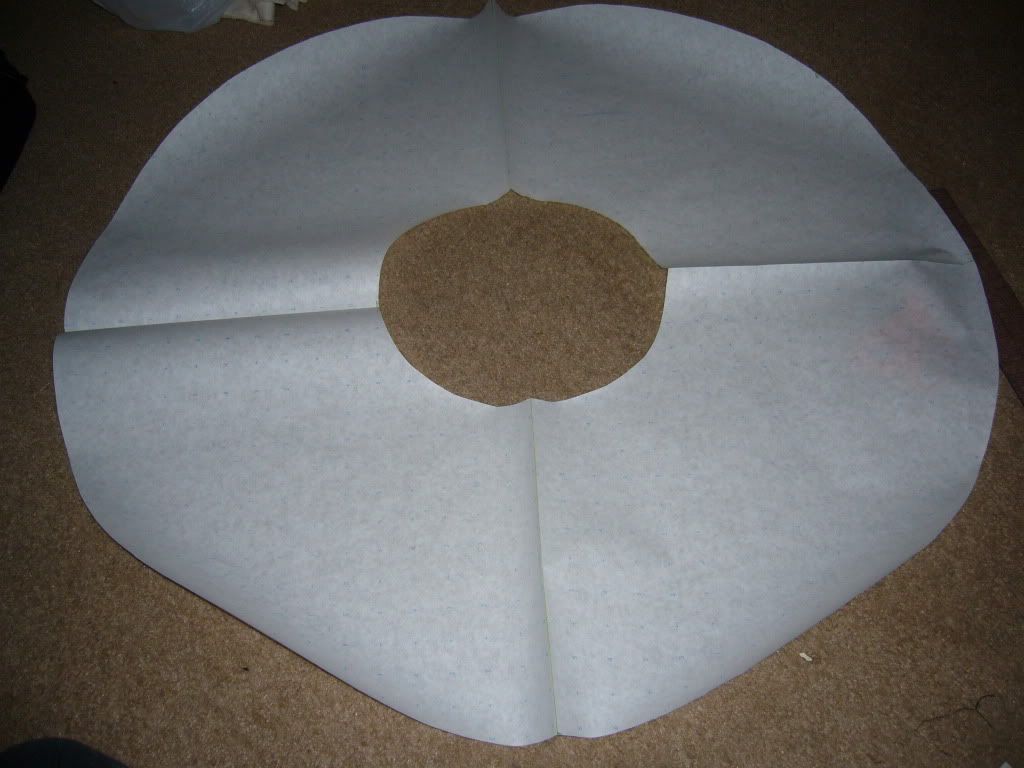
I didn't actually use the whole circle as it looks. I had to cut it / adjust to fit my bustier top... which only required about half of this doughnut.
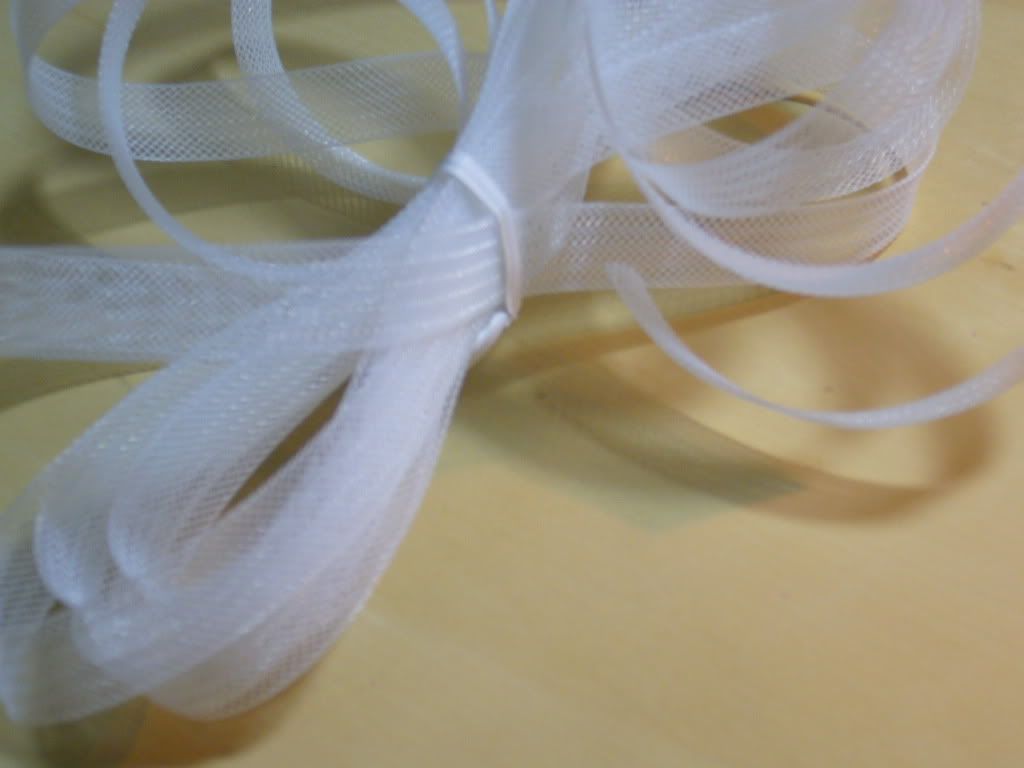
My next problem was fixing the hem so that it would keep its shape, a stabilized wave of sorts. I thought I could just use some horsehair and call it a night. Well, 2 hours later I'm twisting wire that I had lying around in my house to make a sturdy curve, as the horsehair was too flimsy.
I also had to add boning to the skirt.... then realizing that this boning is extremely malleable!
My next problem was fixing the hem so that it would keep its shape, a stabilized wave of sorts. I thought I could just use some horsehair and call it a night. Well, 2 hours later I'm twisting wire that I had lying around in my house to make a sturdy curve, as the horsehair was too flimsy.
Horsehair
I also had to add boning to the skirt.... then realizing that this boning is extremely malleable!
This was my first trial in creating the wave shape. I thought I could just bend the boning at a 90-degree angle and call it a night. (Again, trying to be lazy and not use my brain...sigh)
Unfortunately it was too flimsy (both the boning and the horsehair) which was why I resorted to using wire I randomly had in my apartment. I can't use this for my actual costume, but for this sample I wanted to see if WIRE was the solution. I twisted about 4 ends of the wire together. I ended up using this wire to create the shape of the skirt along the hem, and for the 90-degree angle at which the skirt goes out at.

Very hastily pinned along the back, but I have the basic shape down...
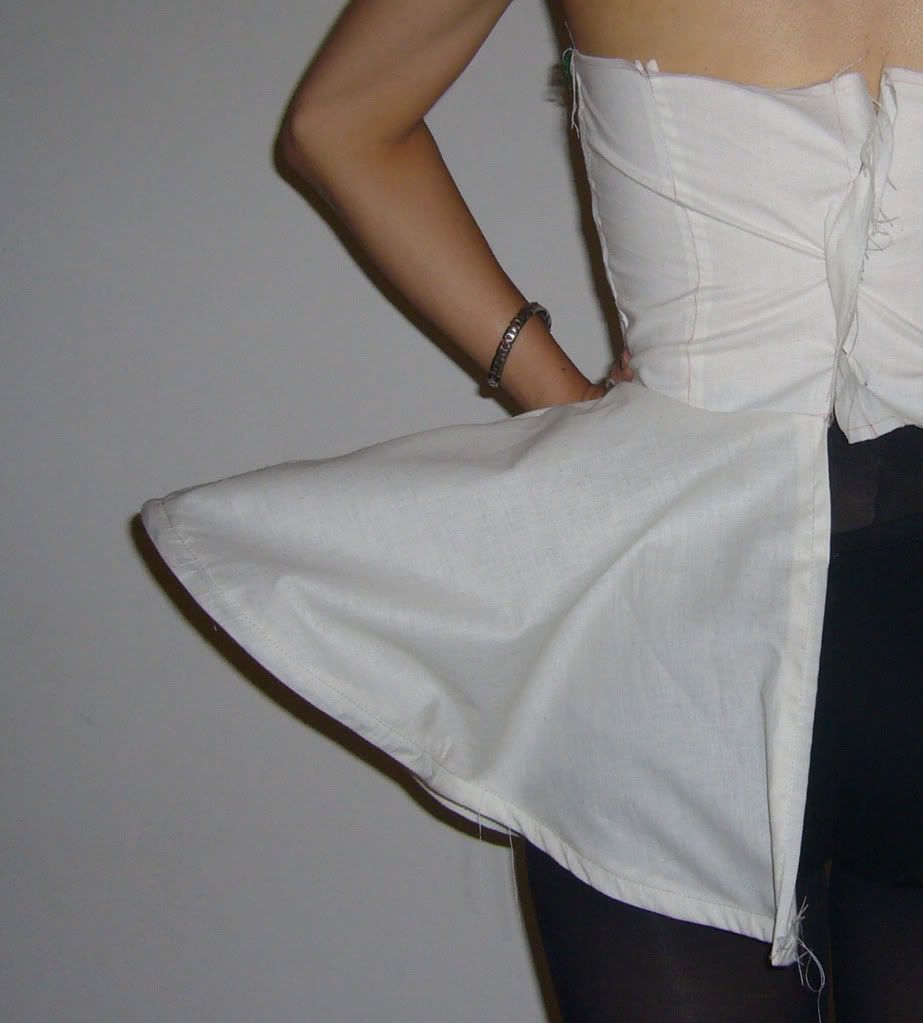
Ultimately I'll have to use metal wiring (it's about 1/4" wide and flat.) that is sold by the foot (I believe...?) that is also used for boning. And now that I have figured out the inner construction of the outfit, the real work begins...
It's now 2:43am but I've been listening to old Ayumi Hamasaki remixes... this one below being one of my all-time favorites.
(I actually used this wire for a costume a couple years back)
Very hastily pinned along the back, but I have the basic shape down...
Ultimately I'll have to use metal wiring (it's about 1/4" wide and flat.) that is sold by the foot (I believe...?) that is also used for boning. And now that I have figured out the inner construction of the outfit, the real work begins...
It's now 2:43am but I've been listening to old Ayumi Hamasaki remixes... this one below being one of my all-time favorites.


3 comments:
good remix. i like this shoot she did for time magazine like eight years ago. =D
the photographed process whets my appetite. i wait in eager anticipation for the completed product. =]
Denise, you've outdone yourself! Can't wait for the final product. It's going to be explosive no doubt.
PS. are you going to sell Bjork costume from last year? i'm in search of a good one this year...heheh.
much love,
Bo
Love the way this is looking so far---am really enjoying getting a peek at the step by step process as you go along!
xx
Tiffany
Post a Comment